
How to Make a CRT Video Wall Matrix
Learn where to find CRTs, how to stack them into a wall, and remotely control video routing using a matrix switcher

Today, I'm going to show you how to build your own cathode ray tube (CRT) TV wall. This guide covers sourcing the TVs, stacking them into a wall, sending them video, and controlling them remotely to display different signals on different TVs. I’ll also share tips on which types of TVs to look for and which to avoid.
Sourcing Your TVs 0:18
When it comes to finding your TVs, Facebook Marketplace and Craigslist are excellent options. Often, you can find TVs for free. If you need them quickly, expect to pay between $20 and $40 per television.
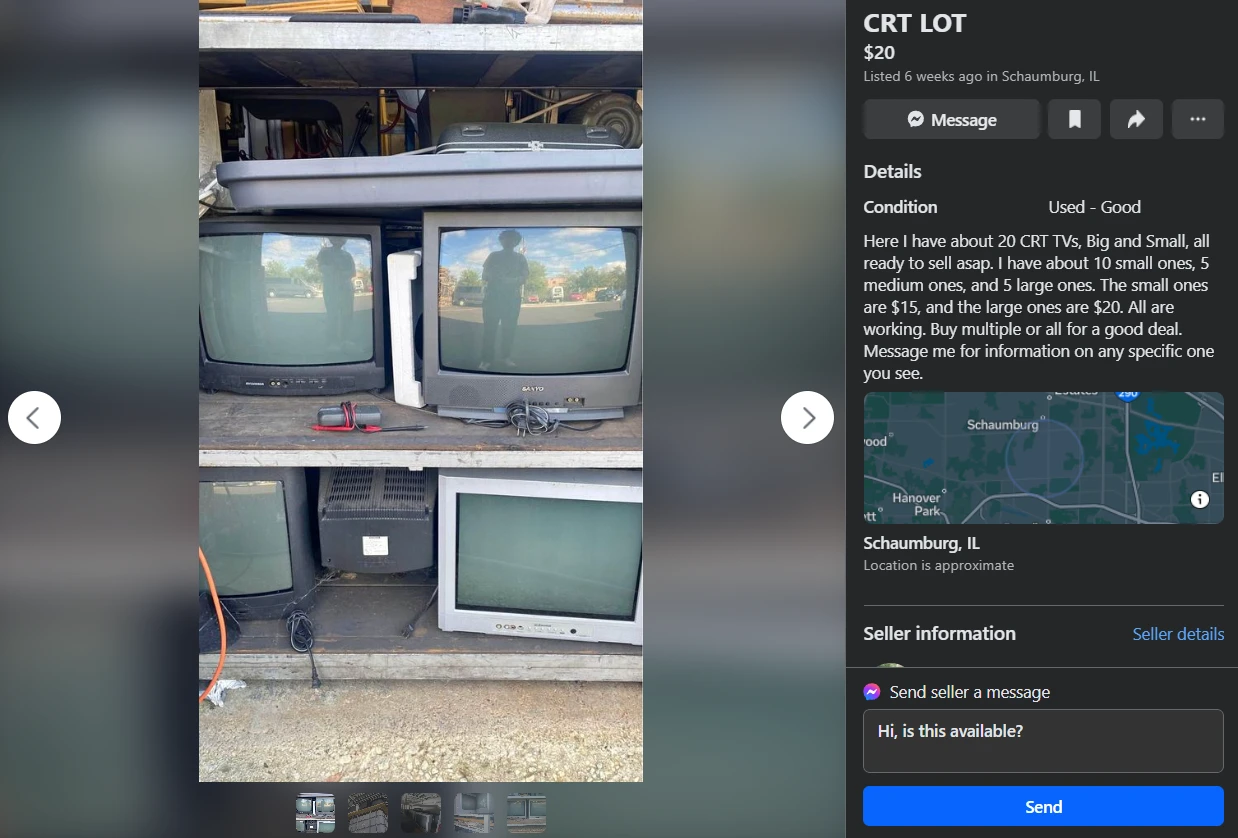
Some of mine were free, sourced from people throwing them out, like the massive Trinitron. Others, like the small color Watchman (a 5-inch TV), were harder to find and cost around $100 on eBay.
Ideal Characteristics for CRT TVs 1:02
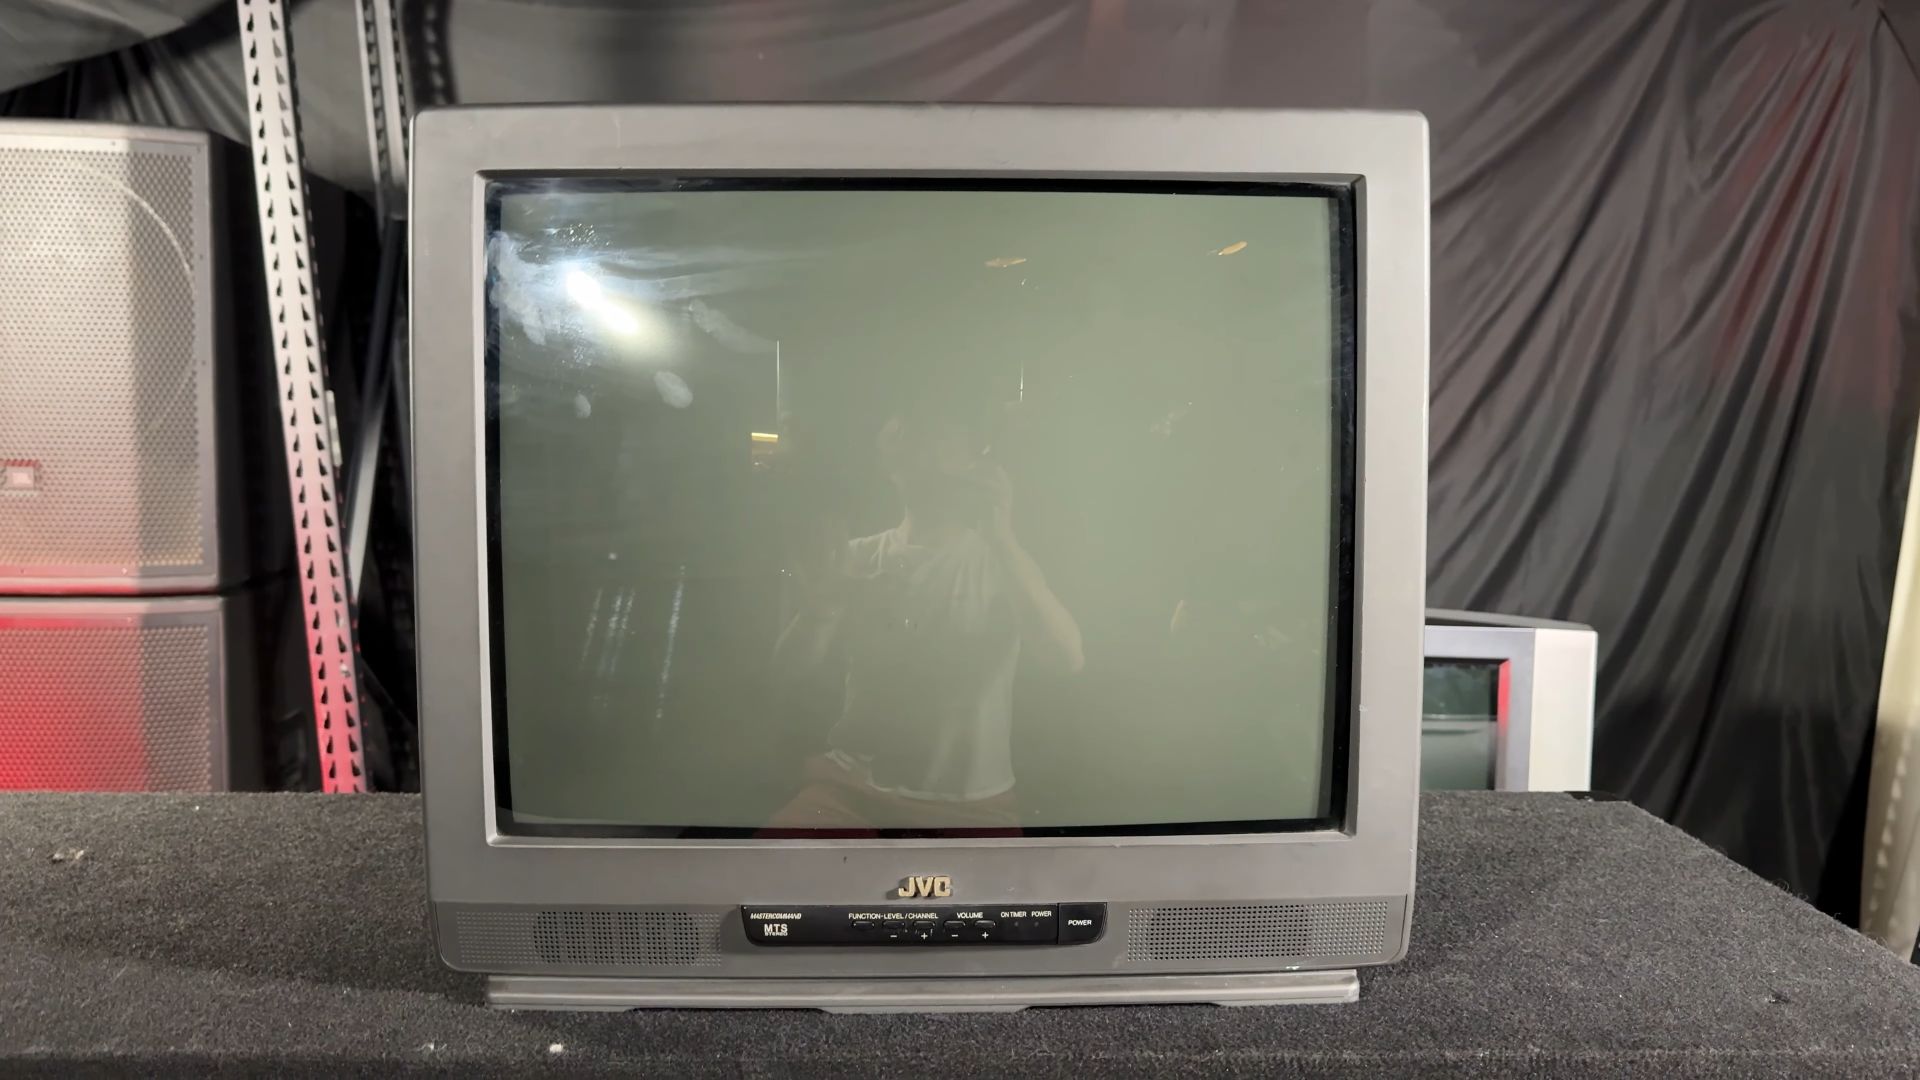
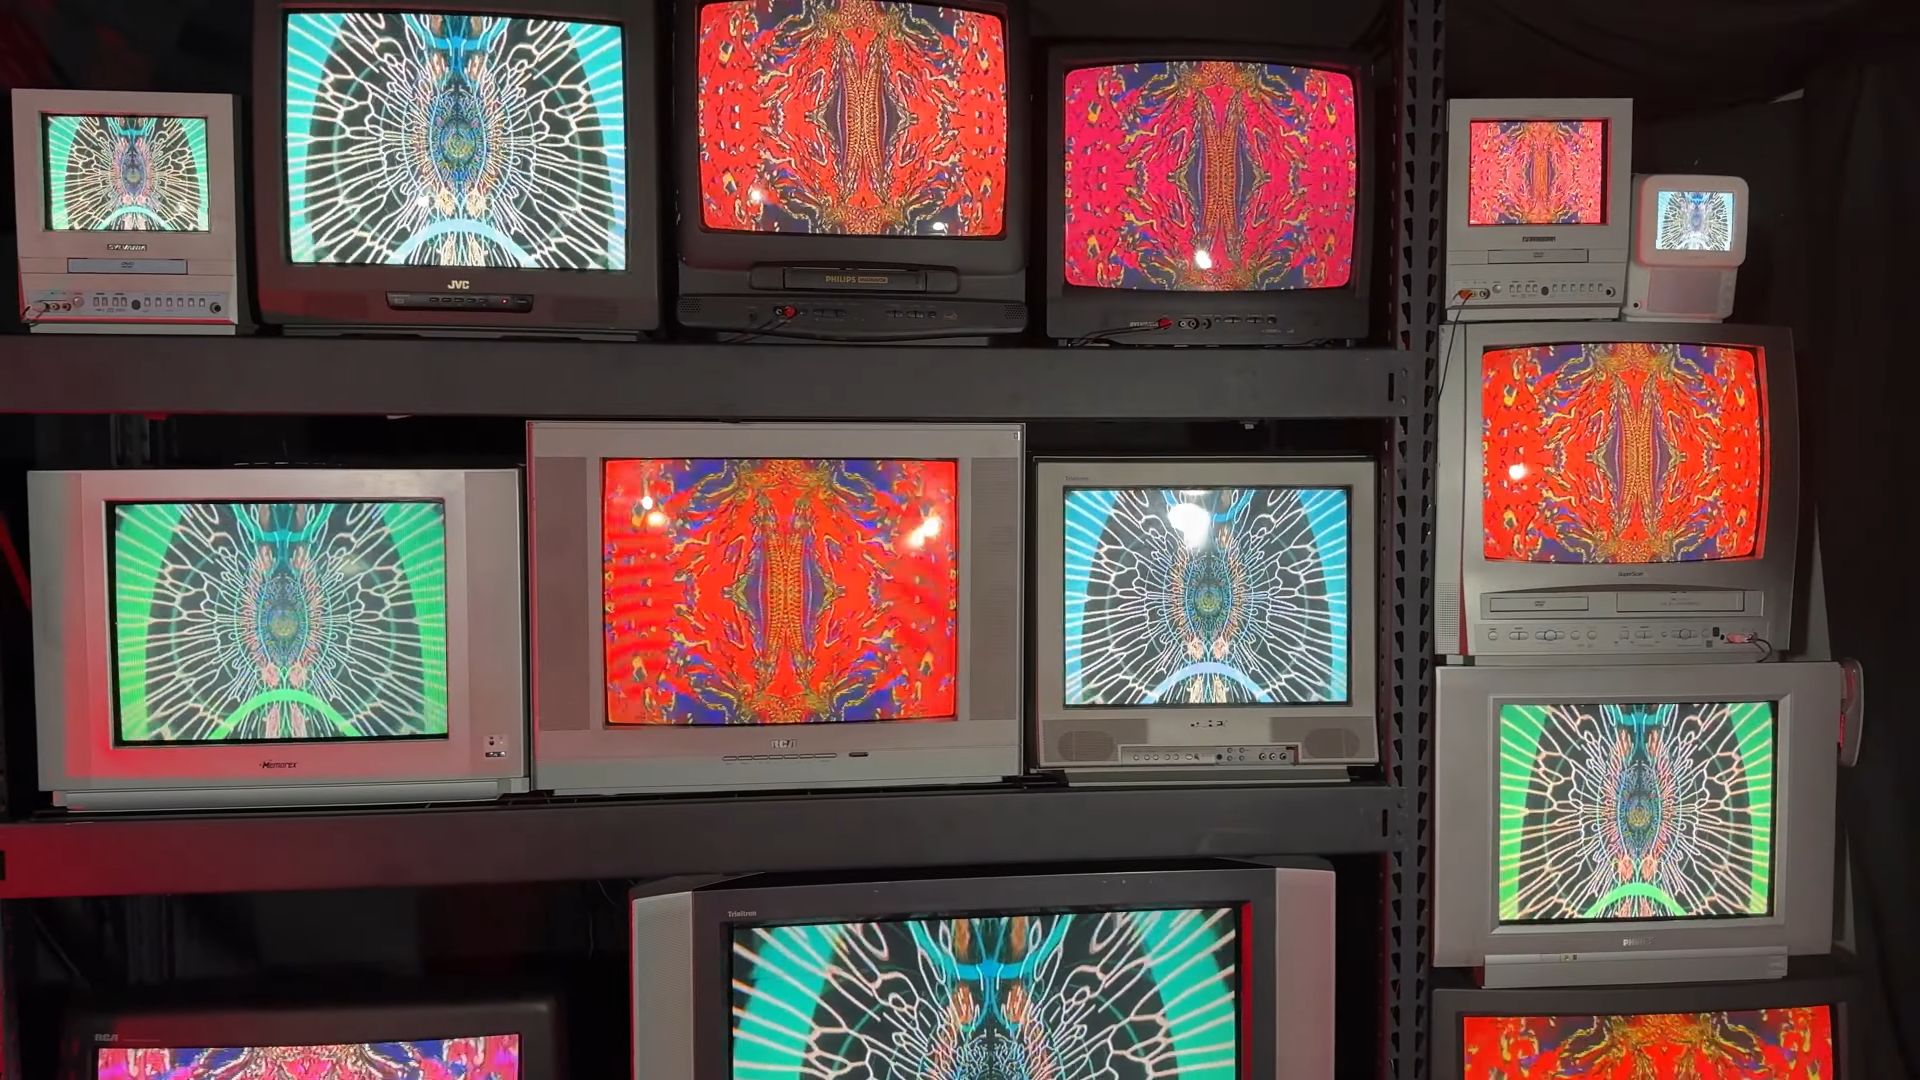
While almost any CRT can work in your TV wall, some models are better suited for the job. The JVC television is my ideal pick, and here’s why:
Preferred TV Features 1:15
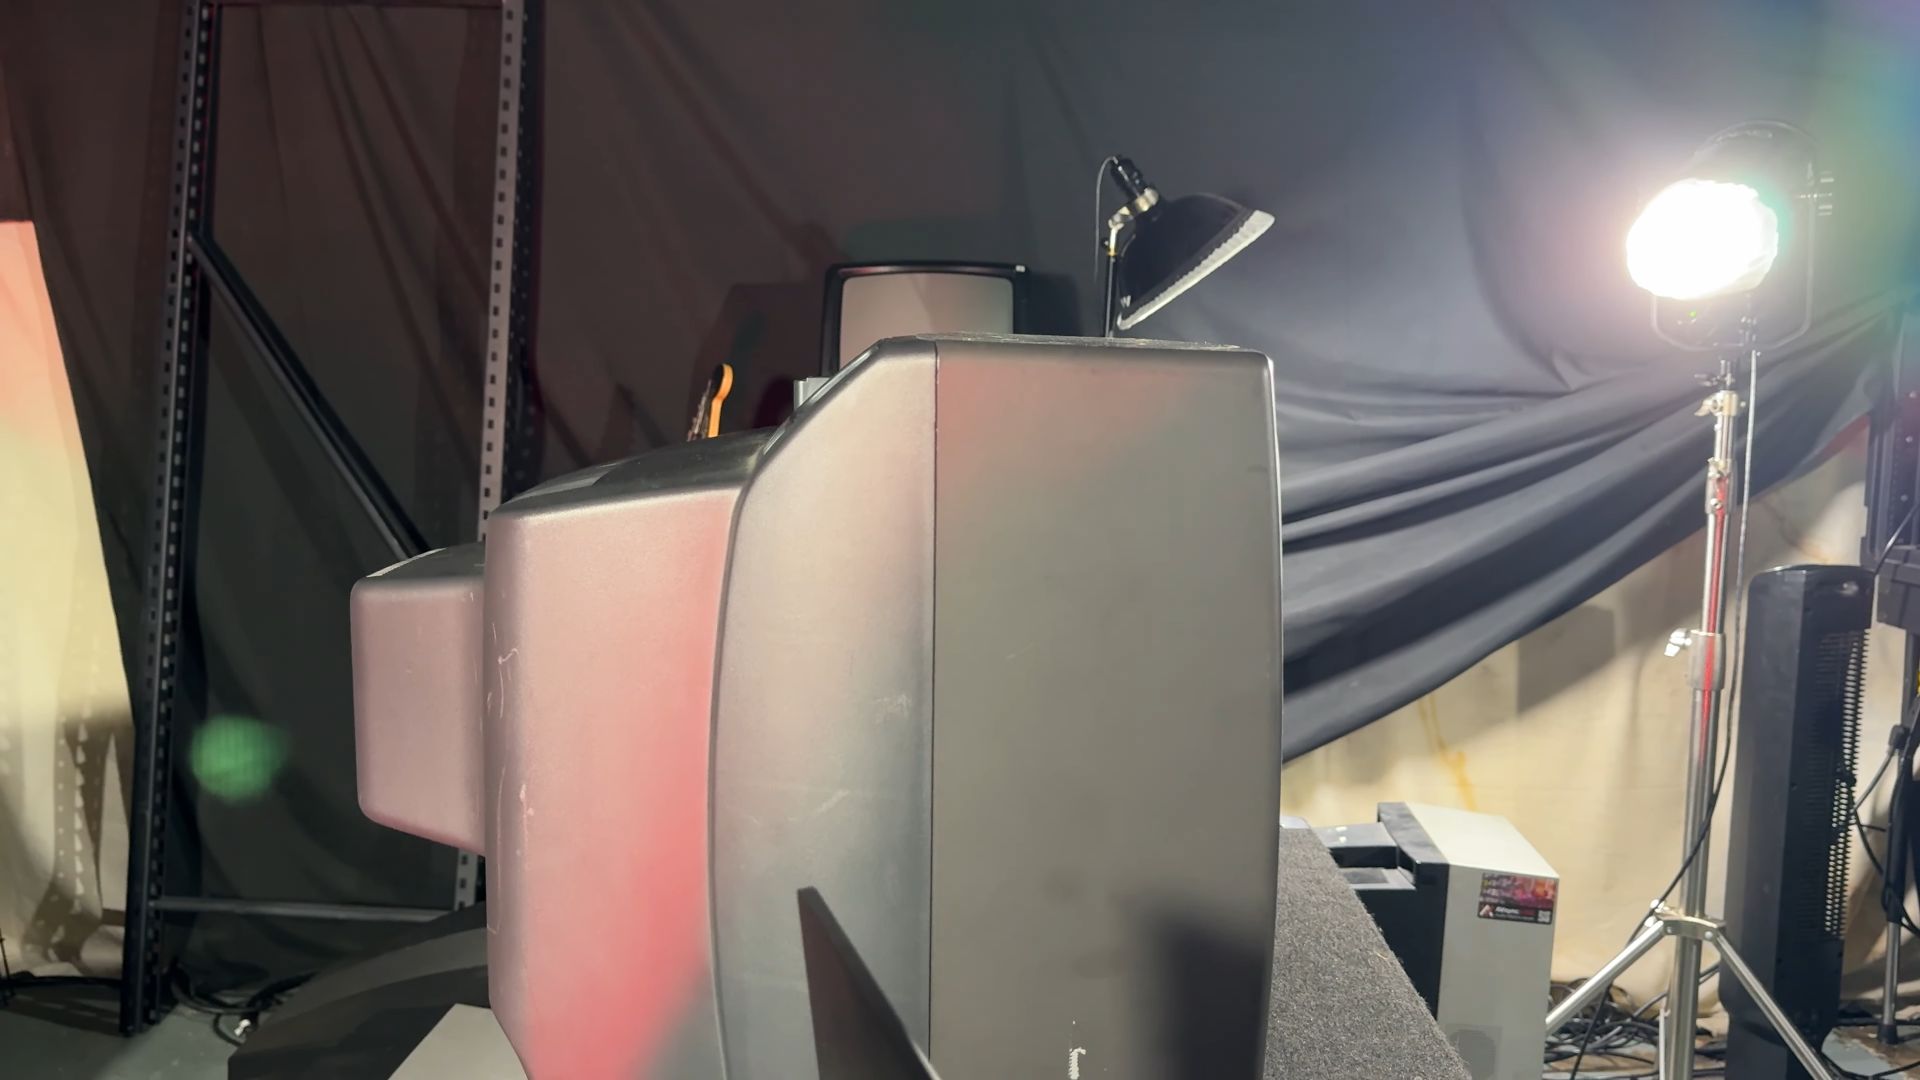
The JVC TV has minimal extra space at the bottom, making it more square and providing more glass surface area when lit up. In contrast, some TVs, like the one with a large bottom part and built-in DVD and VHS players, have less usable screen space. Note that VHS players on older TVs often don’t work or break easily, and DVD players can also have issues.
Composite Video Input 2:24
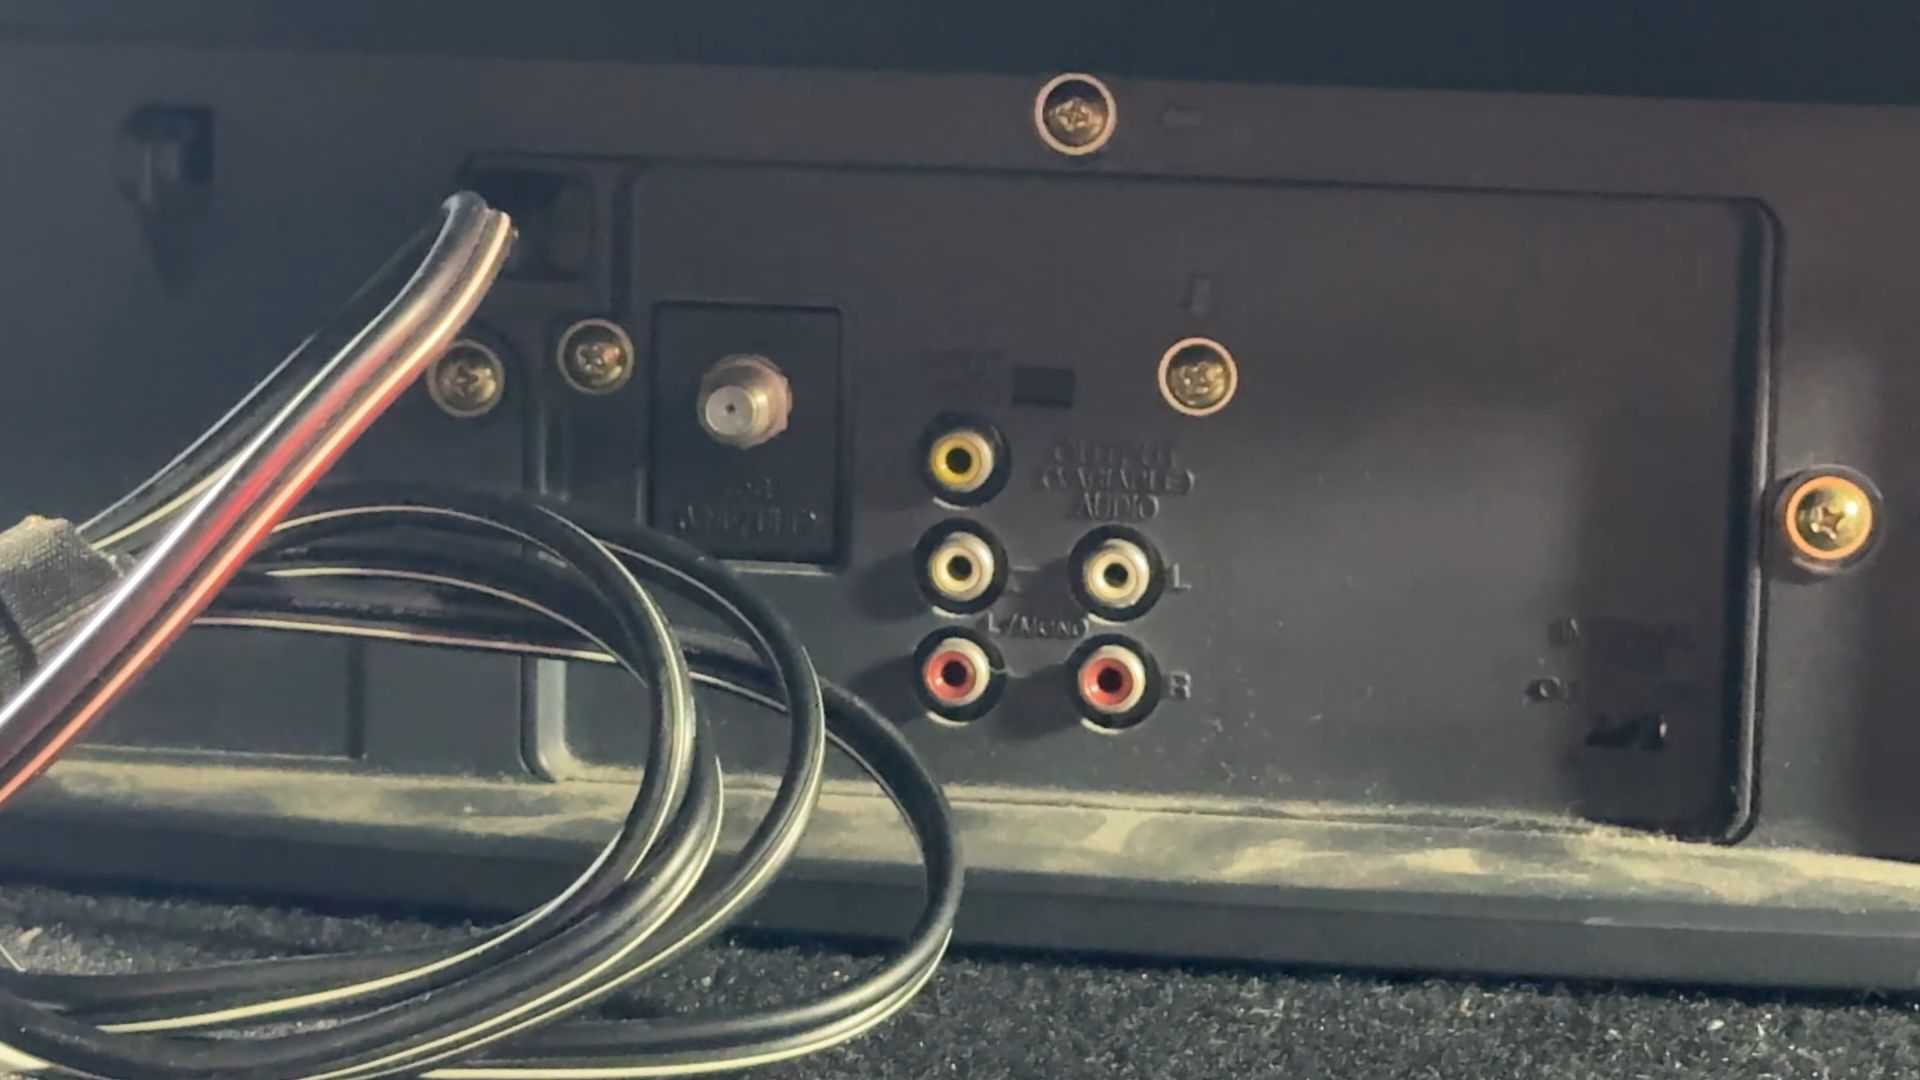
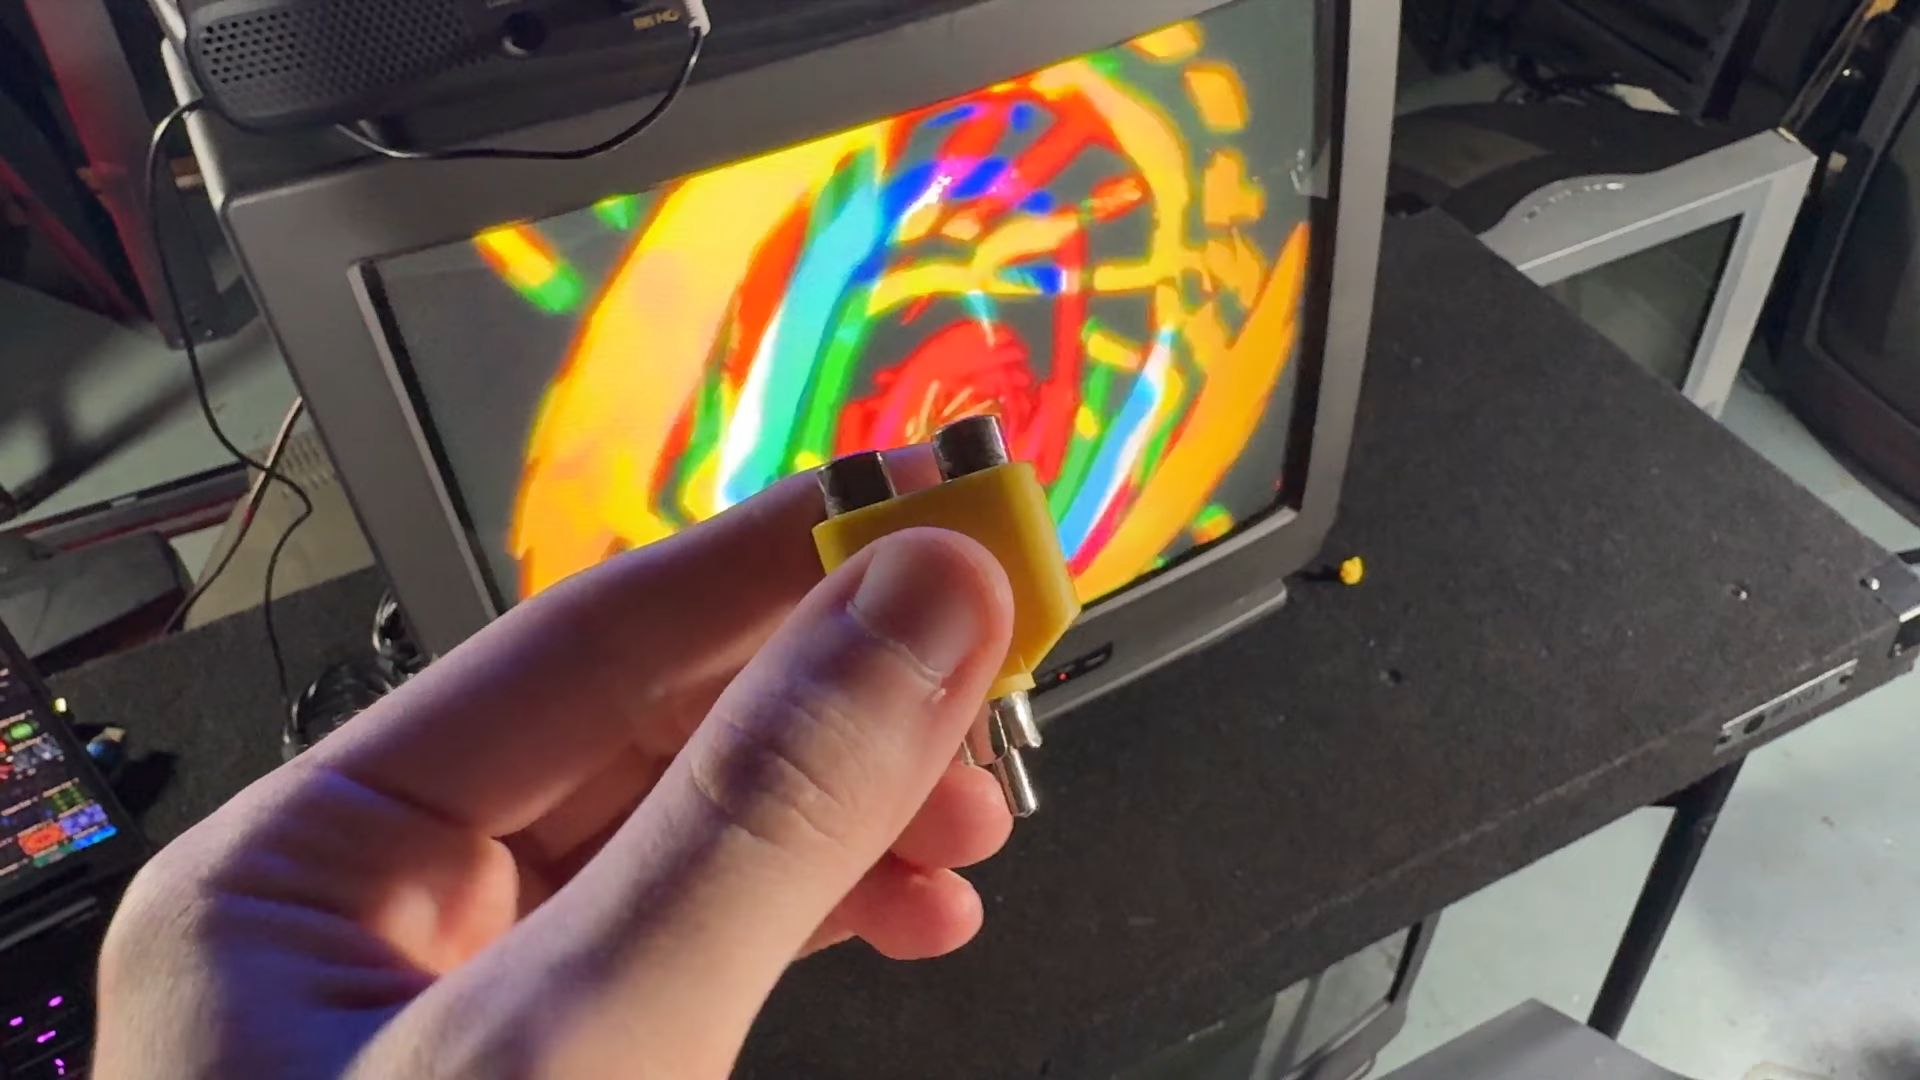
Another reason the JVC TV is ideal is its rear composite video input (the yellow one). This setup avoids front-facing cables, giving a cleaner appearance. Most TVs have coaxial inputs for UHF and VHF analog stations, but composite inputs provide more stability and slightly higher video quality than RF.
Connecting Modern Digital Outputs to CRT TVs 3:04
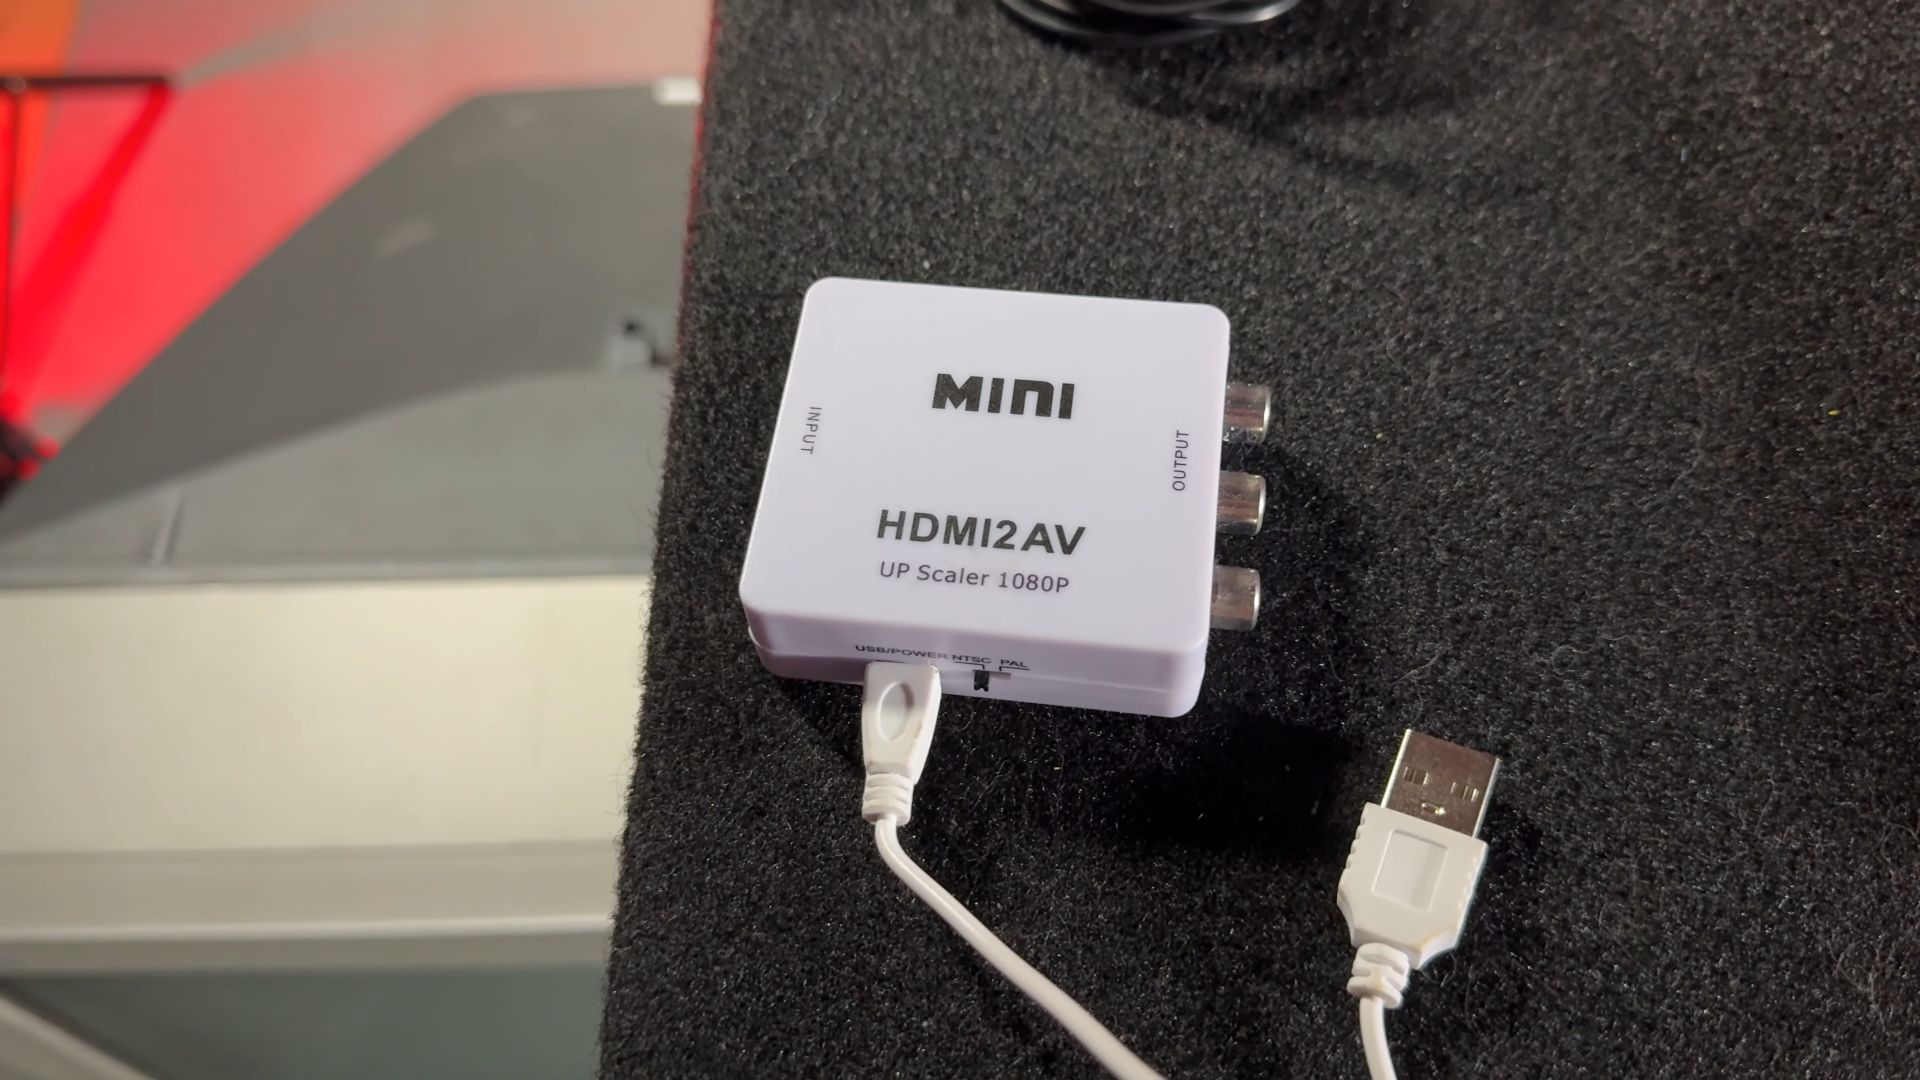
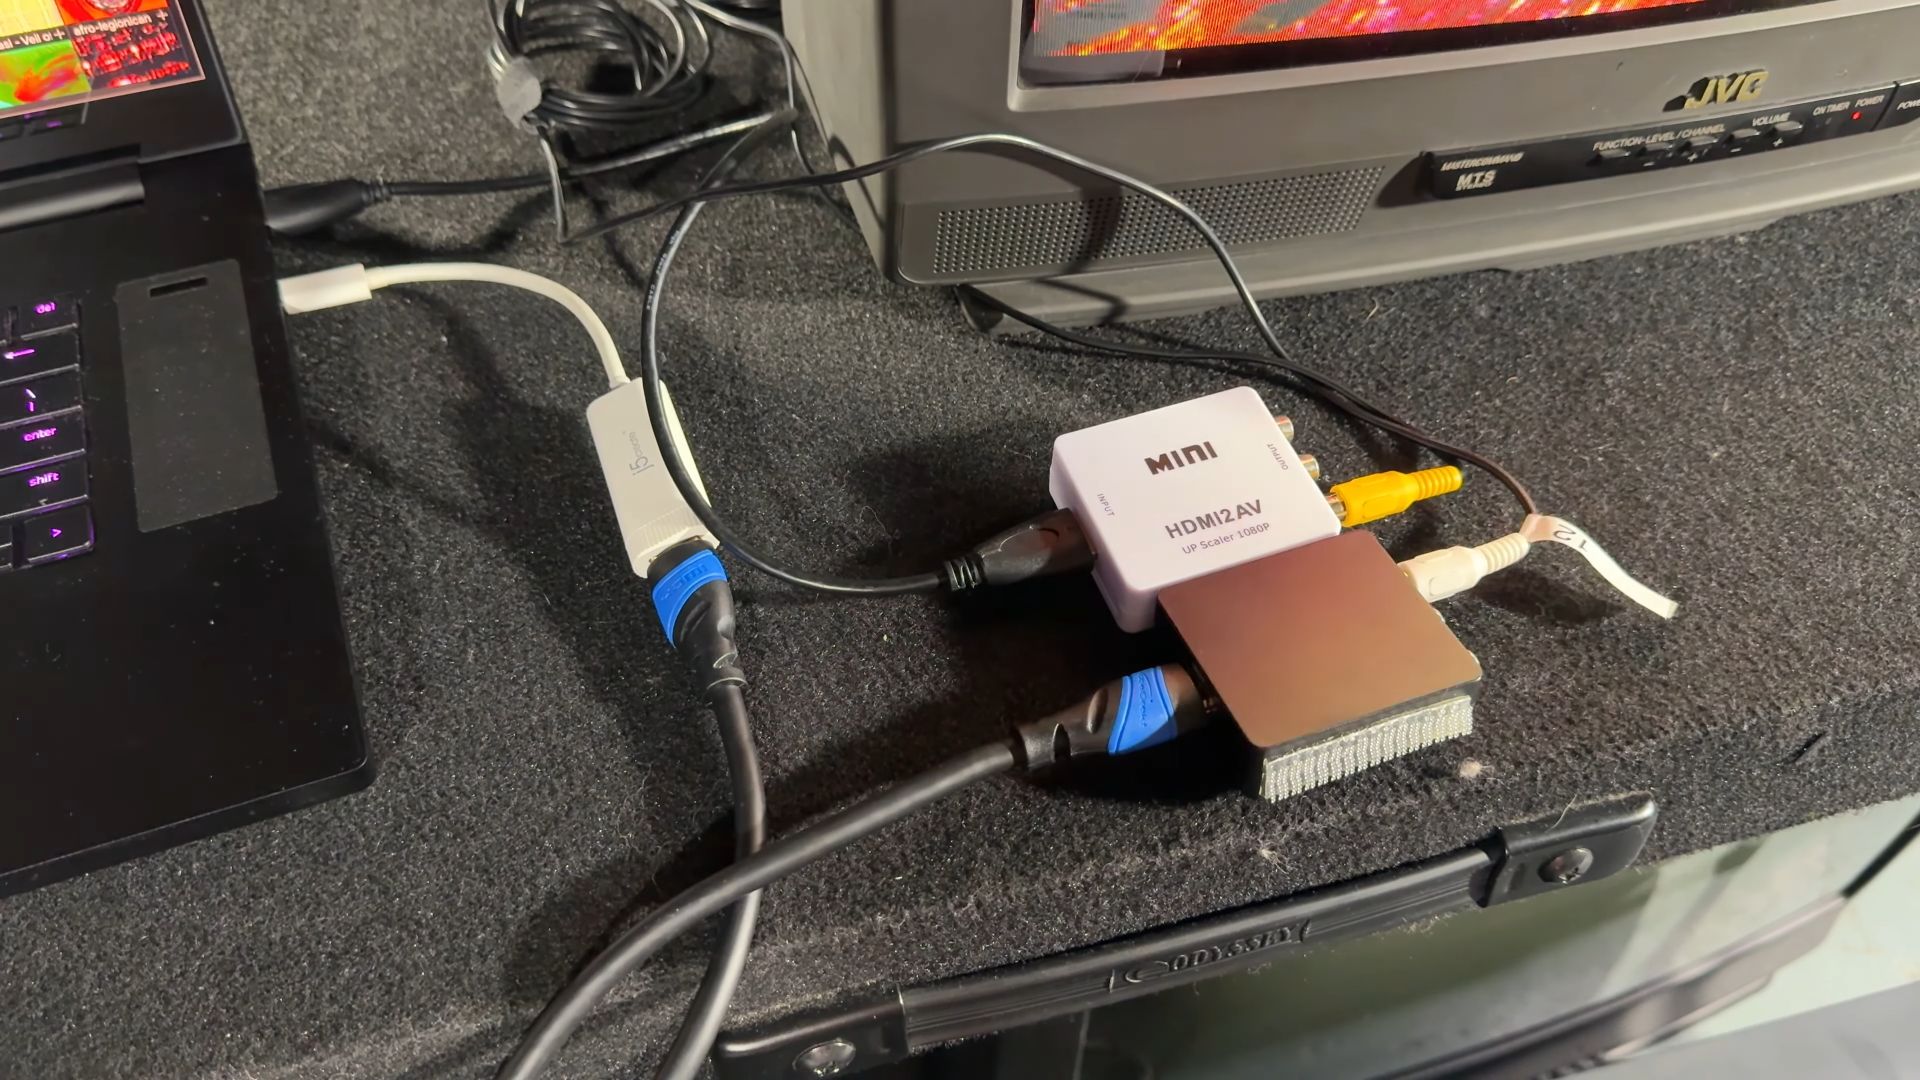
Modern laptops typically lack composite outputs, so you’ll need a converter to use HDMI with older TVs. These converters, available on Amazon for under $10 or AliExpress for around $2-5, have HDMI input on one side and composite and stereo RCA audio output on the other.
Setting Up the Converter 3:37
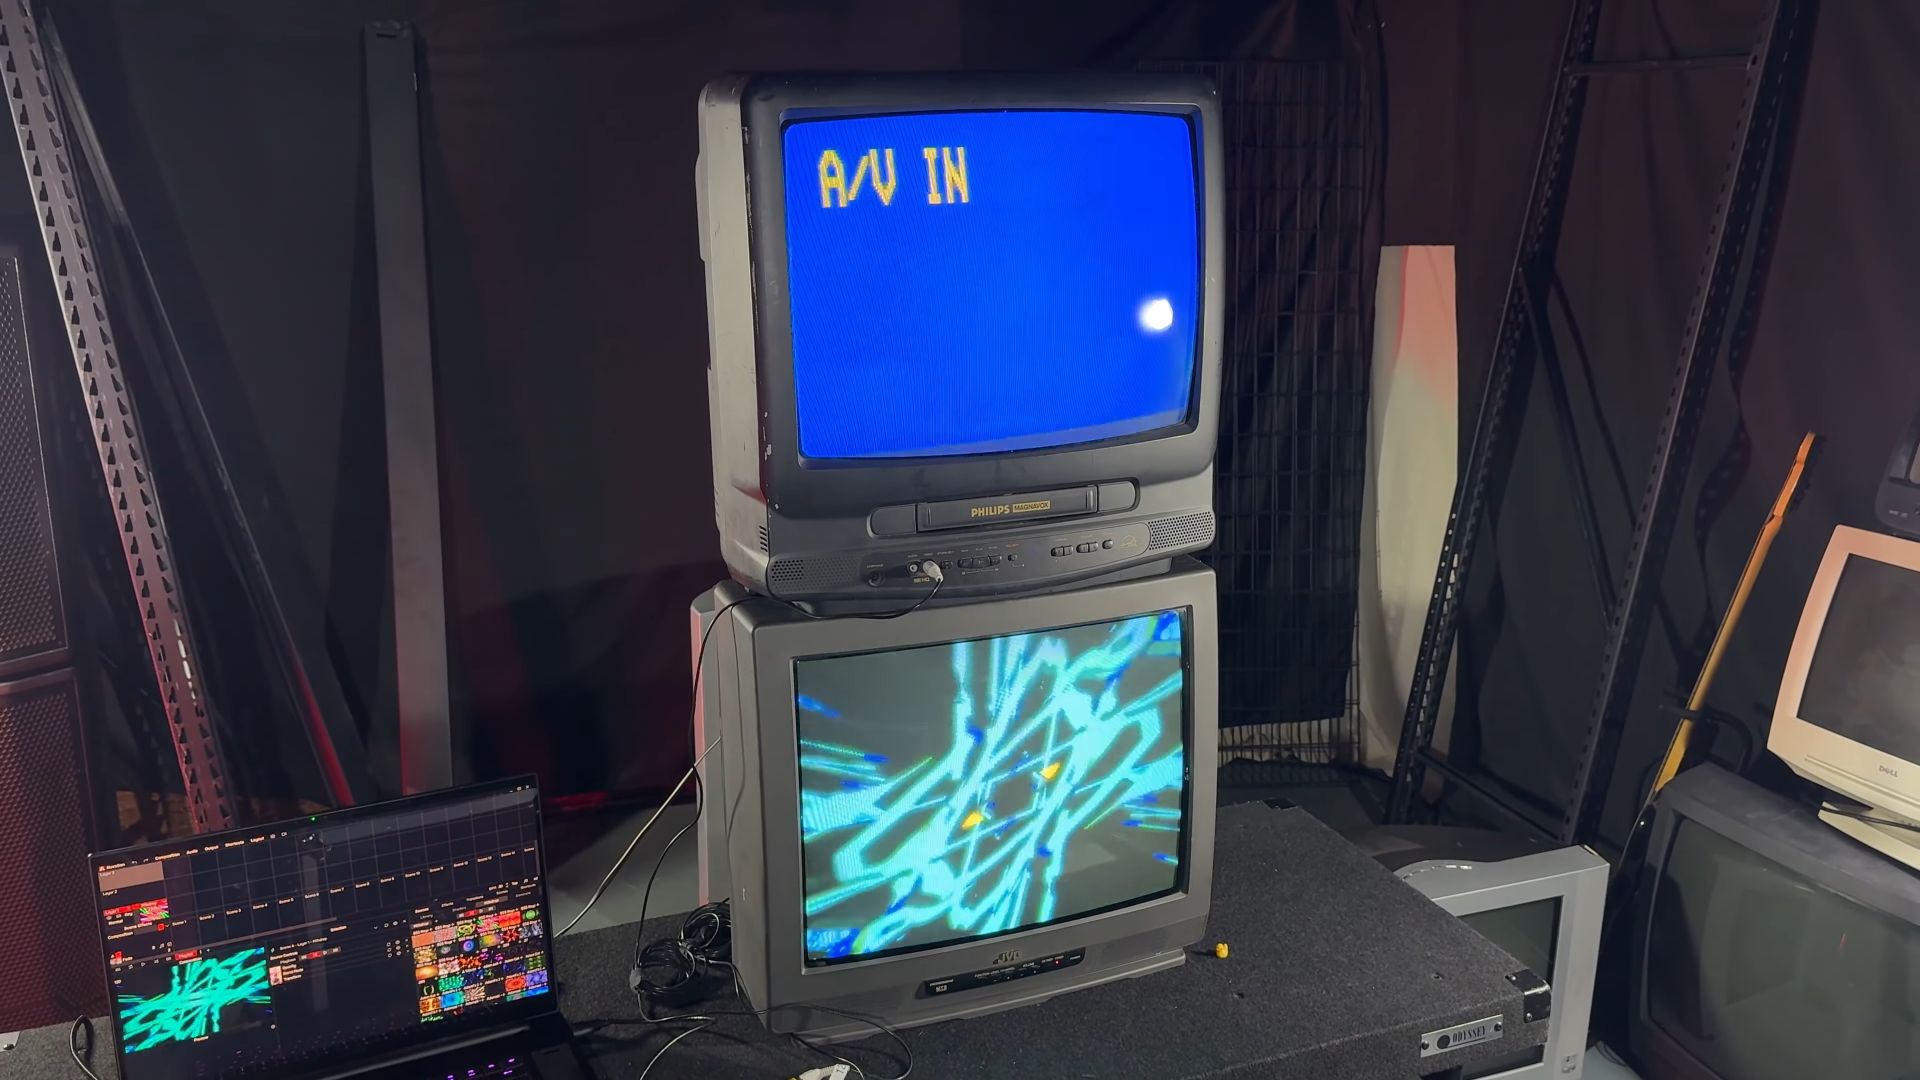
Turn on the TV: Ensure it displays "video" to confirm it's on the composite input.
Plug in the Converter: Connect the converter to your computer’s HDMI port and the TV’s composite output.
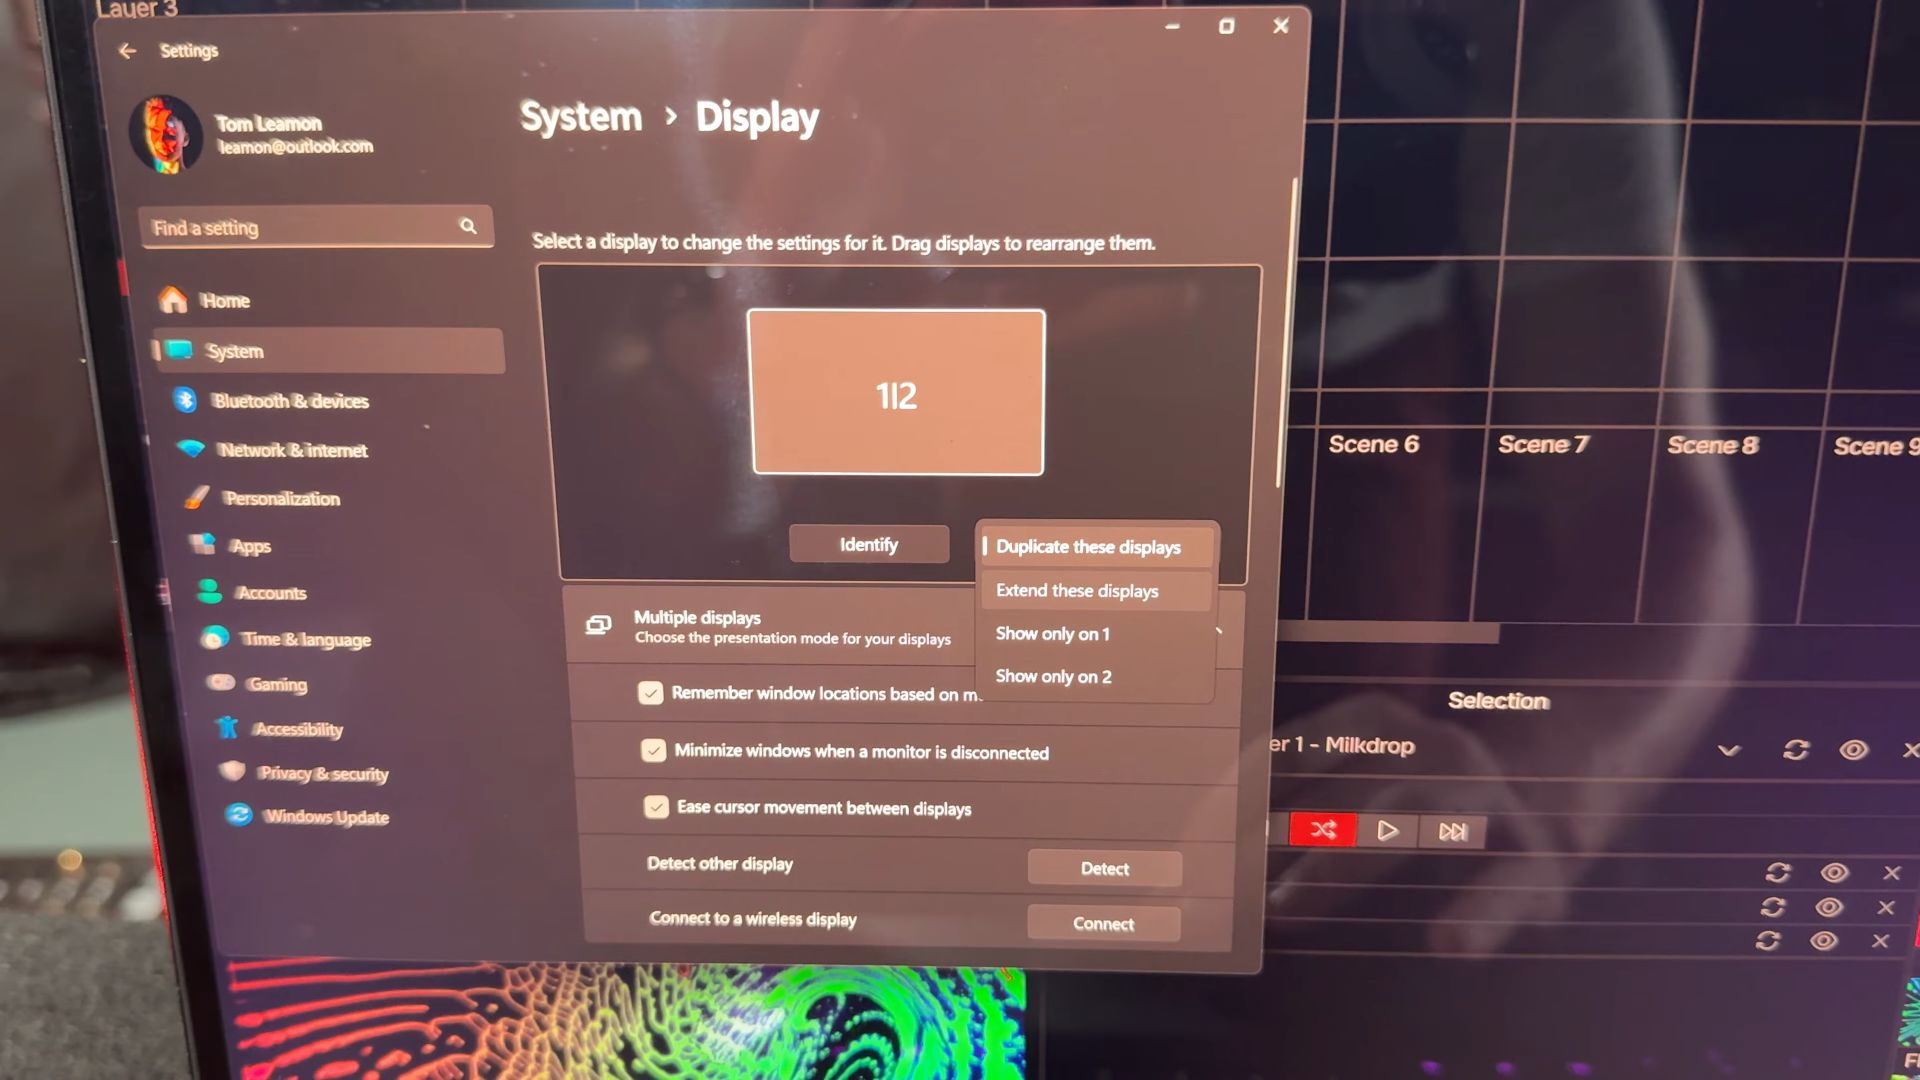
Adjust Display Settings: If your screen is mirrored, go to your system display settings on Windows and select "Extend these displays."
Now, let’s send some video to the TV.
Sending Video to CRT TVs 5:13
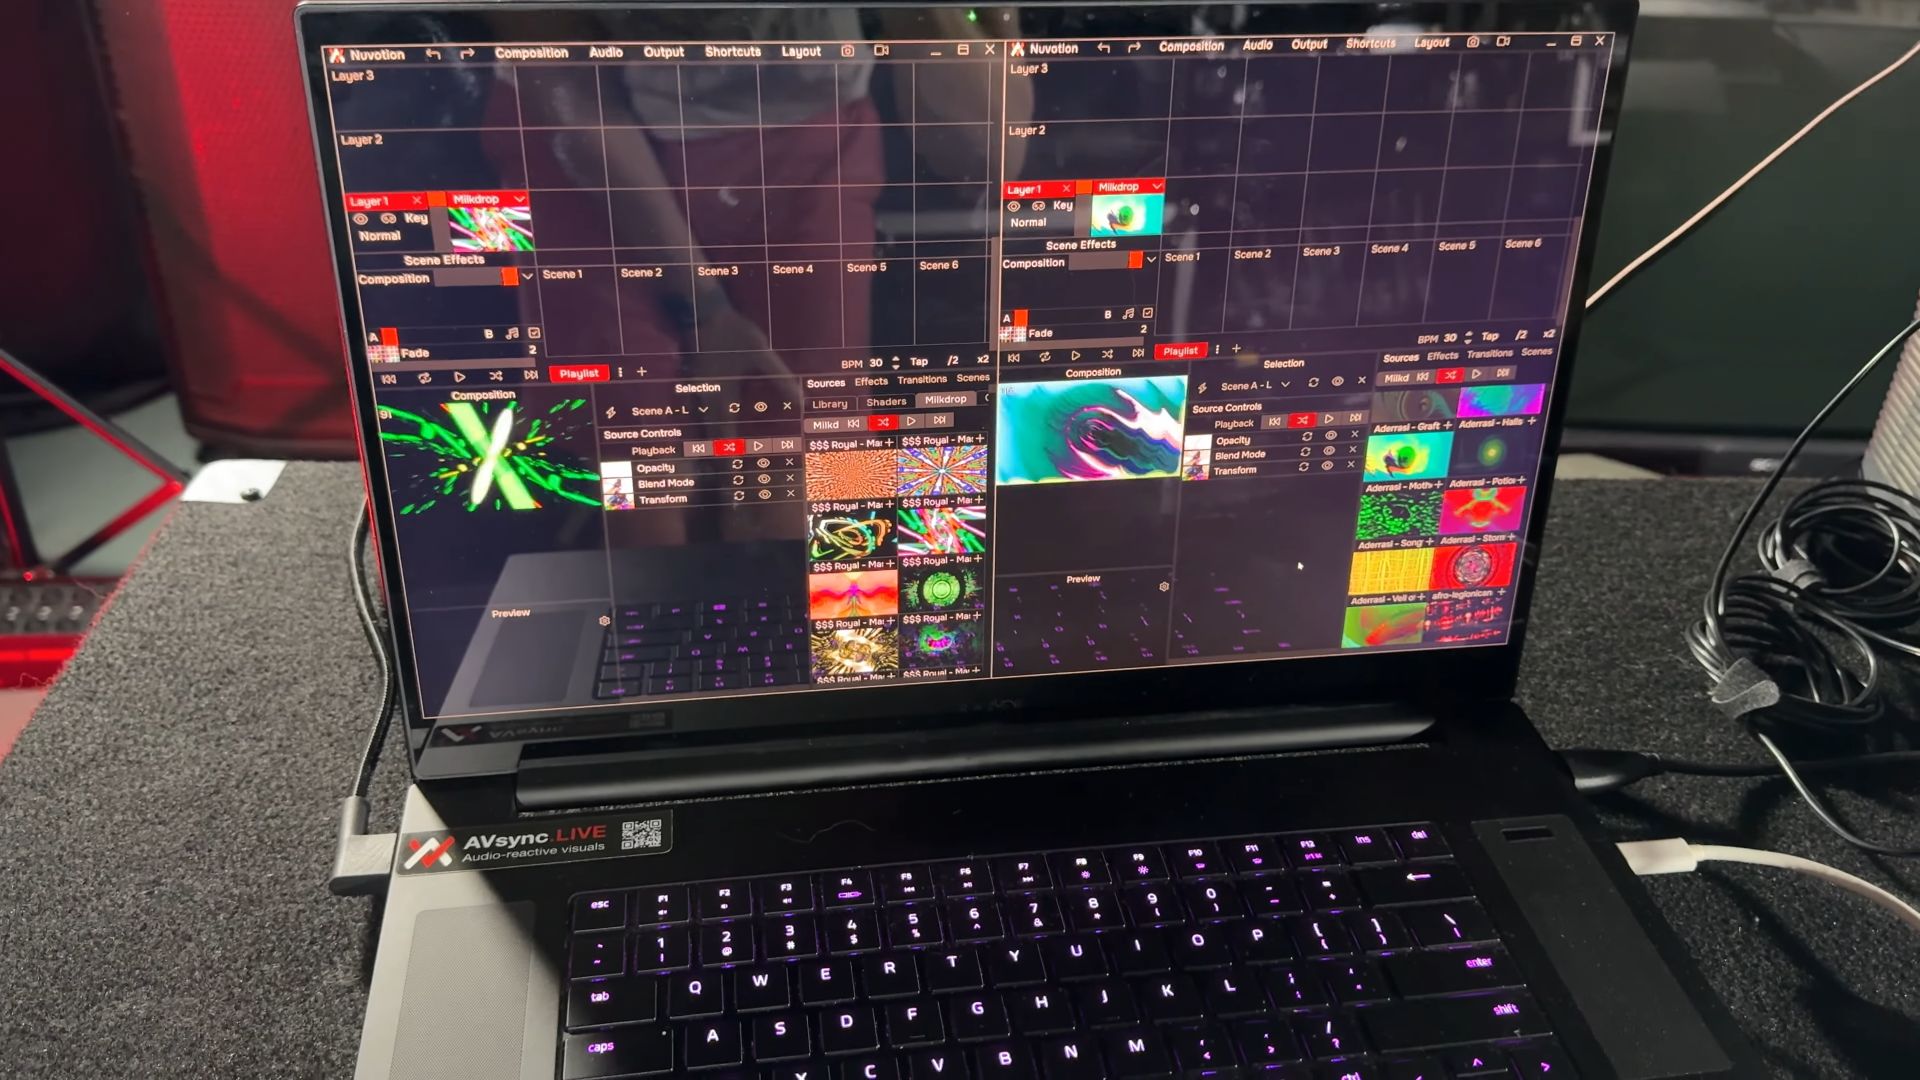
There are many ways to send video from your computer. I use my software, Nuvotion:
Output Settings: In Nuvotion, go to the output settings and select "MACROSILICON," identified in the display properties.
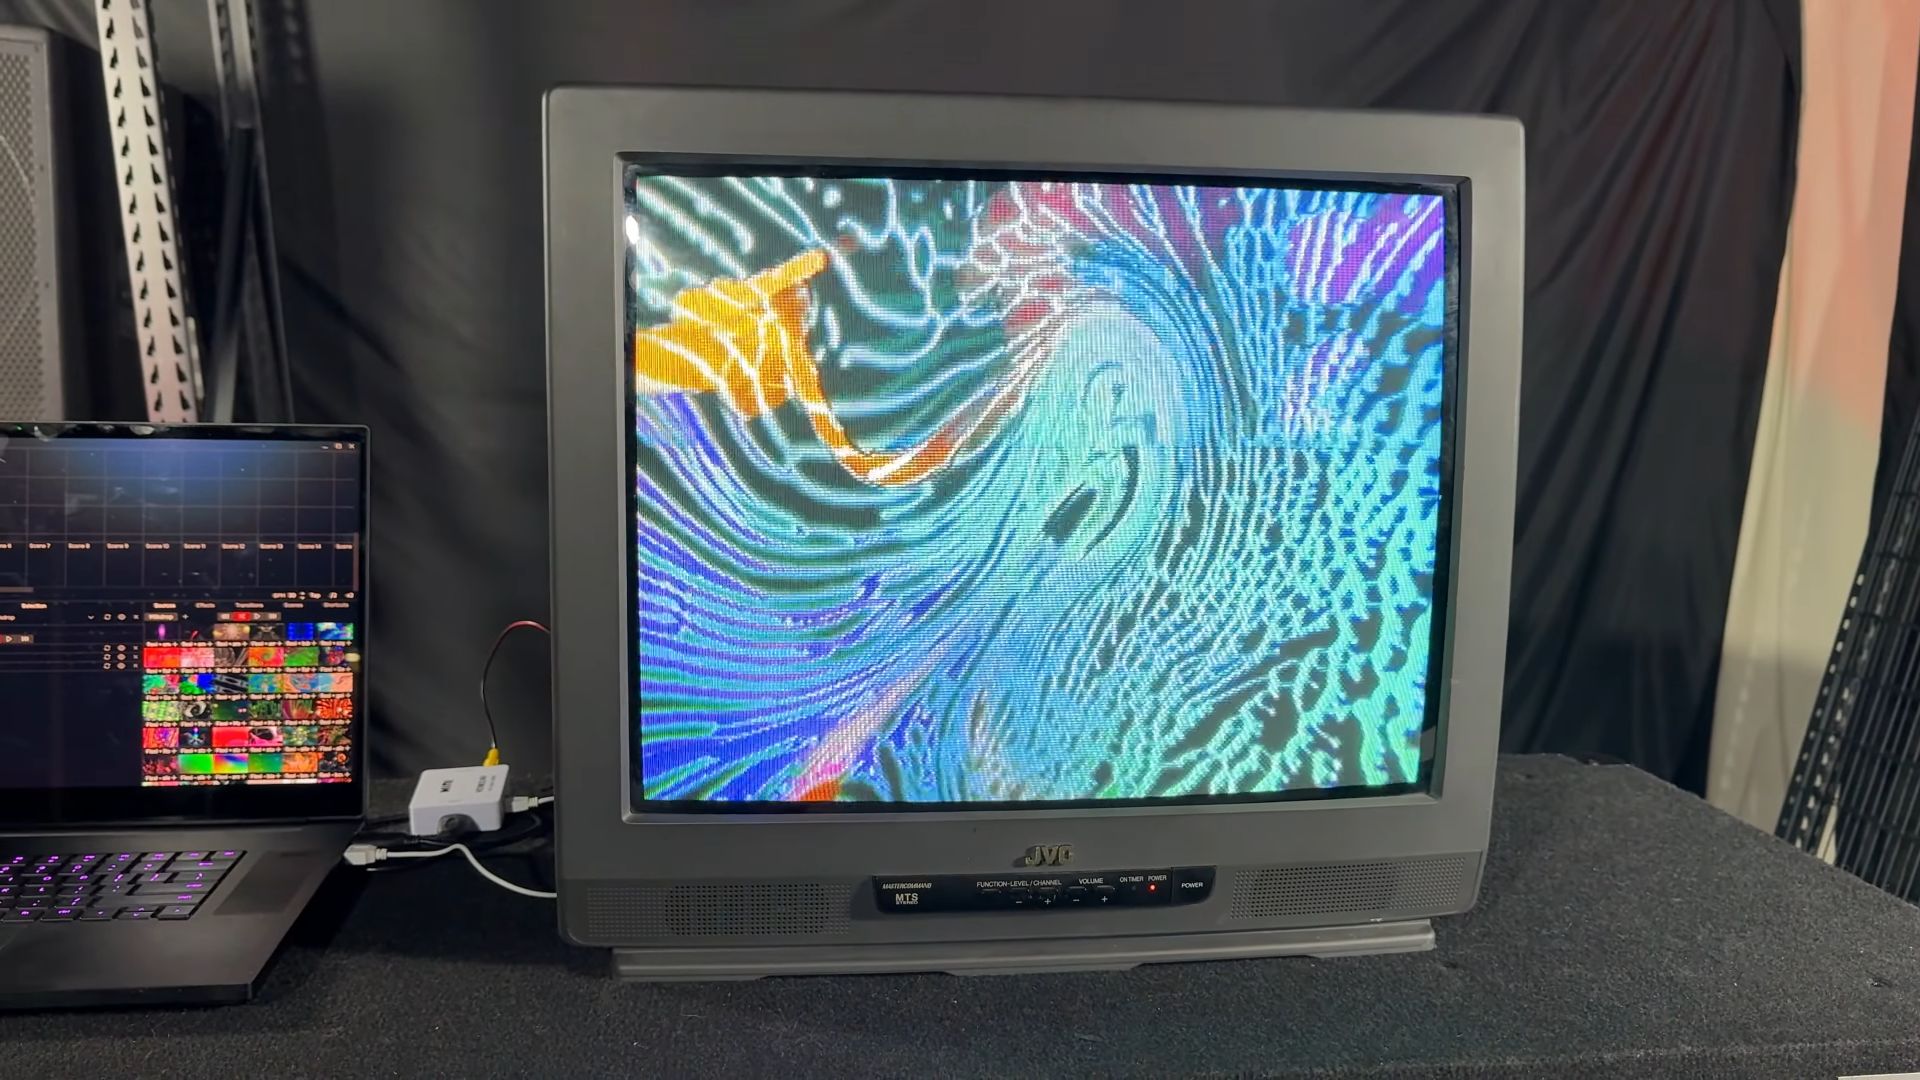
Click to Output: Click to output, and the visuals from Nuvotion should display on your CRT.
Powering the Converter 5:39
These converters typically come with a mini USB power cable, but it’s not always necessary. The converter can get power from the HDMI bus. You can unplug the power cable, and it should still work. The power cord can help with signal stability over long HDMI runs, but it’s generally optional.
Enhancing the Analog Experience with Glitch Gear 5:42
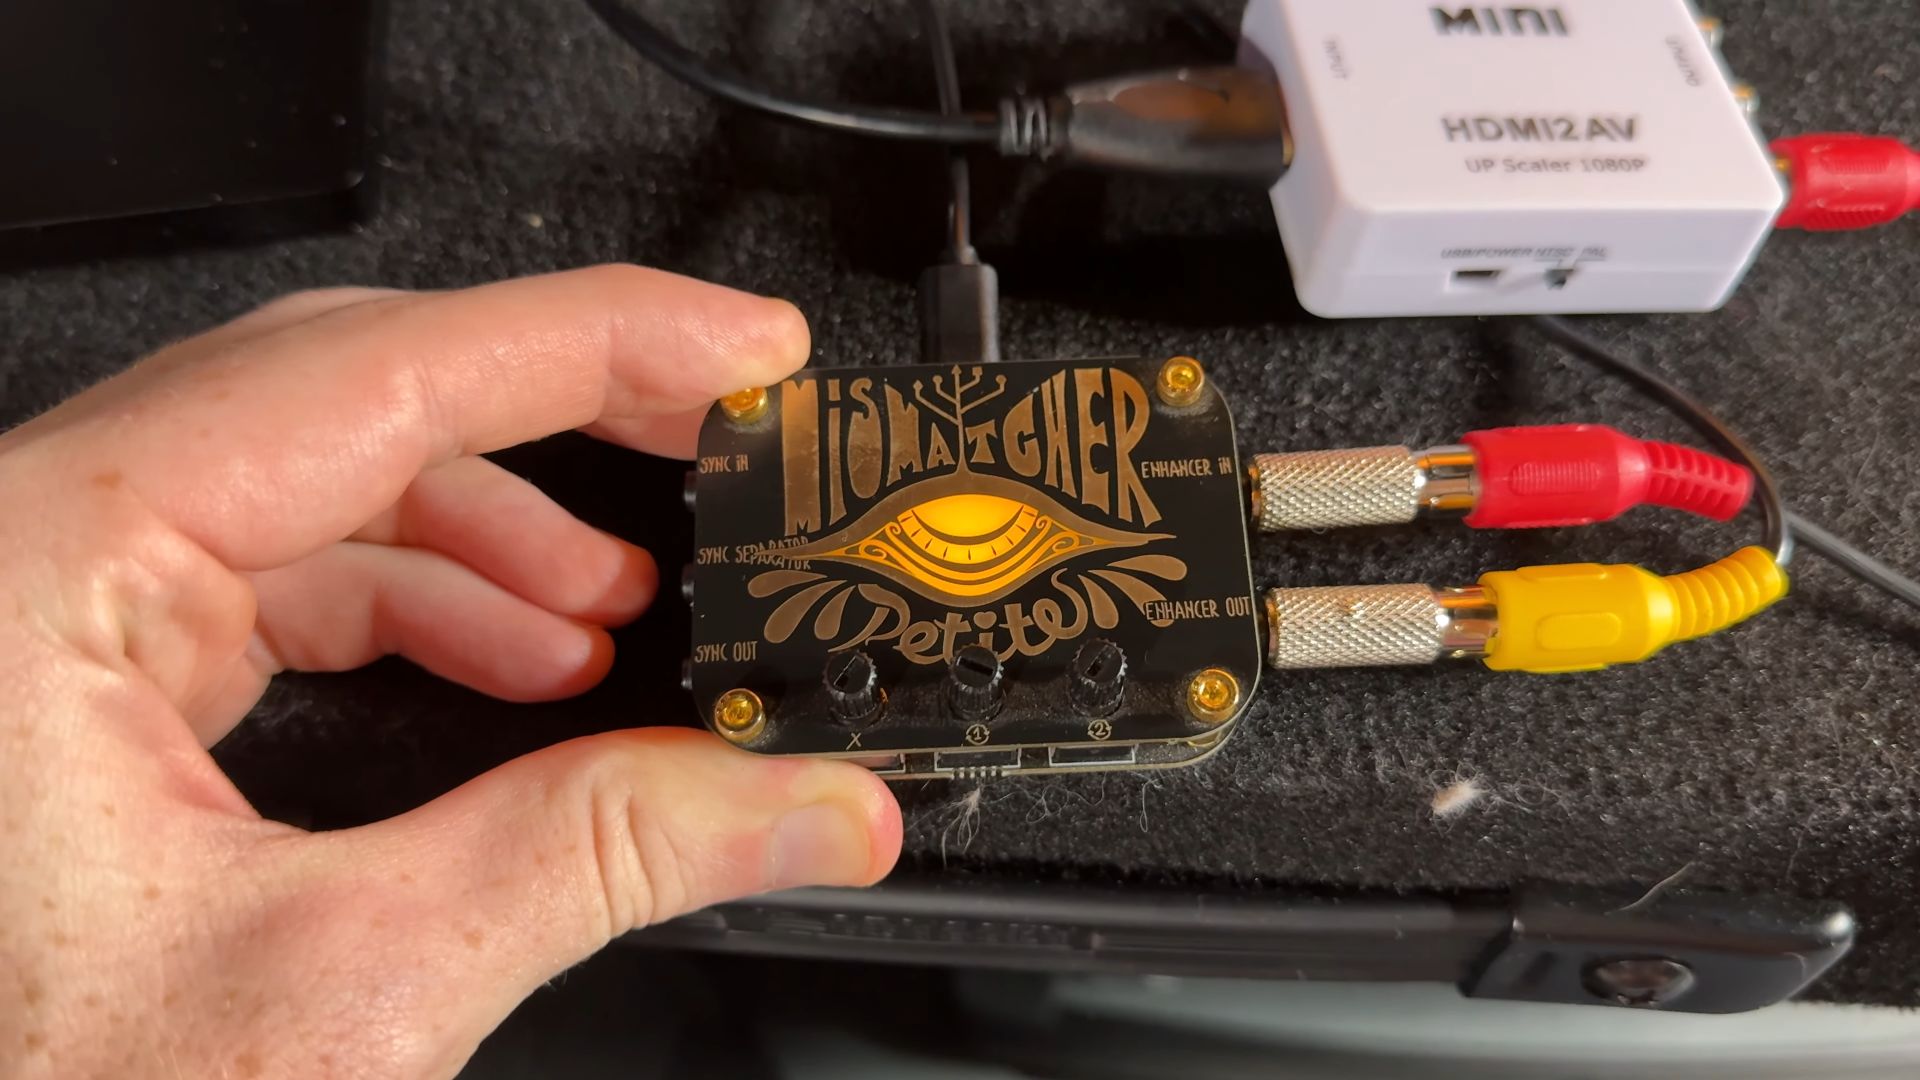
I want to introduce you to glitch gear, specifically the Mismatch Petite by Freedom Enterprises in Portugal. Shops worldwide create this type of gear, which can add unique visual effects to your setup.
Using the Enhancer 6:00
The enhancer has knobs to glitch out the image. Turning one knob destabilizes it, while the other adjusts the texture. Corrupting the composite sync signal can cause cutouts, but there are ways to prevent this, which I’ll cover in a future guide. For now, focus on the cool textures you can achieve with this gear.
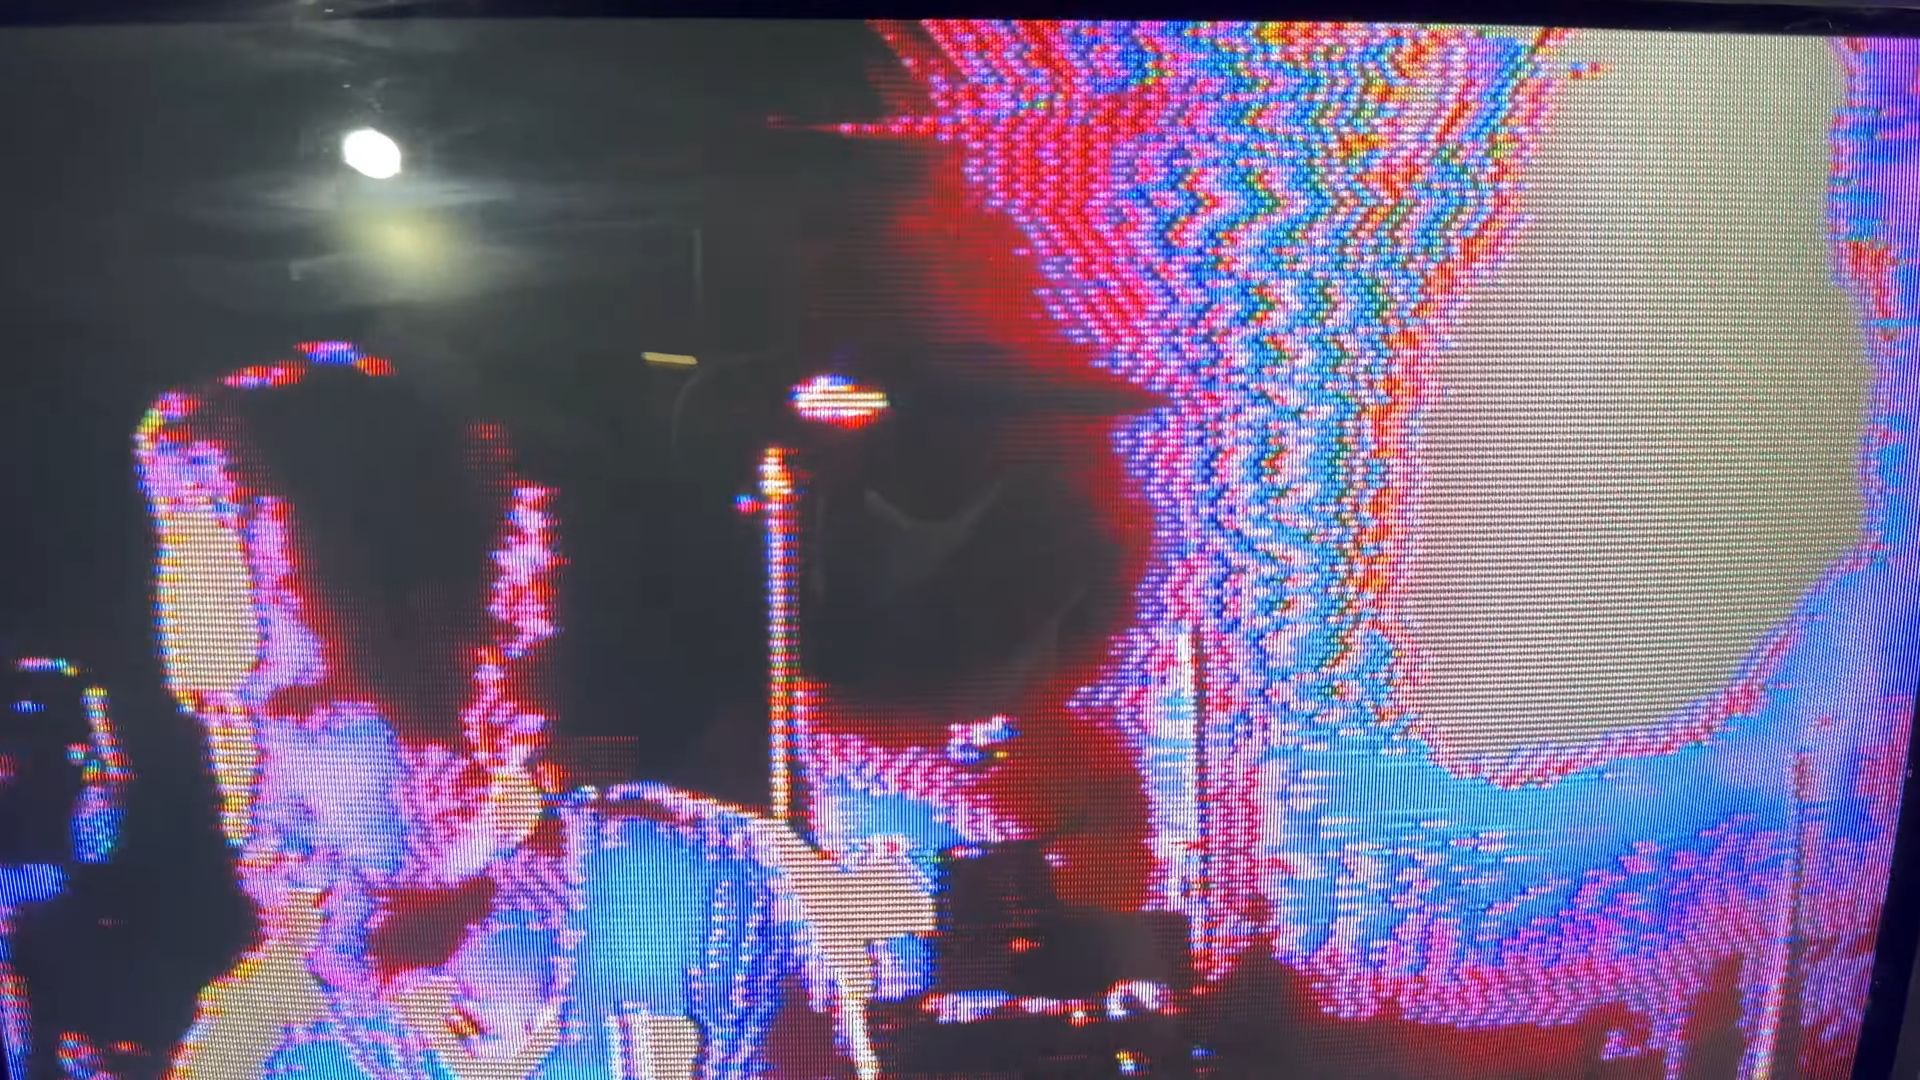
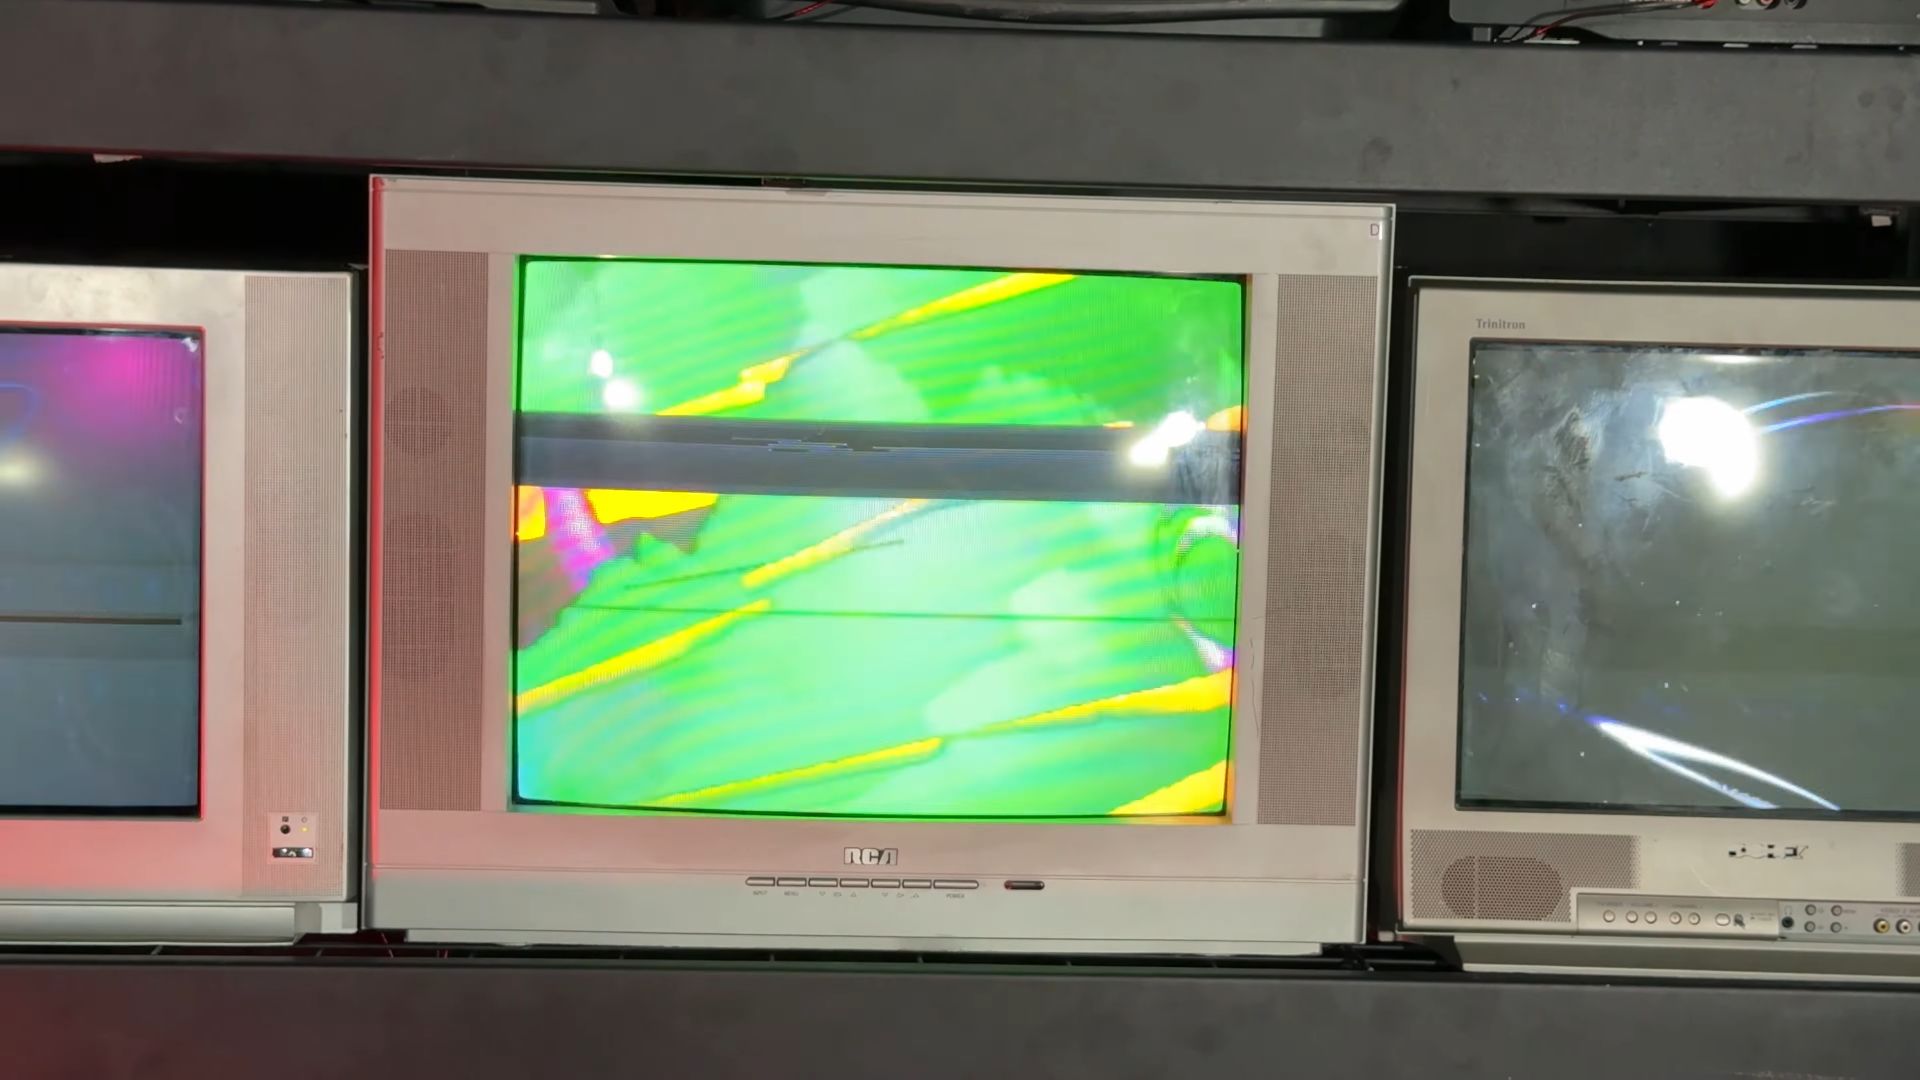
Unique Textures with Analog Video 6:40
Analog video and CRTs offer unique textures by passing the signal through specialized circuitry, creating interesting glitch effects that play well with the screen's phosphor patterns.
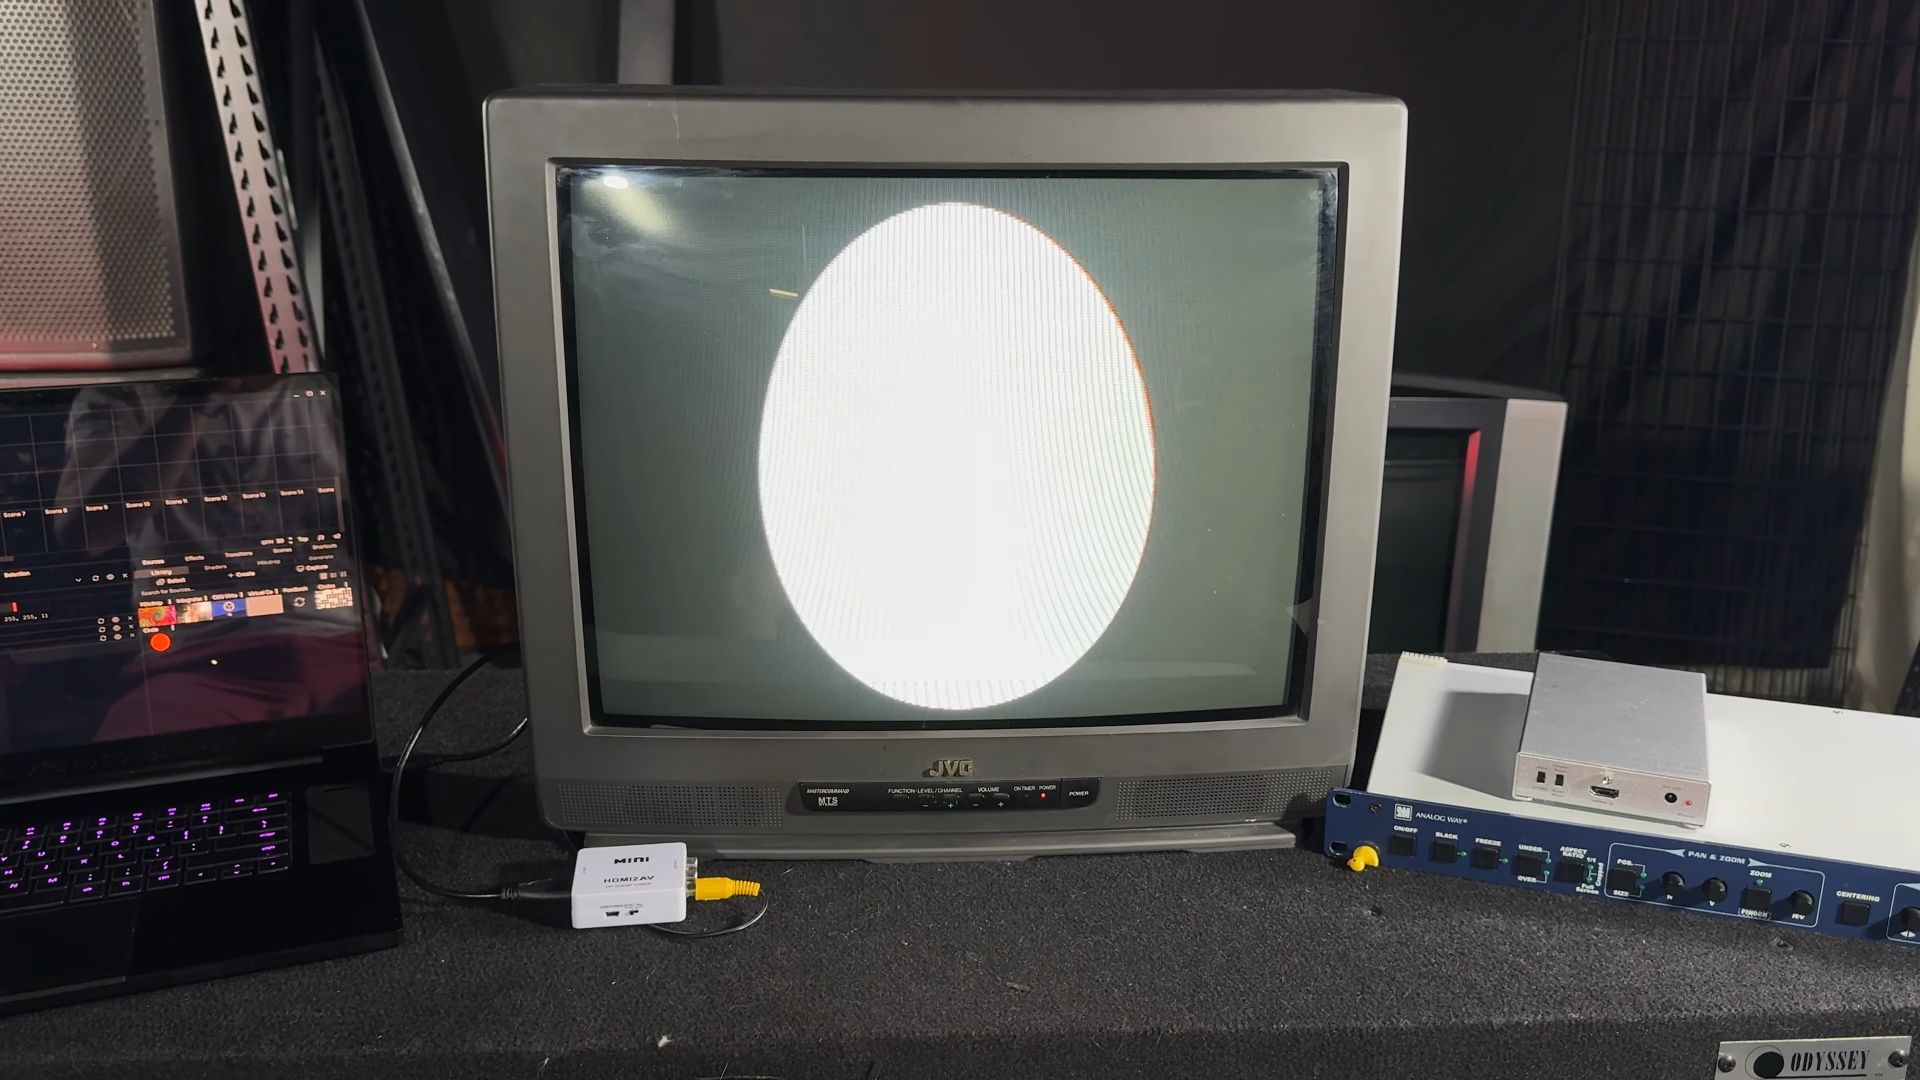
Addressing Aspect Ratio Issues 7:06
Back to the clean signal, you might notice the circle is squeezed compared to the digital source. This happens because these cheap converters take a 16:9 input and convert it to 4:3, causing the widescreen content to be squeezed. Unfortunately, there’s no setting to adjust this during conversion.
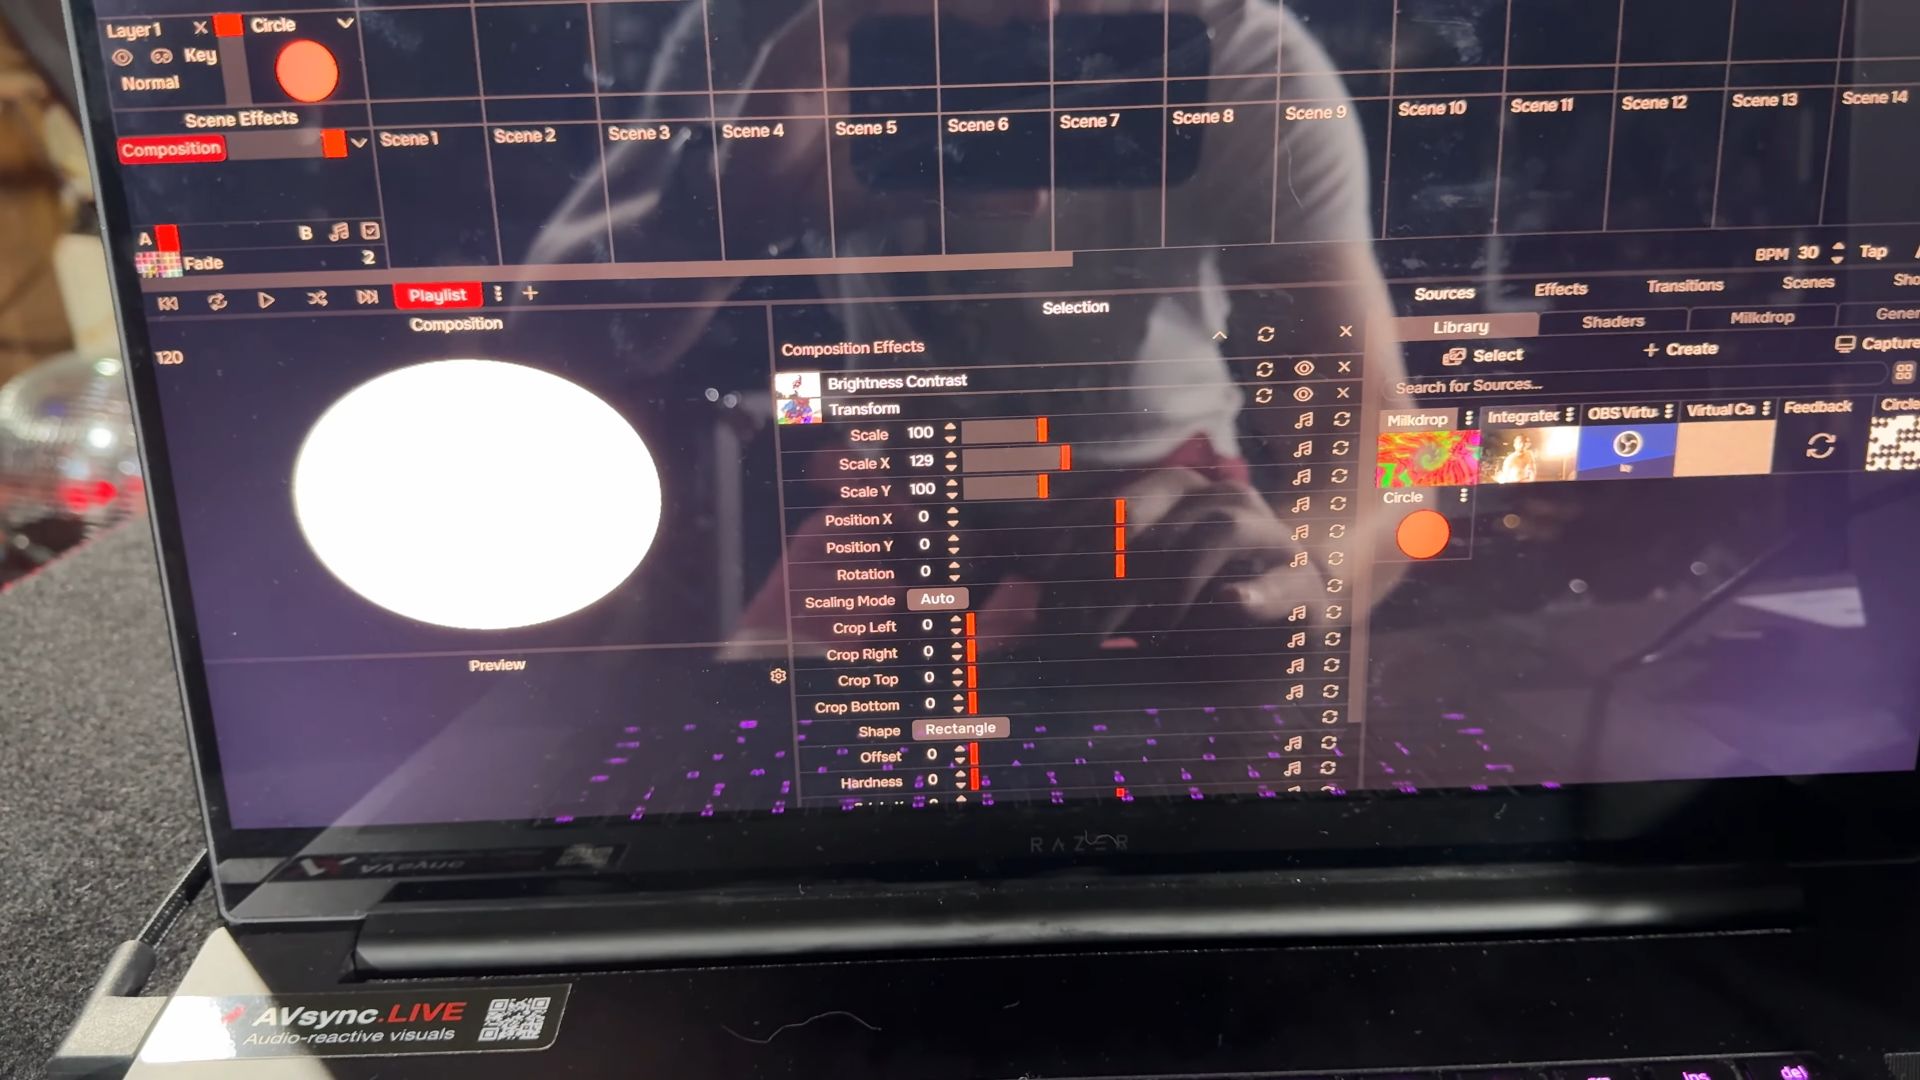
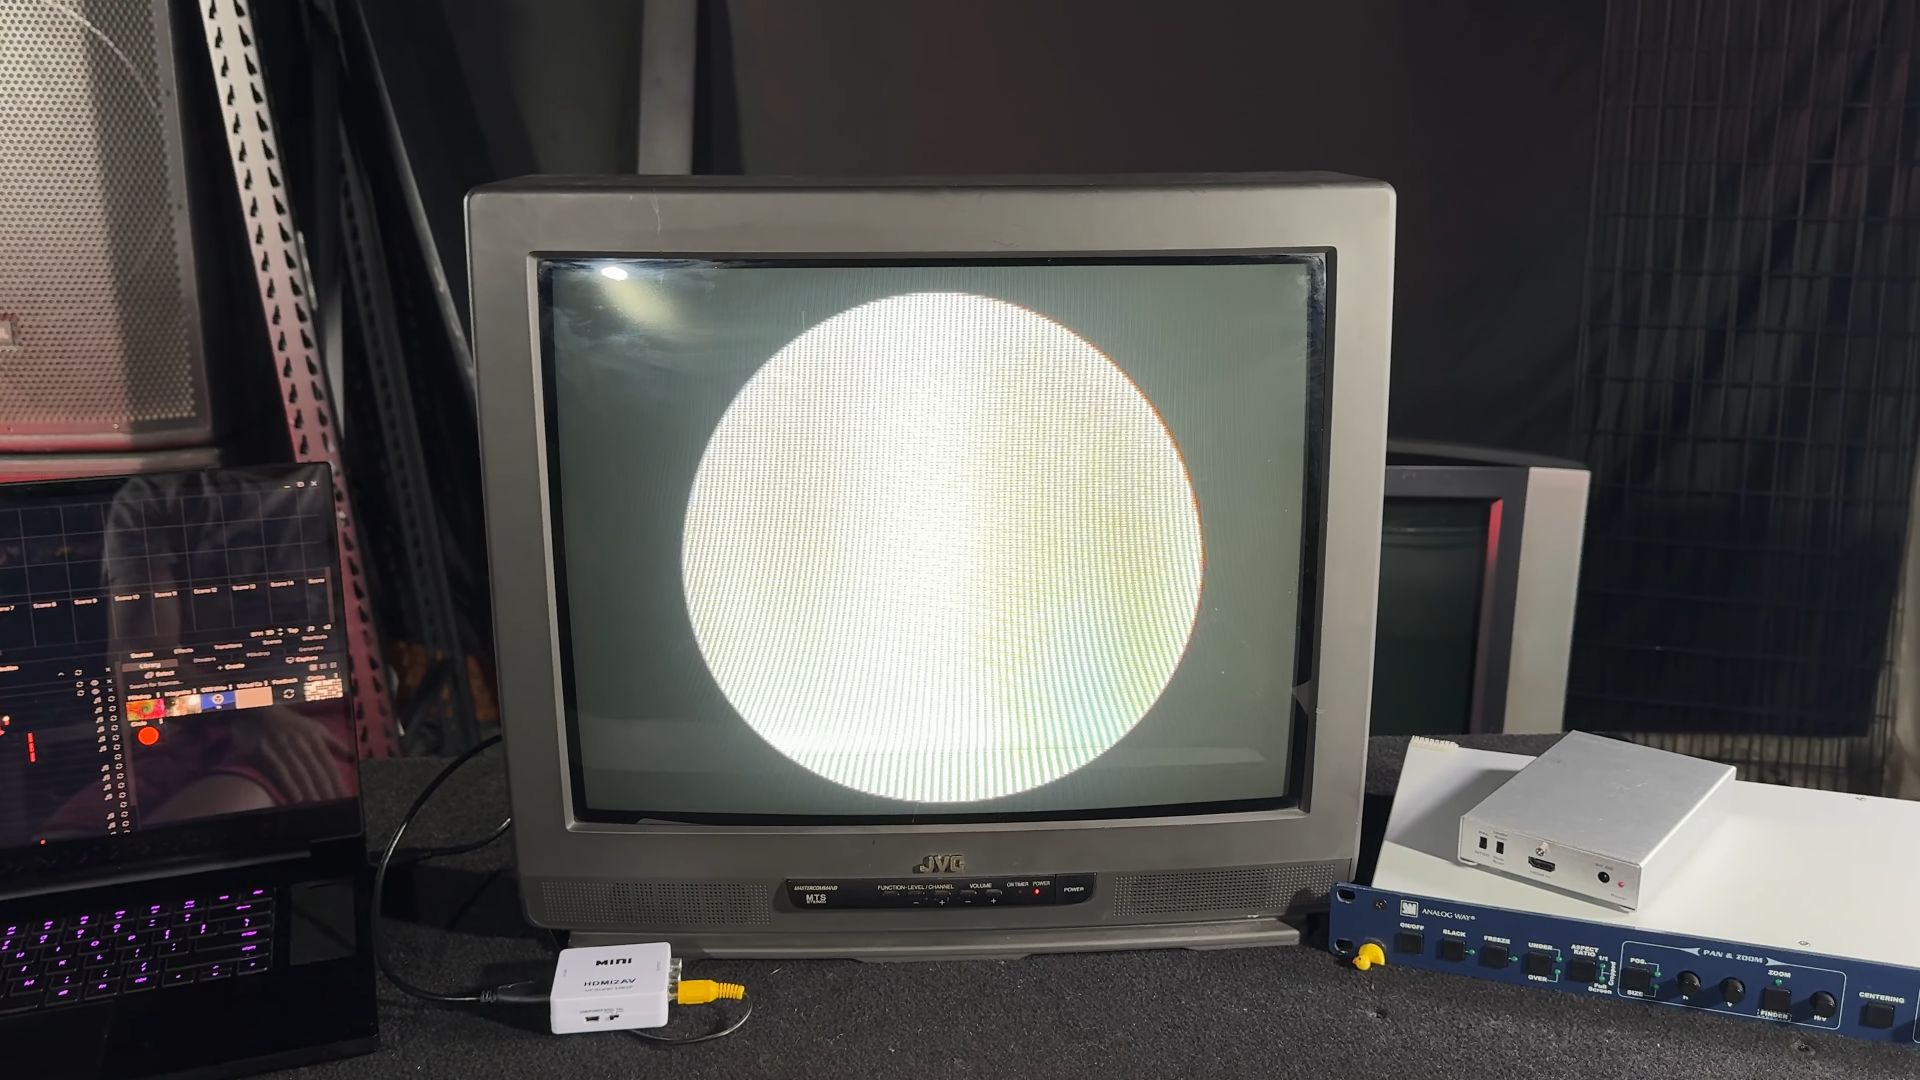
Solving the Aspect Ratio Problem 8:22
To fix this, continue using the inexpensive converters and handle the adjustment through digital scaling. In Nuvotion, you can adjust the composition settings to correct the image scale. This approach is the easiest fix, allowing you to maintain a normal aspect ratio. Whether you use Nuvotion, Resolume, or OBS, all have ways to compensate for output scaling. This method ensures you can rely on digital processing while using affordable converters that are easy to replace if needed.
More Reasons the JVC CRT is Ideal 9:08
I want to quickly mention two more reasons why the JVC is an ideal form factor for acquiring your own CRTs.
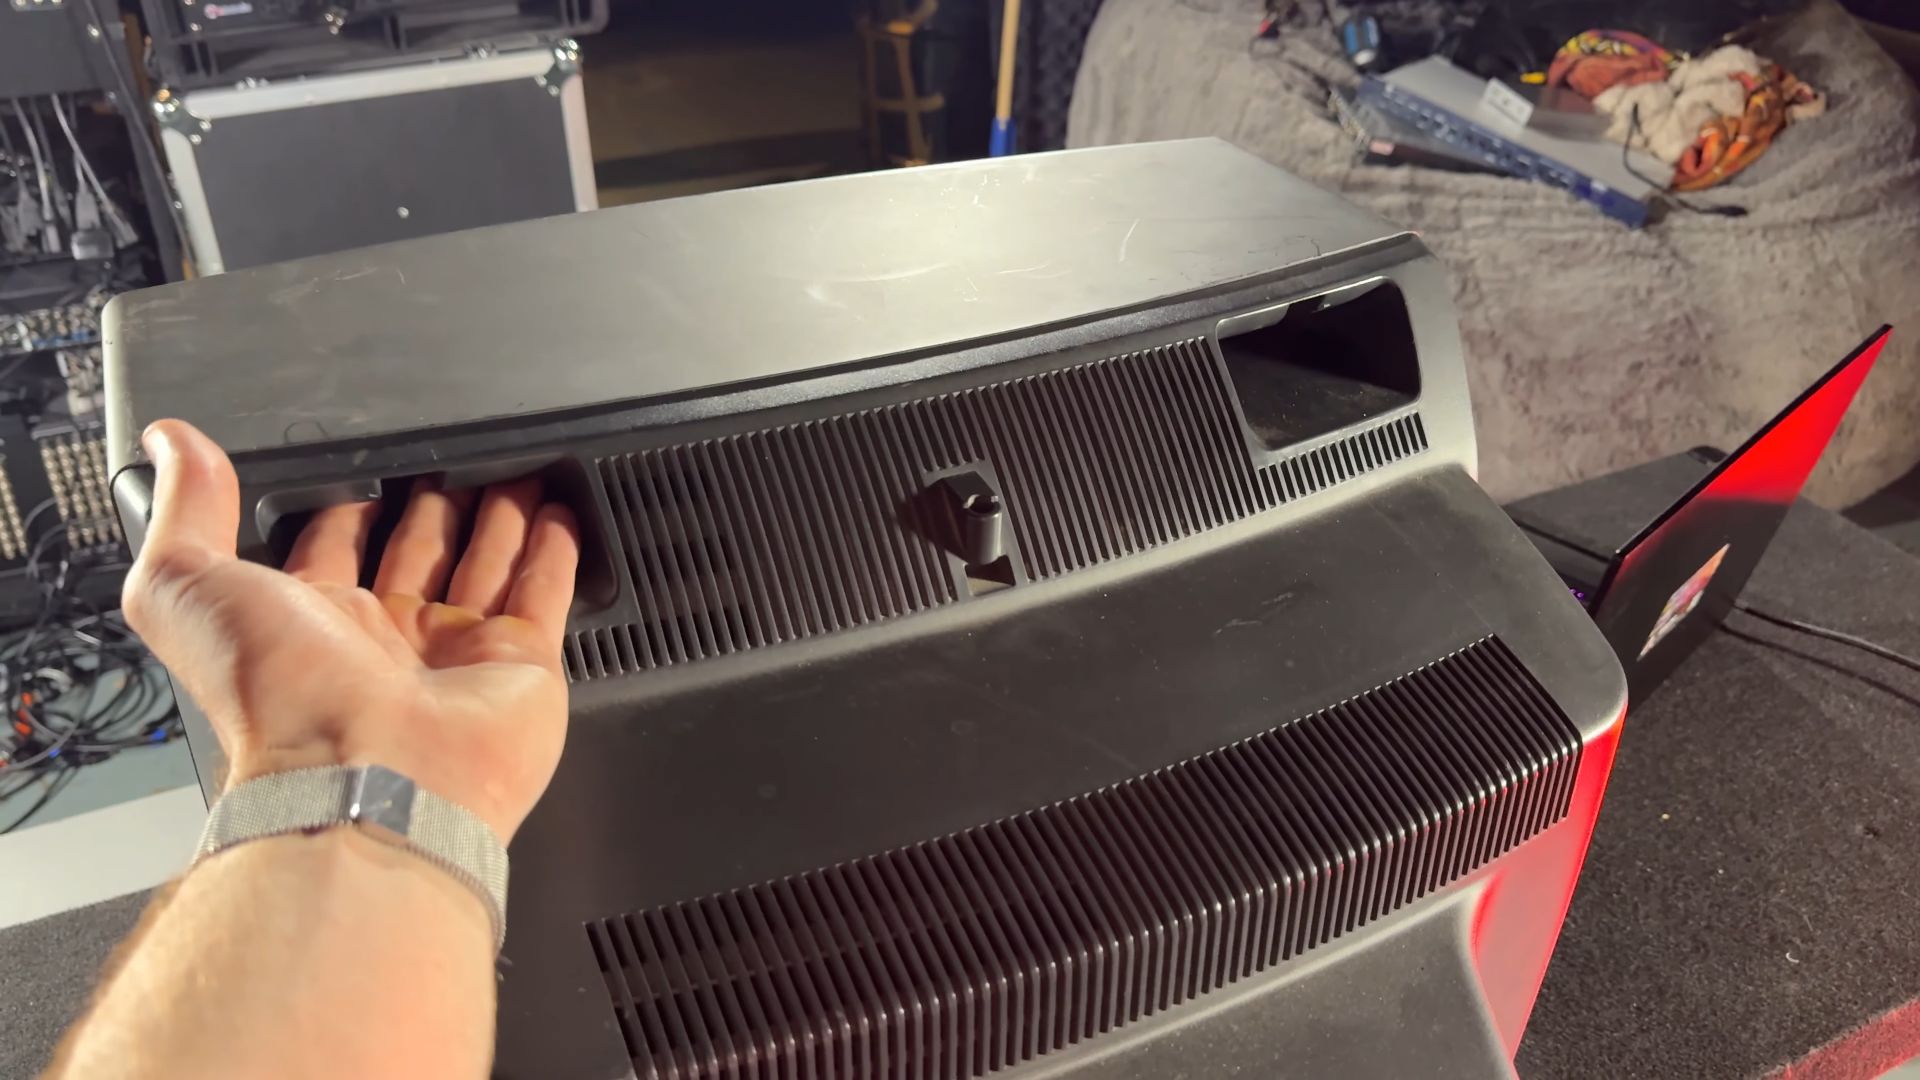
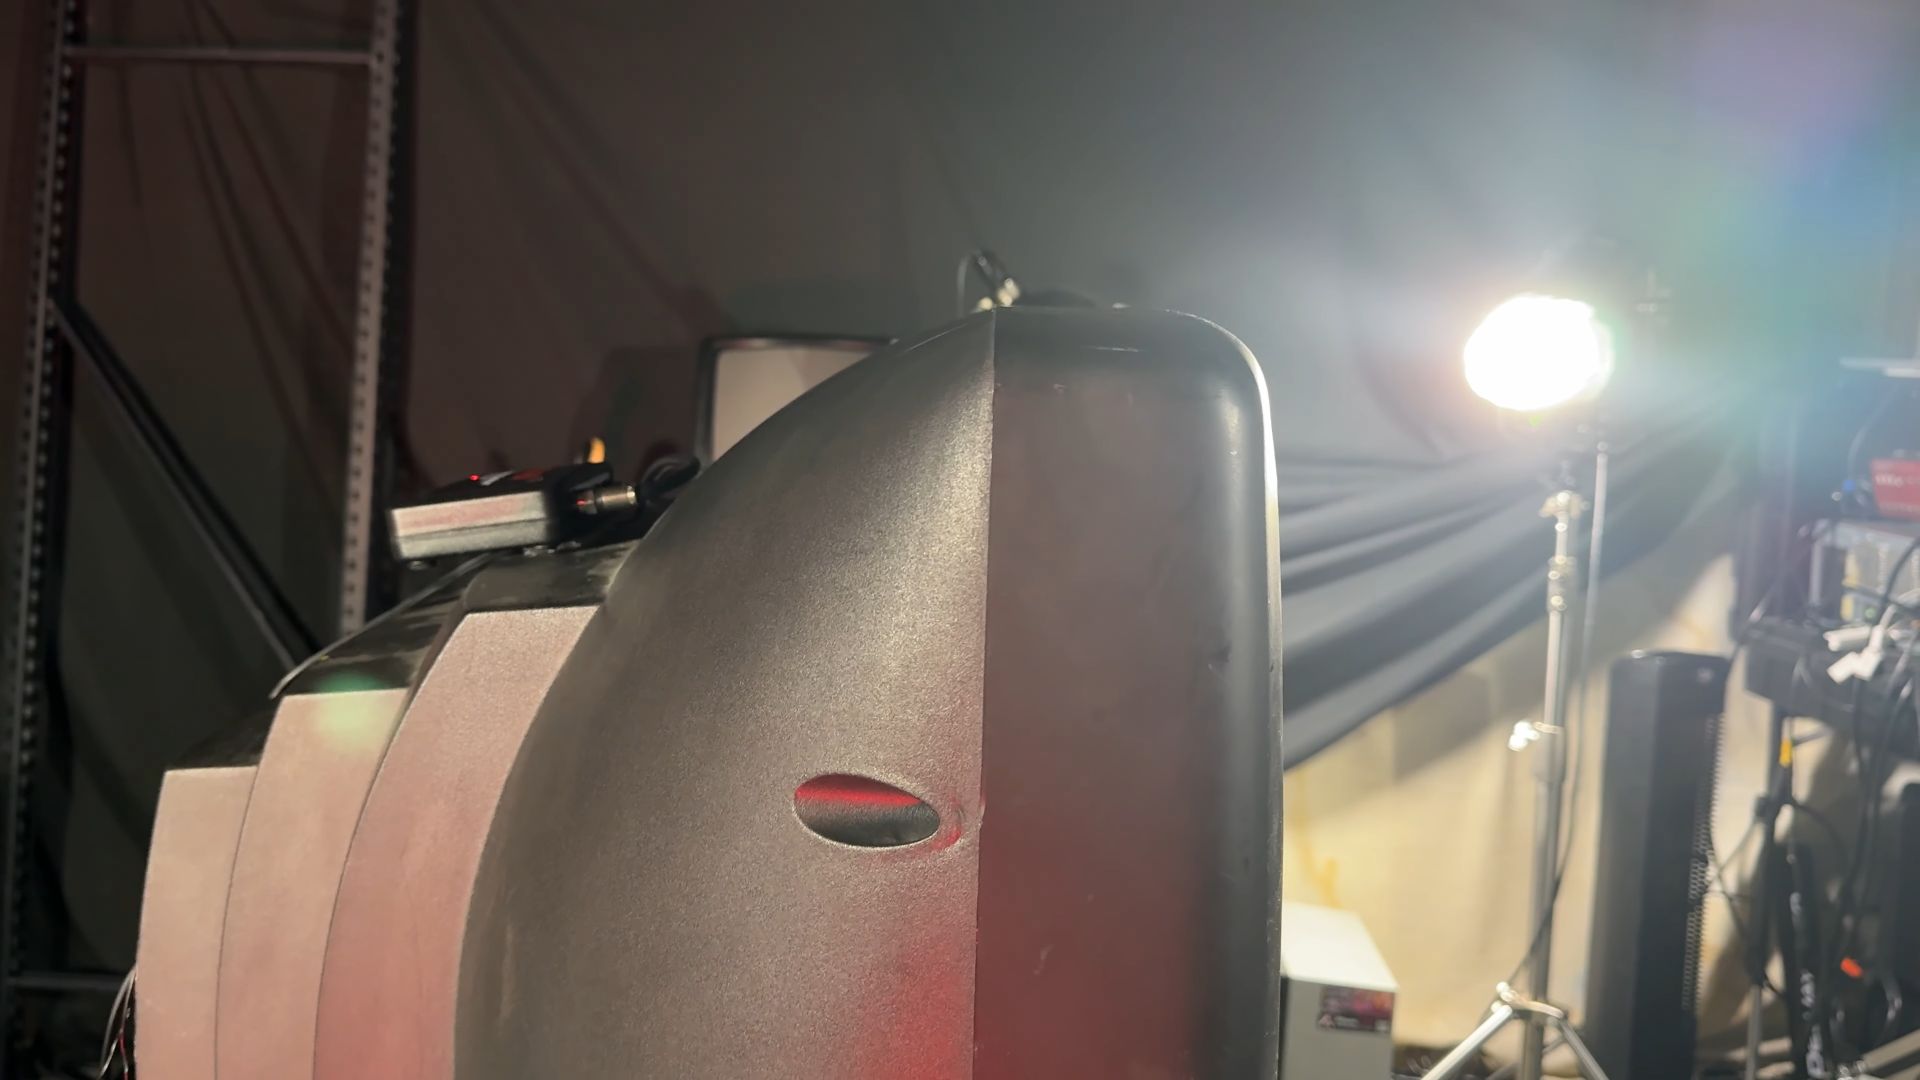
Flat Top for Easy Stacking 9:21
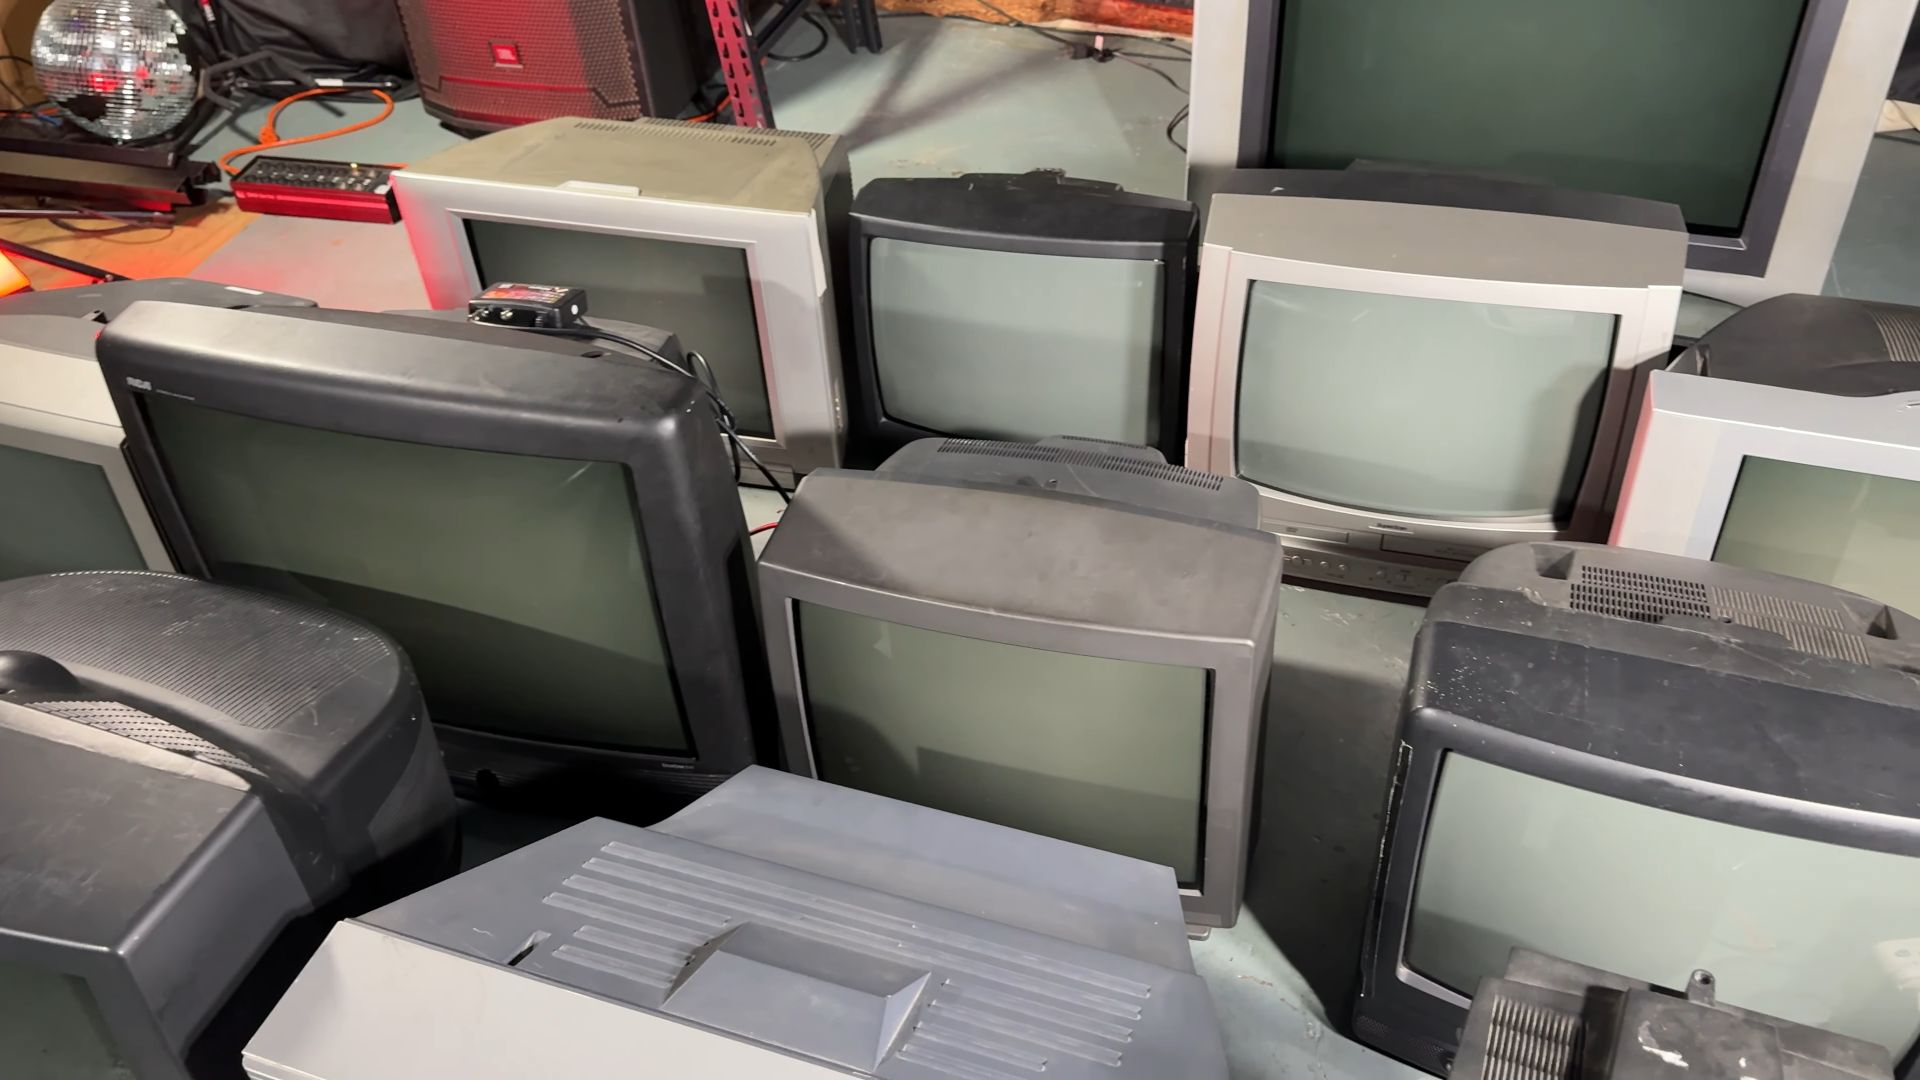
First of all, the top of the JVC is almost completely flat, making it great for stacking. It has a decent amount of surface area, which is essential for stability. You might think that because these TVs are deep, they would fall back if you tried to stack another one on top. However, because they are very front-heavy (the tube is the heaviest part), you can stack another TV or even a third one on top without issue. There are also ways to increase the stability further.
Handles for Easier Transportation 9:50
Another important feature is the handles. Not all CRTs have handles, but they can make a big difference if you're planning on renting out your TV walls or moving them to different venues. For example, my 36" Trinitron weighs 225 lbs, making it immobile without handles. The JVC, on the other hand, weighs only about 45 lbs, making it easy for one person to carry up and down stairs. This is definitely a type to look out for.
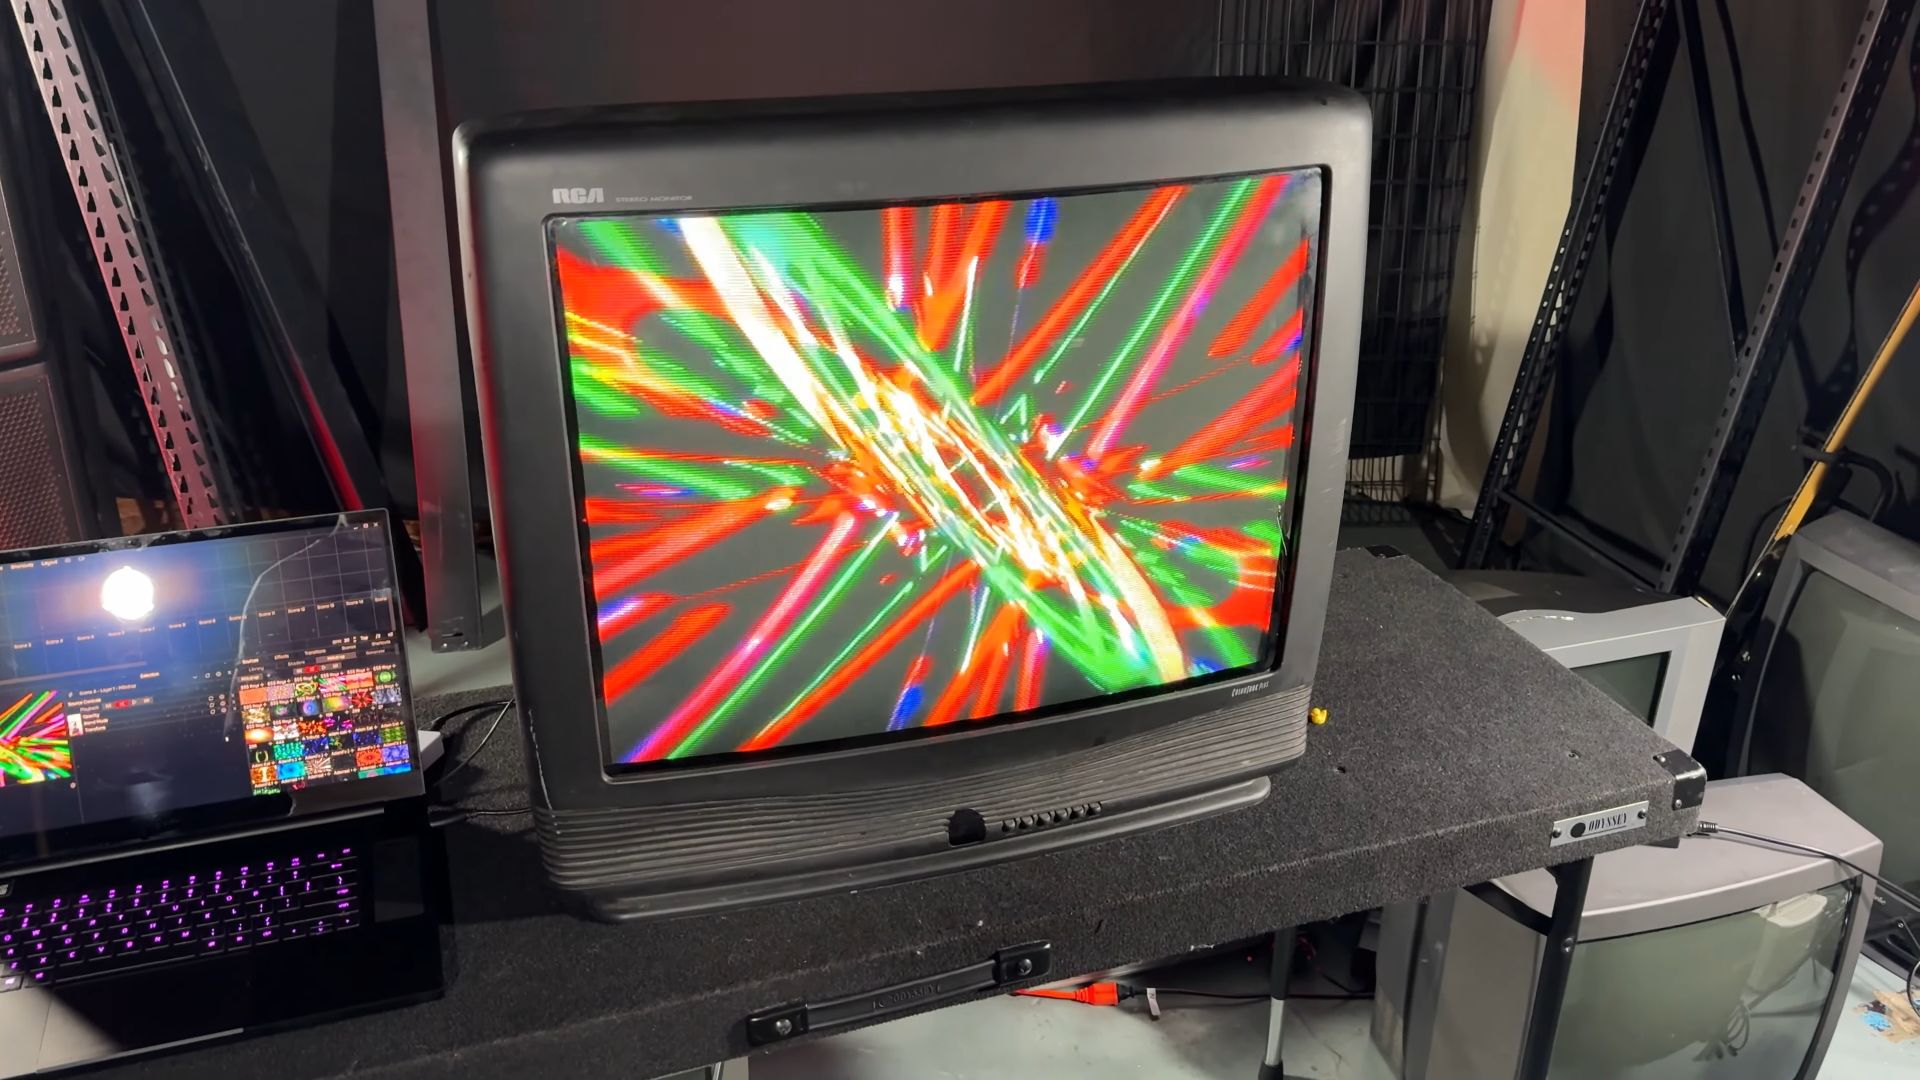
Stacking CRTs and Sending Video 10:20
To demonstrate, I stacked another CRT on top of the JVC. This shows that you can stack these if you get the right ones. But what if you want to send video to the top TV as well?
Using a Splitter 10:33
Your first inclination might be to use a splitter. For example, an RCA splitter with one male on one side and two females on the other. This should split the signal and send it to both TVs. Initially, it seems to work—you get a signal on both TVs. However, horizontal lines may appear in the signal, and it can become slightly dimmer. While this might work for two TVs, splitting the signal further will cause it to get dimmer until all TVs eventually lose the signal.
Better Solutions for Larger Video Walls 11:51
If your video wall consists of eight TVs all showing the same image, a composite video splitter could be a good option. These devices split a composite video signal into eight identical signals, preventing the loss of signal strength that occurs with passive splitting. You can find these for about $20 on Amazon.

However, showing the same image on every TV can get boring. In the next section, I will show you a much more interesting solution for distributing video to multiple CRTs.
Showing Multiple Images on Multiple TVs 11:56
Using Multiple Outputs 12:01
To display multiple images on multiple TVs simultaneously from the same computer, most computers only have one HDMI output, and some only have USB-C. In either case, the solution is to use a USB-C to HDMI adapter. This allows you to plug it into your computer's USB-C port, giving you an extra display output. You can then use another HDMI to composite converter, giving you two independent signals.
With two different HDMI to composite converters, one plugged into the HDMI port of the computer and the other into a USB-C adapter, you can achieve two simultaneous images from the same computer.
Software Considerations 12:47
Things get a bit more complicated on the software side. Programs like Nuvotion or OBS only allow for a single screen output at a time. To work around this, you can open two instances of the program. The same can be done in OBS. For software like Resolume or other live performance software, multiple display output options are often available, which can be very handy.
Creating a Unified Image 13:17
If you want to create a unified image across multiple TVs, such as displaying a person with their torso on one TV and legs on another, this is also possible. While I will cover this in detail in a future article, here I’ll focus on sending multiple video sources to multiple TVs and dynamically routing them.
TVs to Avoid and Why 13:45
I've discussed the ideal TV from my collection, but what about the ones to avoid? Here are some signs to watch out for when picking up your CRTs.
Size and Weight Issues 13:59
Larger TVs can seem appealing, but they get exponentially heavier as the screen size increases. For example, a significantly bigger TV might be very difficult to carry alone and may require two people to move it upstairs. Adding to the difficulty, some TVs lack handles or grip spots, making them cumbersome to transport.
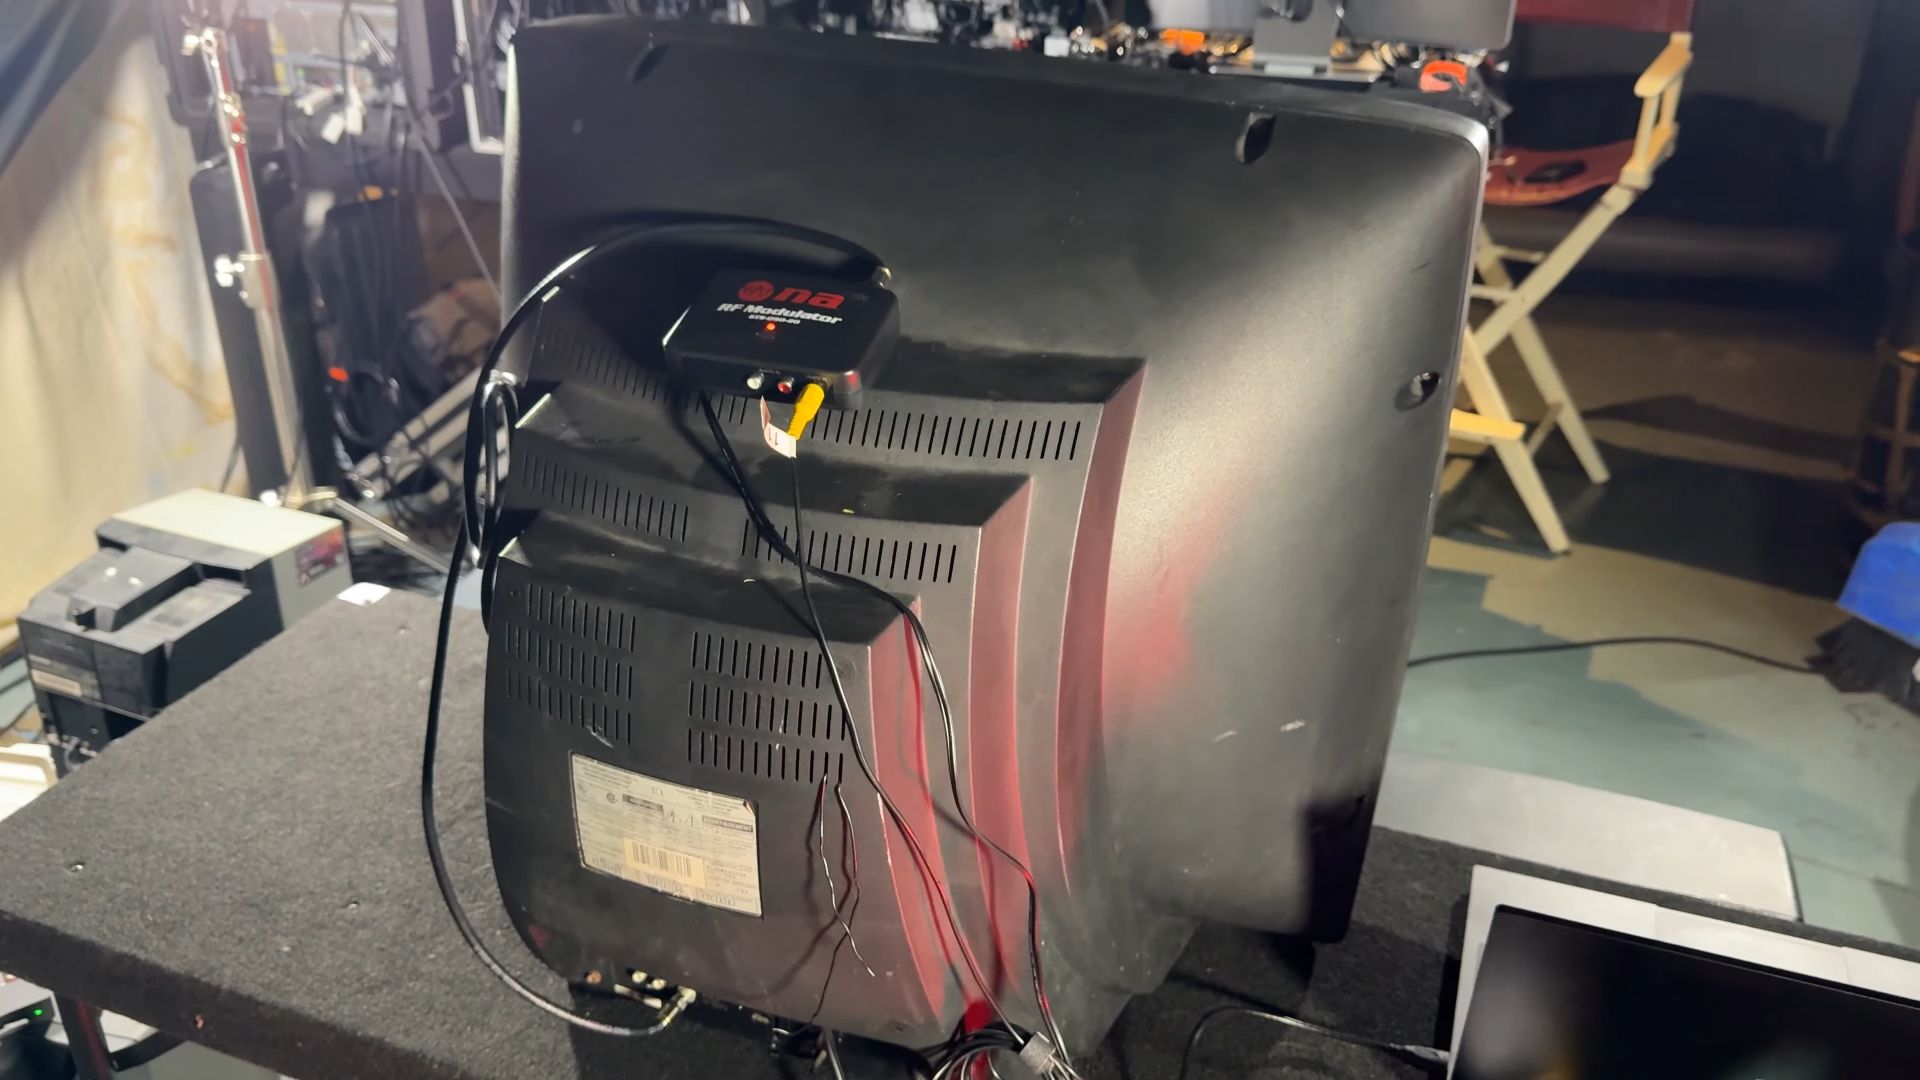
Input Problems 14:30
Another issue can be the composite input not working. Older TVs from the 70s and 80s often have wood grain designs and lack composite inputs. If the composite input doesn’t work, you’ll need an RF modulator to convert a composite input into RF and then put it on one of the TV’s channels. However, this means extra cords and power plugs, which can be problematic when dealing with multiple TVs.
Stability and Stacking 16:14
Finally, some TVs are just not stackable due to their design. For instance, if a TV has a curved top, stacking anything on it is nearly impossible. While there are methods to stack any TV, which I’ll cover in a future article, for now, I'll show you how to use steel shelving.
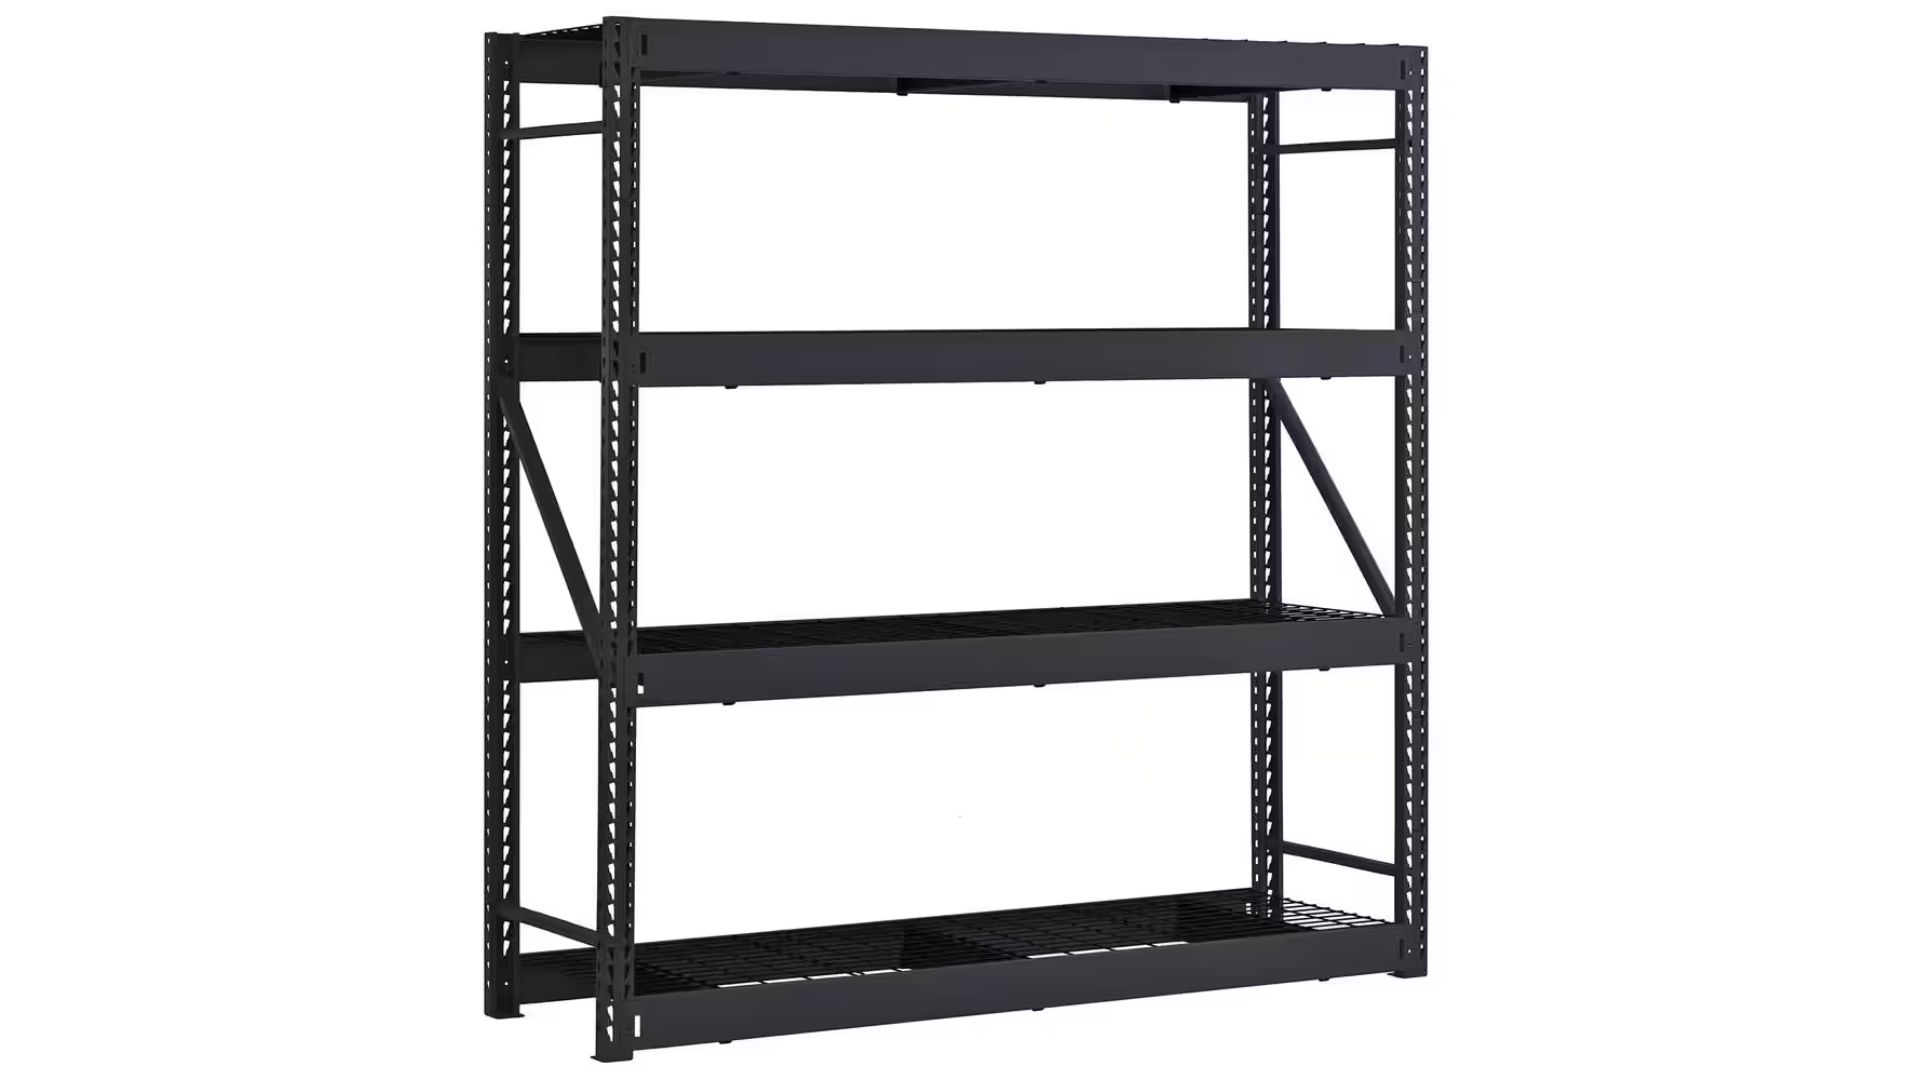
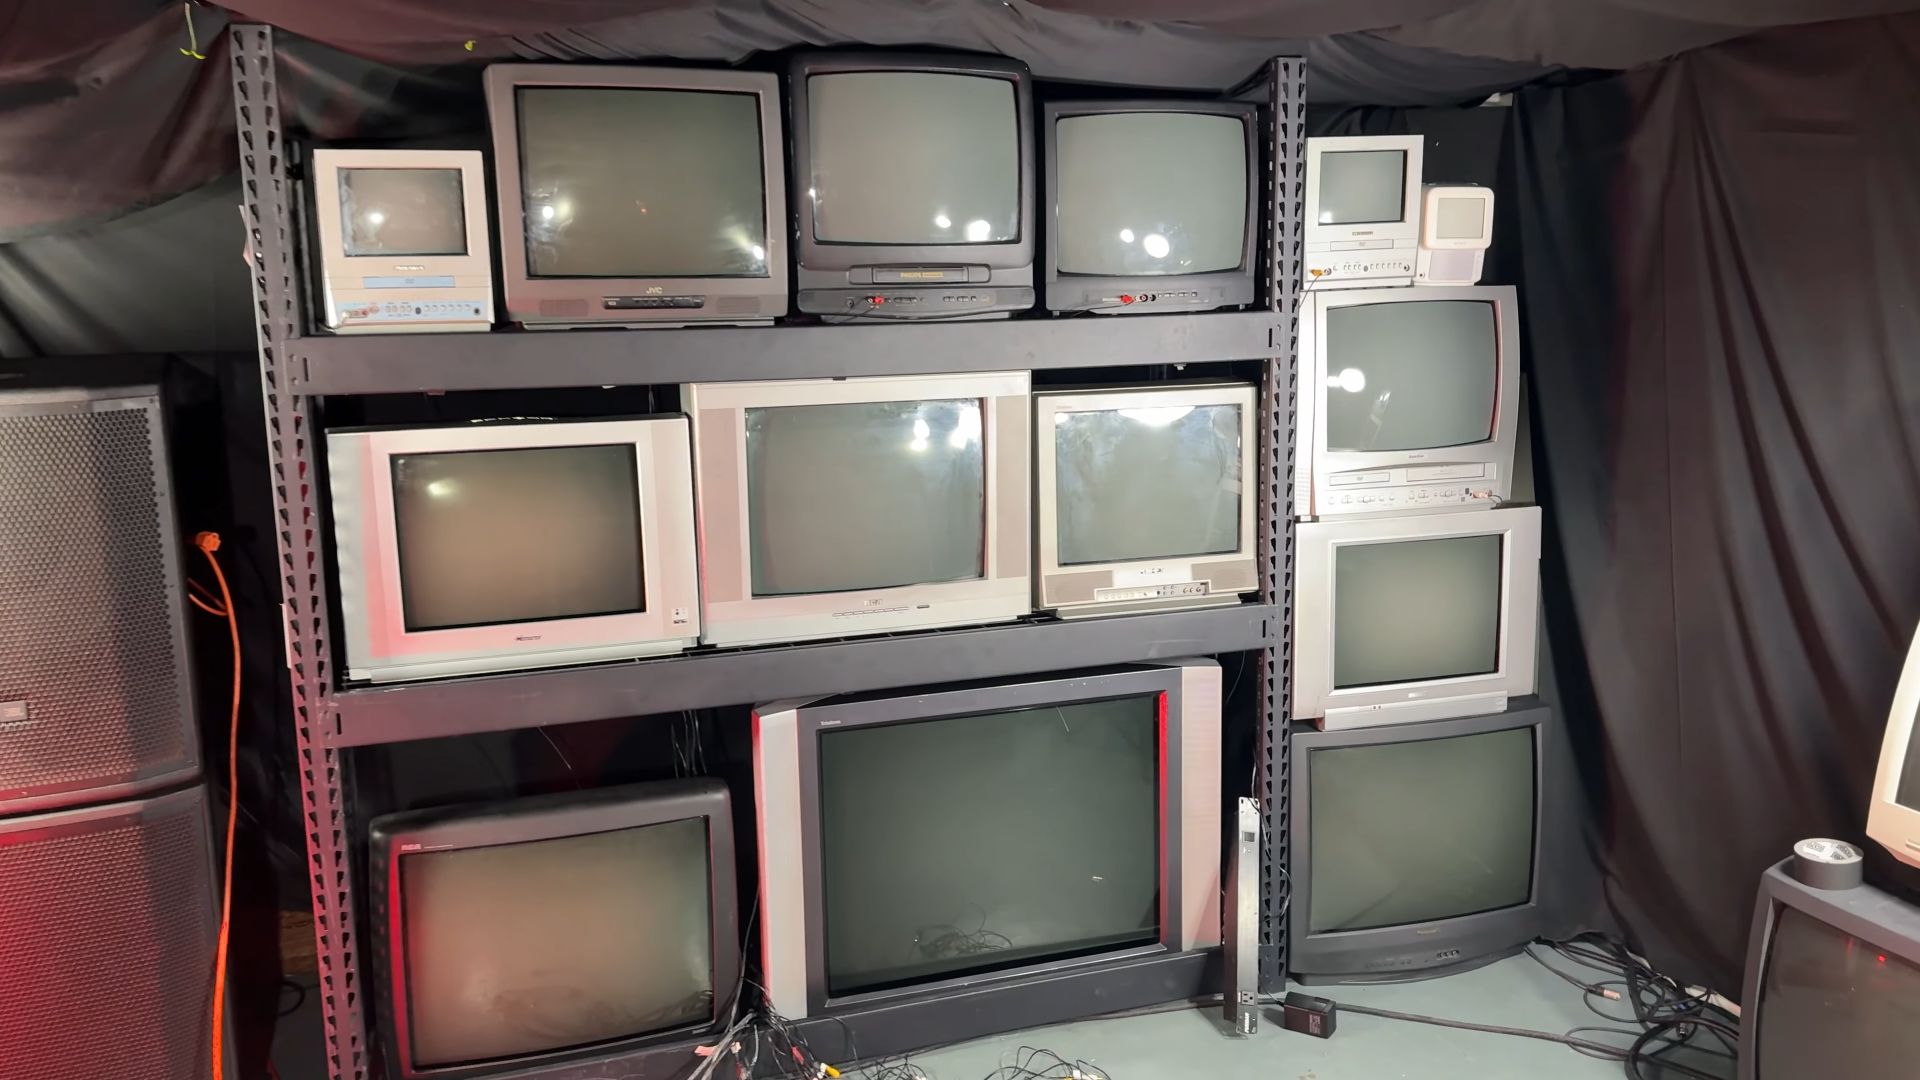
Using Steel Shelving for TV Walls 16:47
Steel shelving is a reliable method for stacking CRTs. You can get this type of shelving from Home Depot for between $100 and $400, depending on the size. These shelving components can be slotted together without tools and are capable of supporting the weight of heavy CRTs. This ensures your TV wall is stable and secure.
Cable Management and Moving Tips
One thing I recommend, especially if you're going to be moving the TVs, is to secure the power cords with cable ties. Here's how to do it:
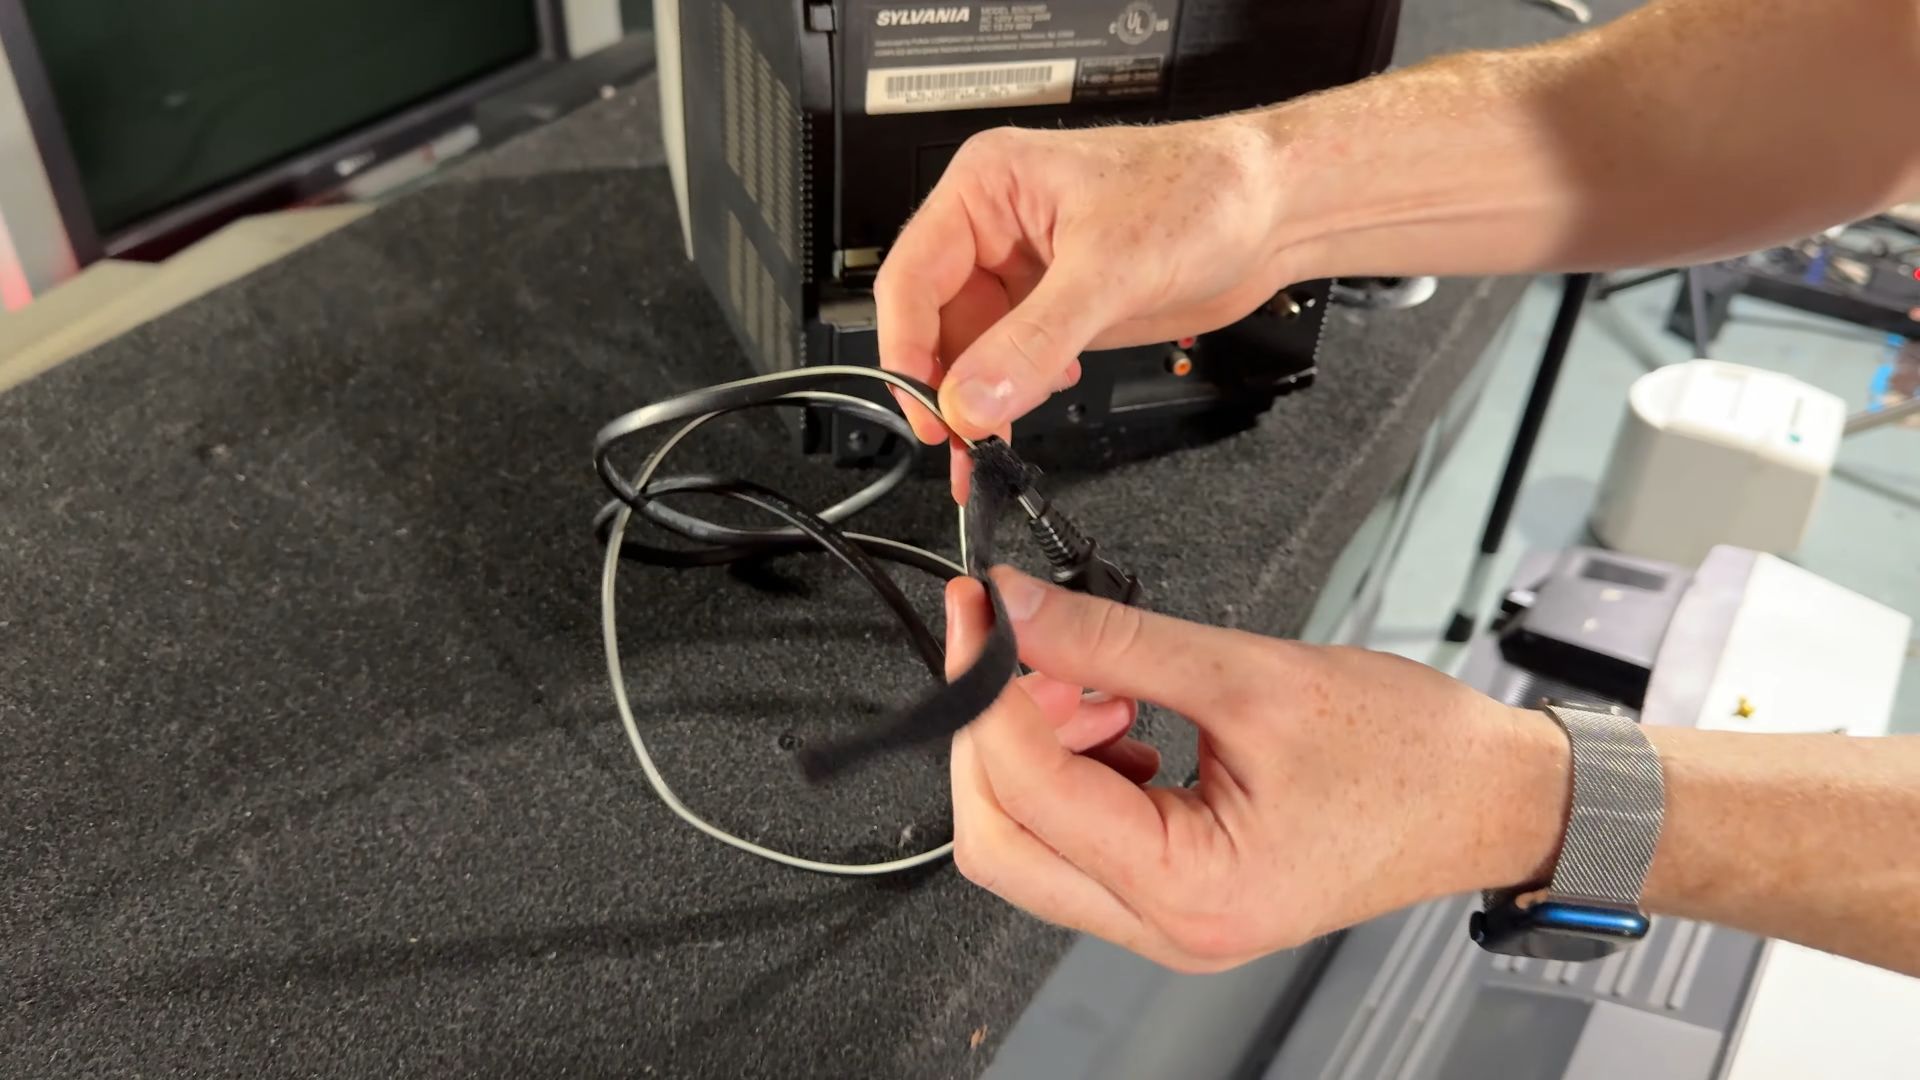
Securing Power Cords 17:56
Attach the Cable Tie: Loop the cable tie through so that it stays attached to the cord.
Wrap the Cord Properly: Follow the natural coil of the cord rather than wrapping it around your hand or arm. This way, when you’re moving the TV up and down stairs, you won’t trip on the cord.
Handling Multiple TV Connections 18:41
If you need to plug in 16 TVs, you'll need at least 16 composite video cords. This can get expensive if you’re paying $5 per cord. However, you don’t have to use yellow RCA cords; any RCA cord can carry composite video.
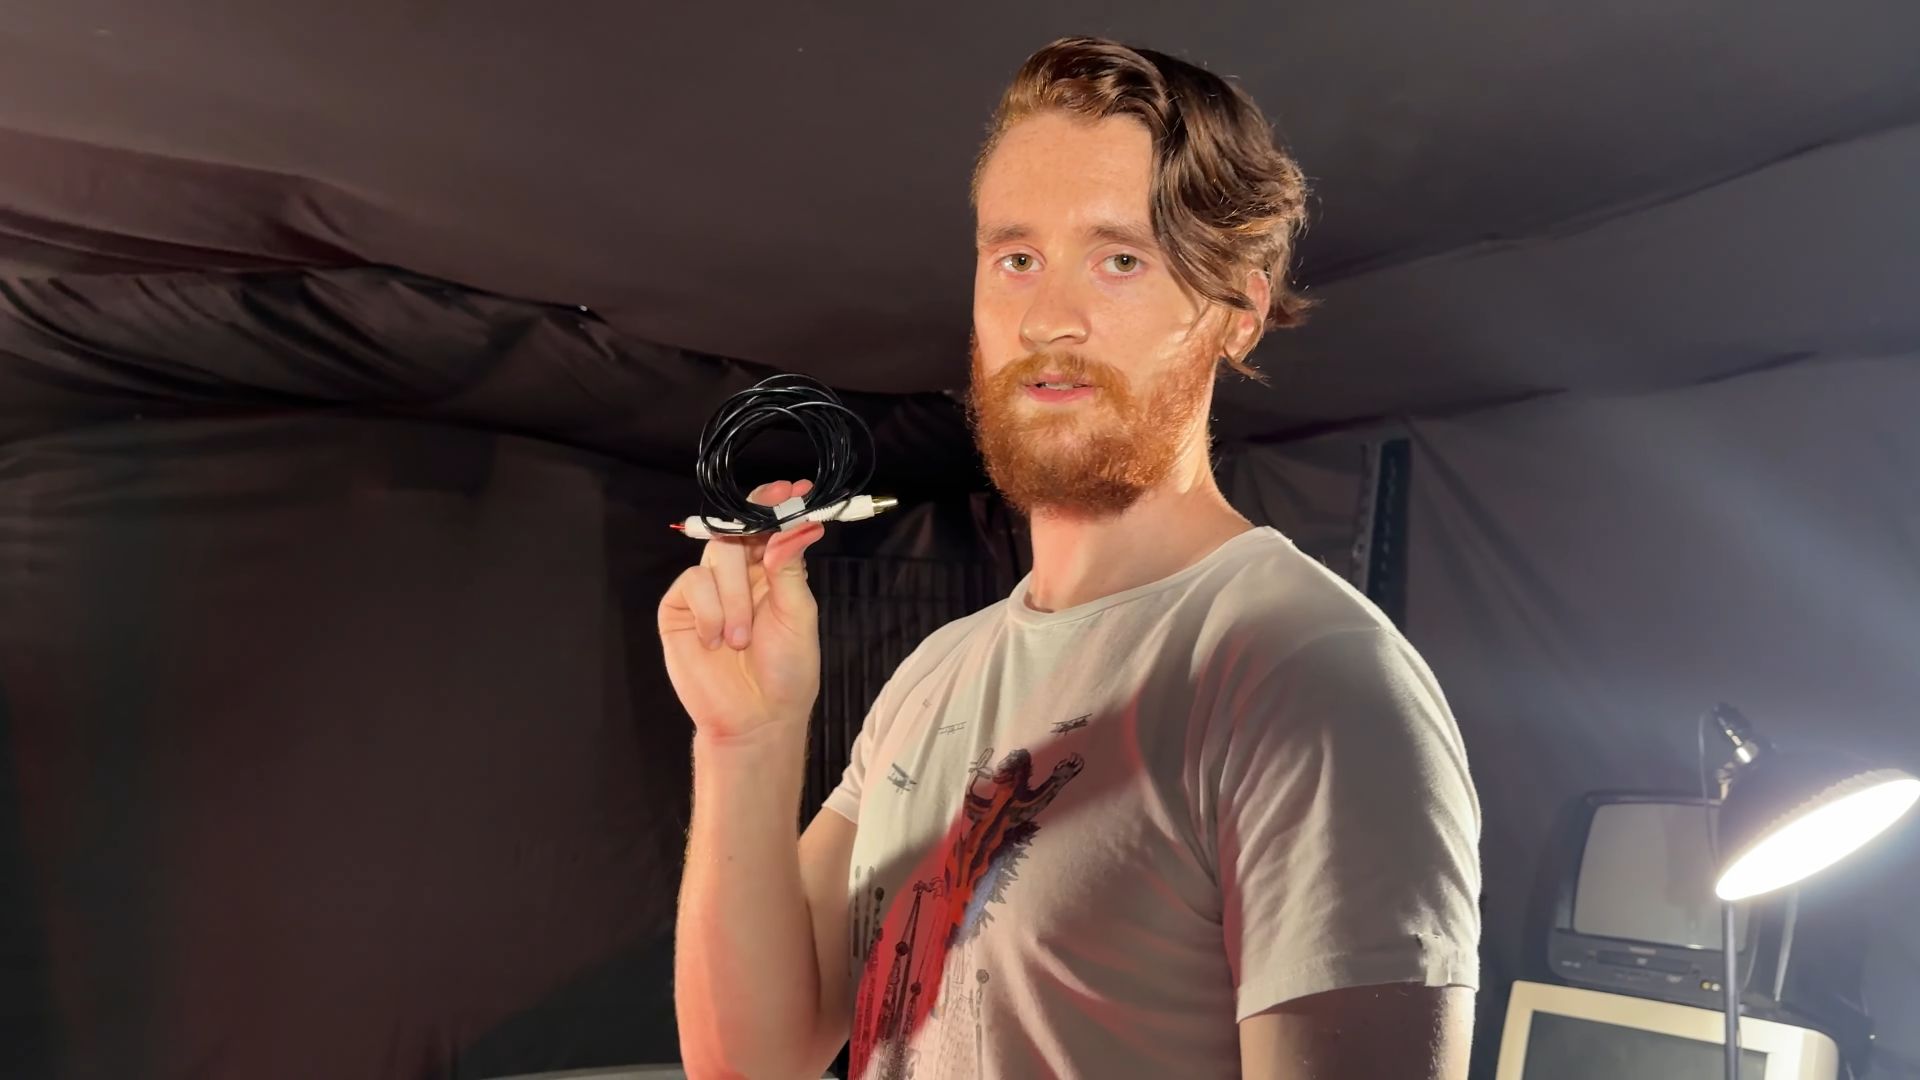
Finding Affordable RCA Cables 18:49
The cheapest way to acquire a good number of these cords is to look for multi-packs of red, white, and yellow RCA cables on eBay. Make sure they are fused together so that you can separate them as needed. By doing this, you can reduce the cost to around $1 per wire.

Example Setup 19:50
Here's an example of a 10-foot RCA cable, which is usually long enough for an entire wall. Use a cable tie to make sure it stays attached to the cable. Wrap it over and under itself, and you can even leave it plugged into the back of the TV or the matrix controller. This approach saves time and ensures everything stays organized during load in and load out.
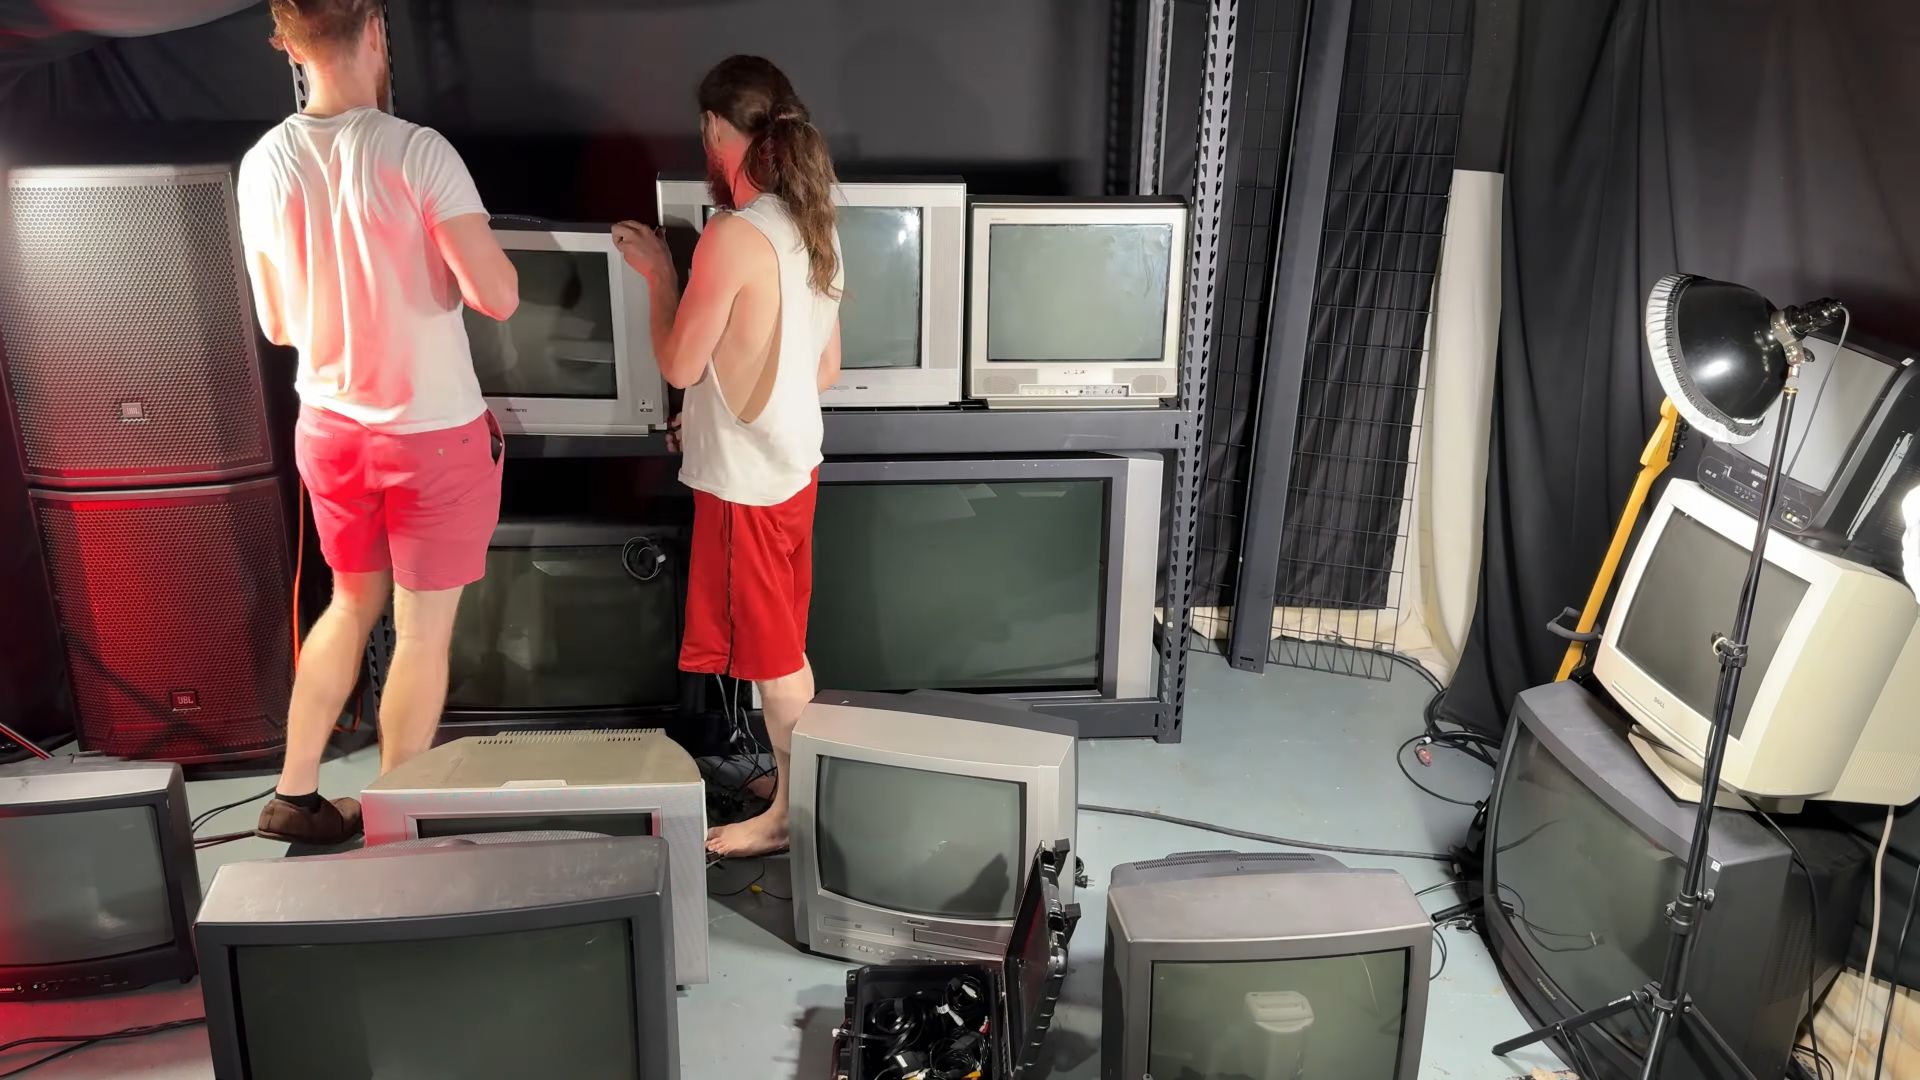
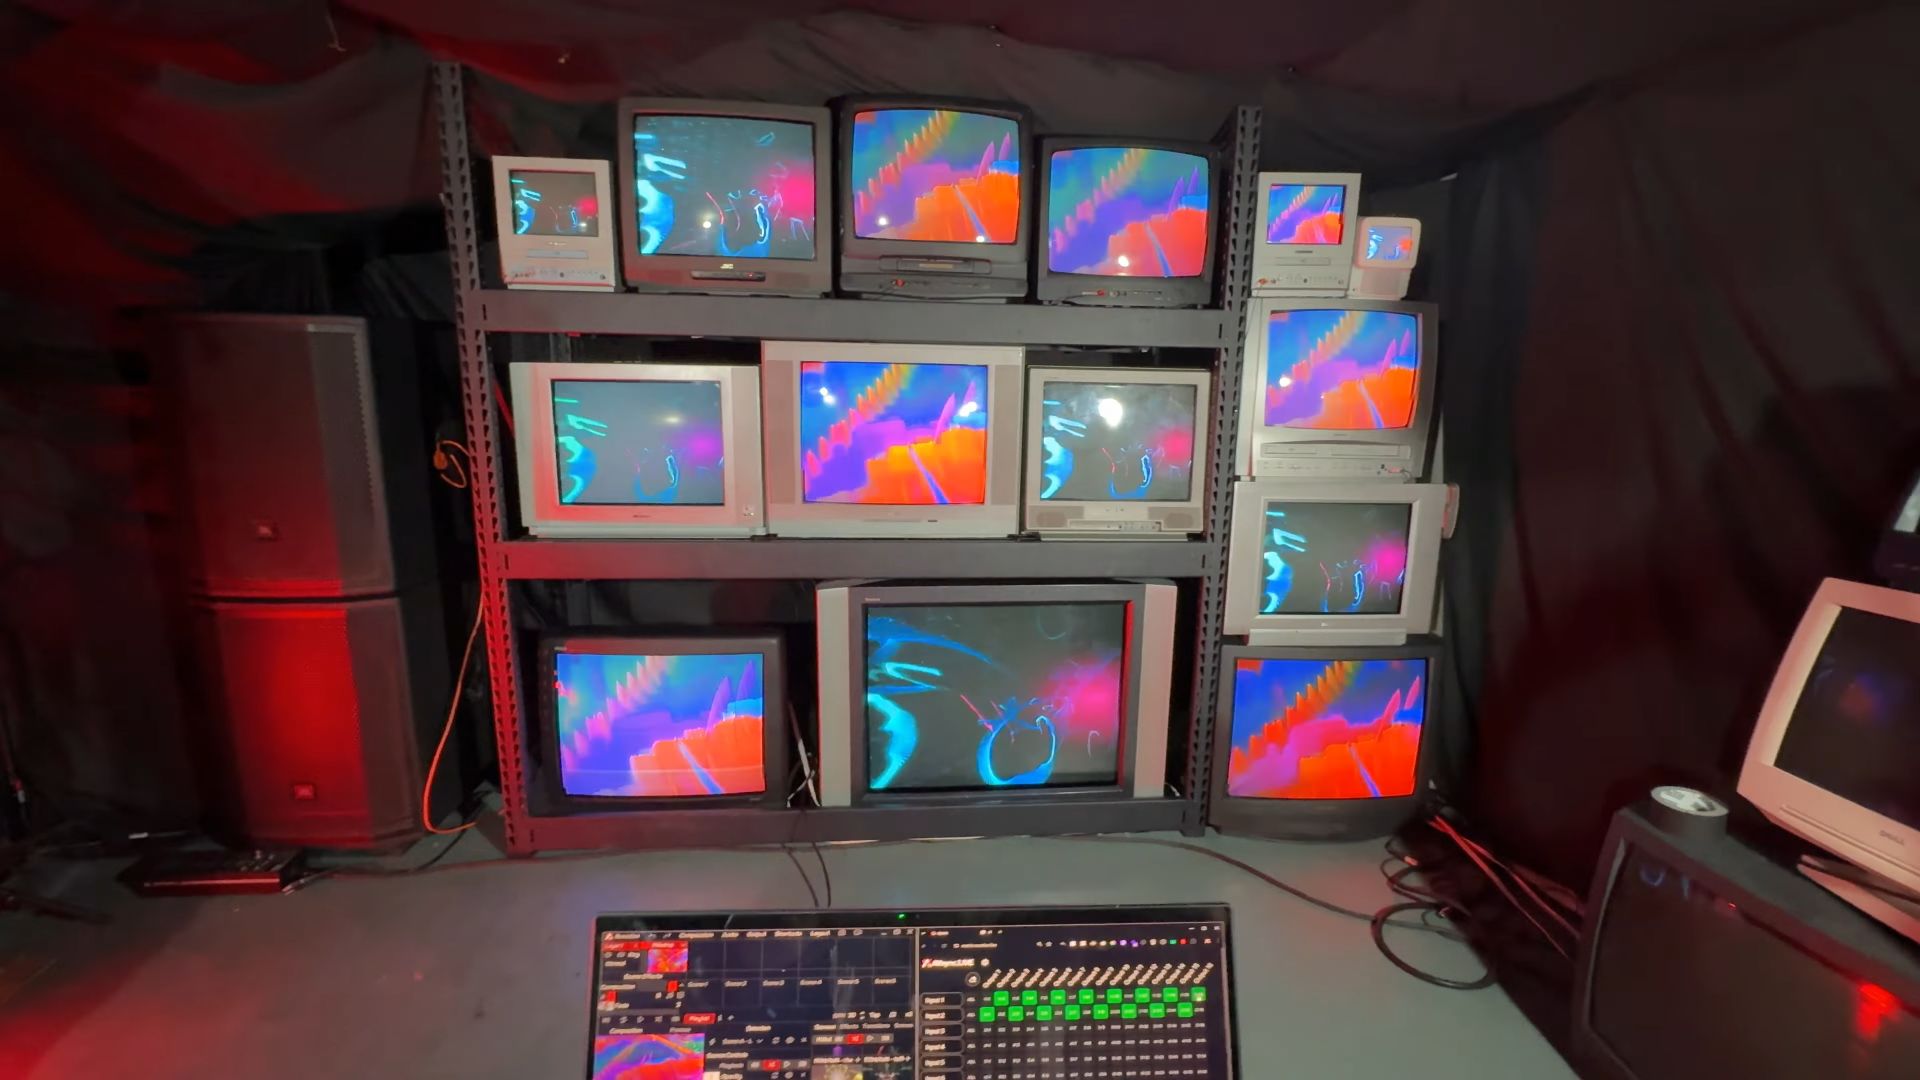
Building the Actual TV Wall 20:06
Construction Process 20:06
It took Ricky and me about an hour to finish constructing the TV wall. Most of the power is routed through the center at the bottom. The remaining power is routed through a power conditioner, which we’ll tuck in behind the wall. The space between these two TVs is where the matrix controller will go. This controller is essential for distributing video throughout the wall.
In the next section, I'll show you how to build and set up the matrix controller. This will be the key component for managing and routing video signals to all the TVs in your wall.
Using a Matrix Switcher for Dynamic Displays
Beyond Simple Splitters 20:41
Your first inclination might be to buy composite video splitters from Amazon, which take one input and split it into eight identical outputs. This approach works, but all TVs will share the same video signal, which isn't always the most interesting. If you want something more dynamic, consider using a matrix switcher.
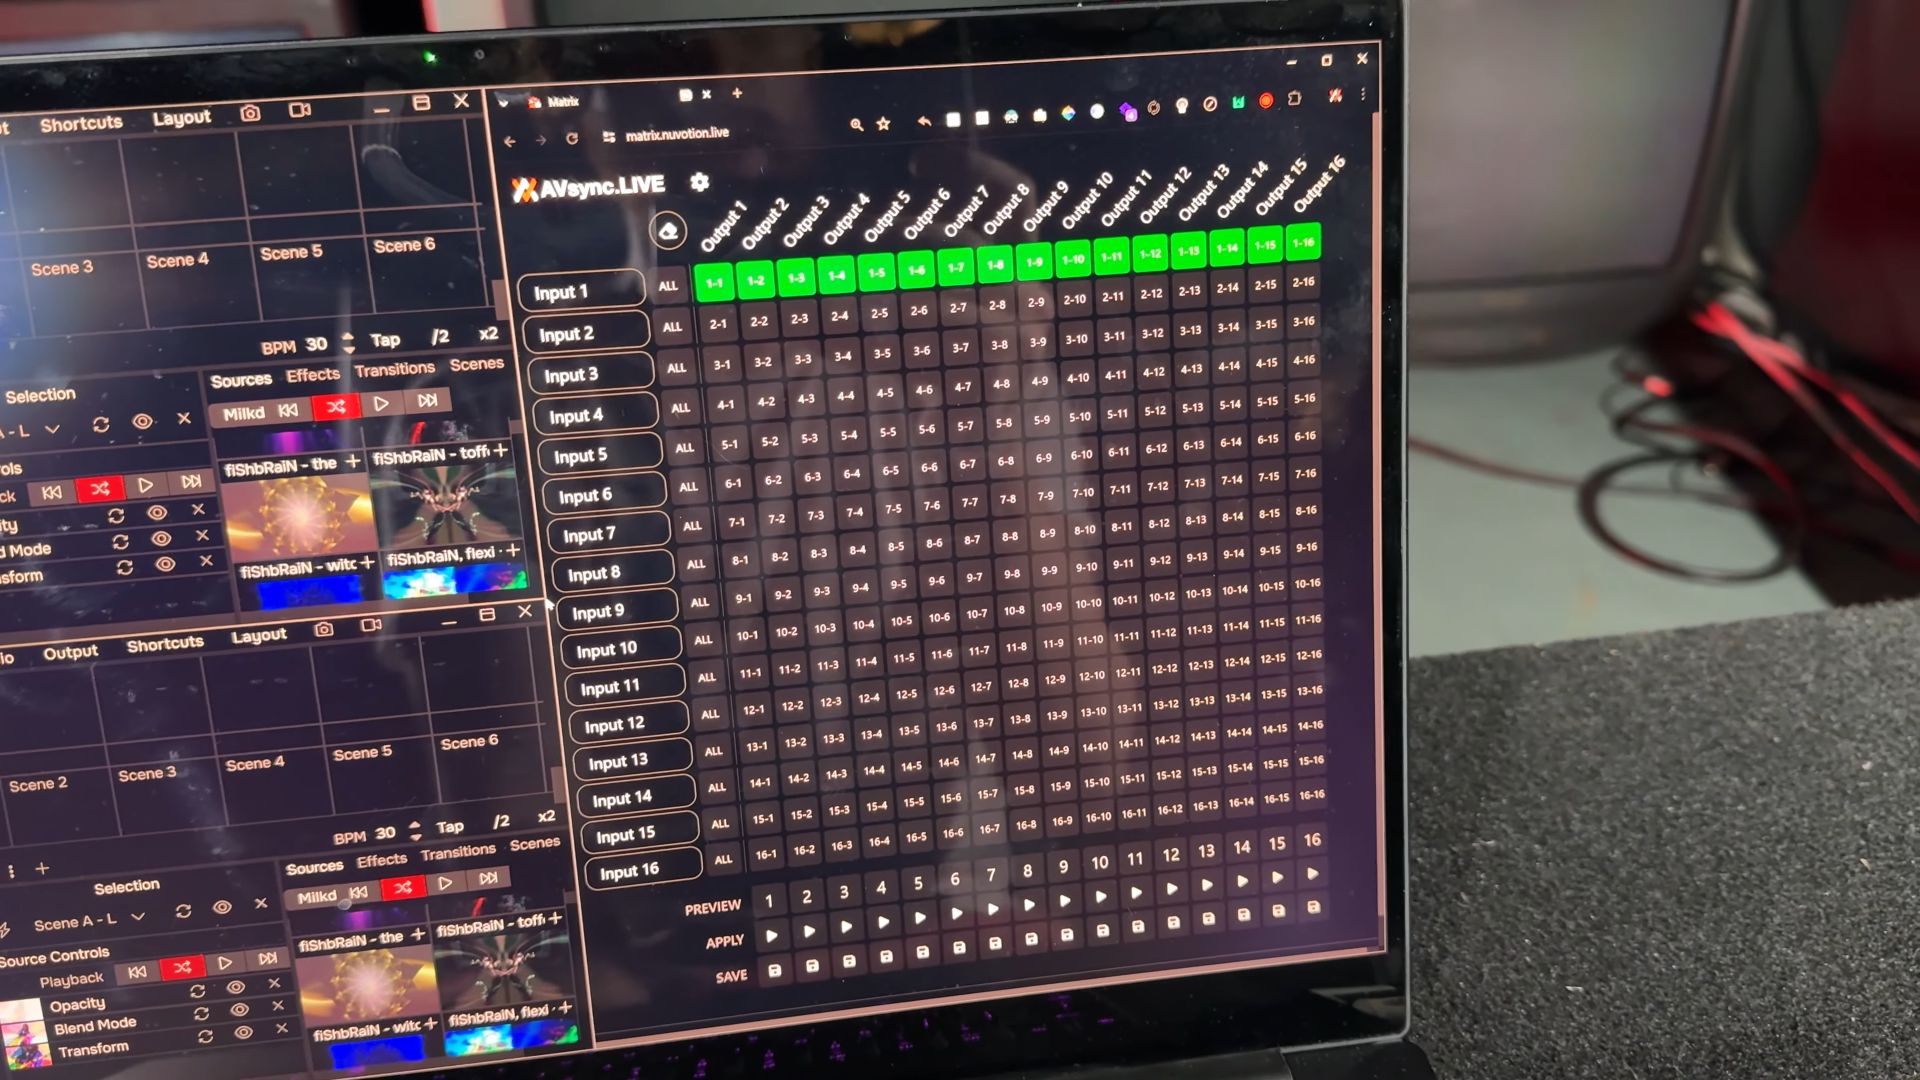
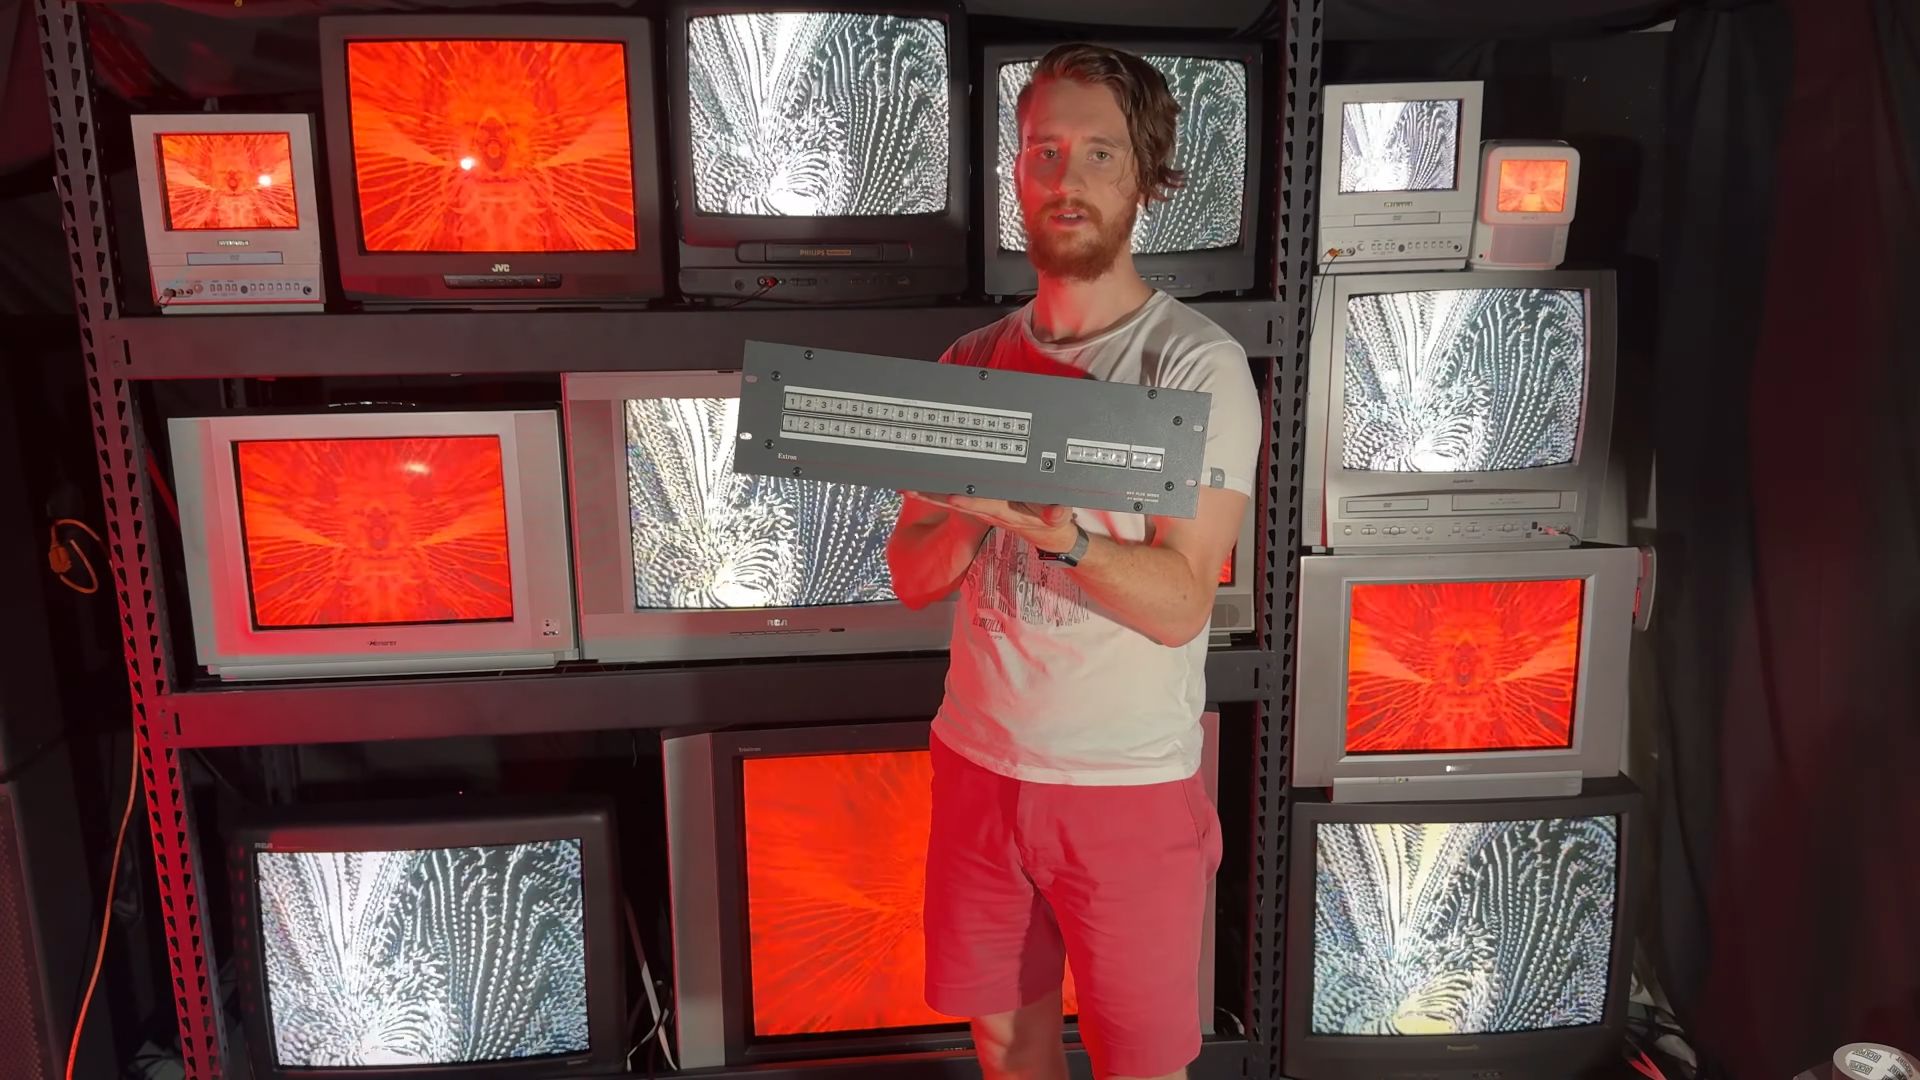
What is a Matrix Switcher? 21:23
Unlike a simple splitter, a matrix switcher allows you to route any of the inputs to any of the outputs in any combination. You can save these different routing combinations as presets. For example, you could route input one to all 16 outputs so every TV shows the same image, or you could alternate inputs for different TVs. You can find these on eBay, but units with 16 outputs are sometimes a little hard to come by.

How to Create a Preset on Extron MAV Matrix 22:17
Select the desired input and route it to the desired outputs.
Select another input and route it to the desired outputs as needed.
Hold down the preset button until it begins blinking.
Save the configuration as the desired preset number.
Repeat the process for additional presets, configuring the inputs and outputs as needed and saving each configuration.
Triger Matrix Presets
Press the preset button.
Select the desired preset number.
The matrix will automatically route the inputs to the outputs according to the saved preset configuration.
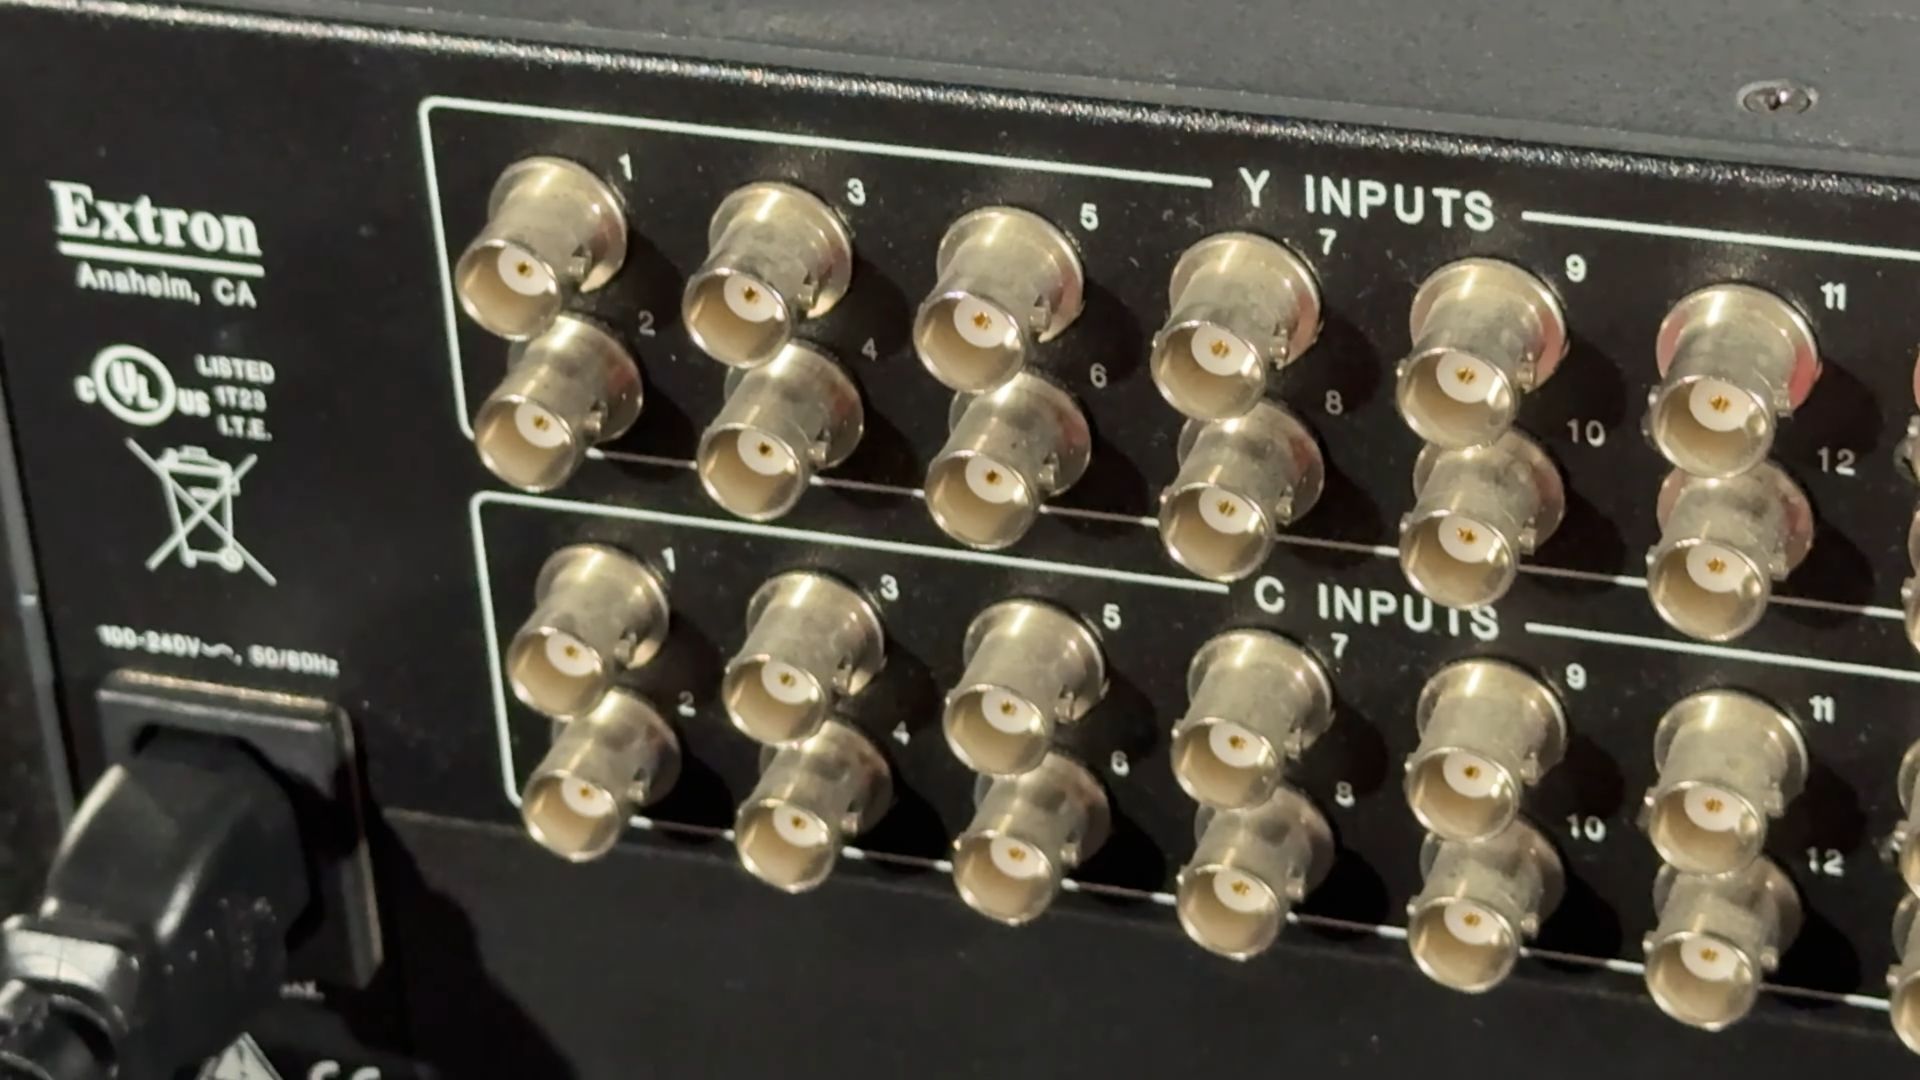
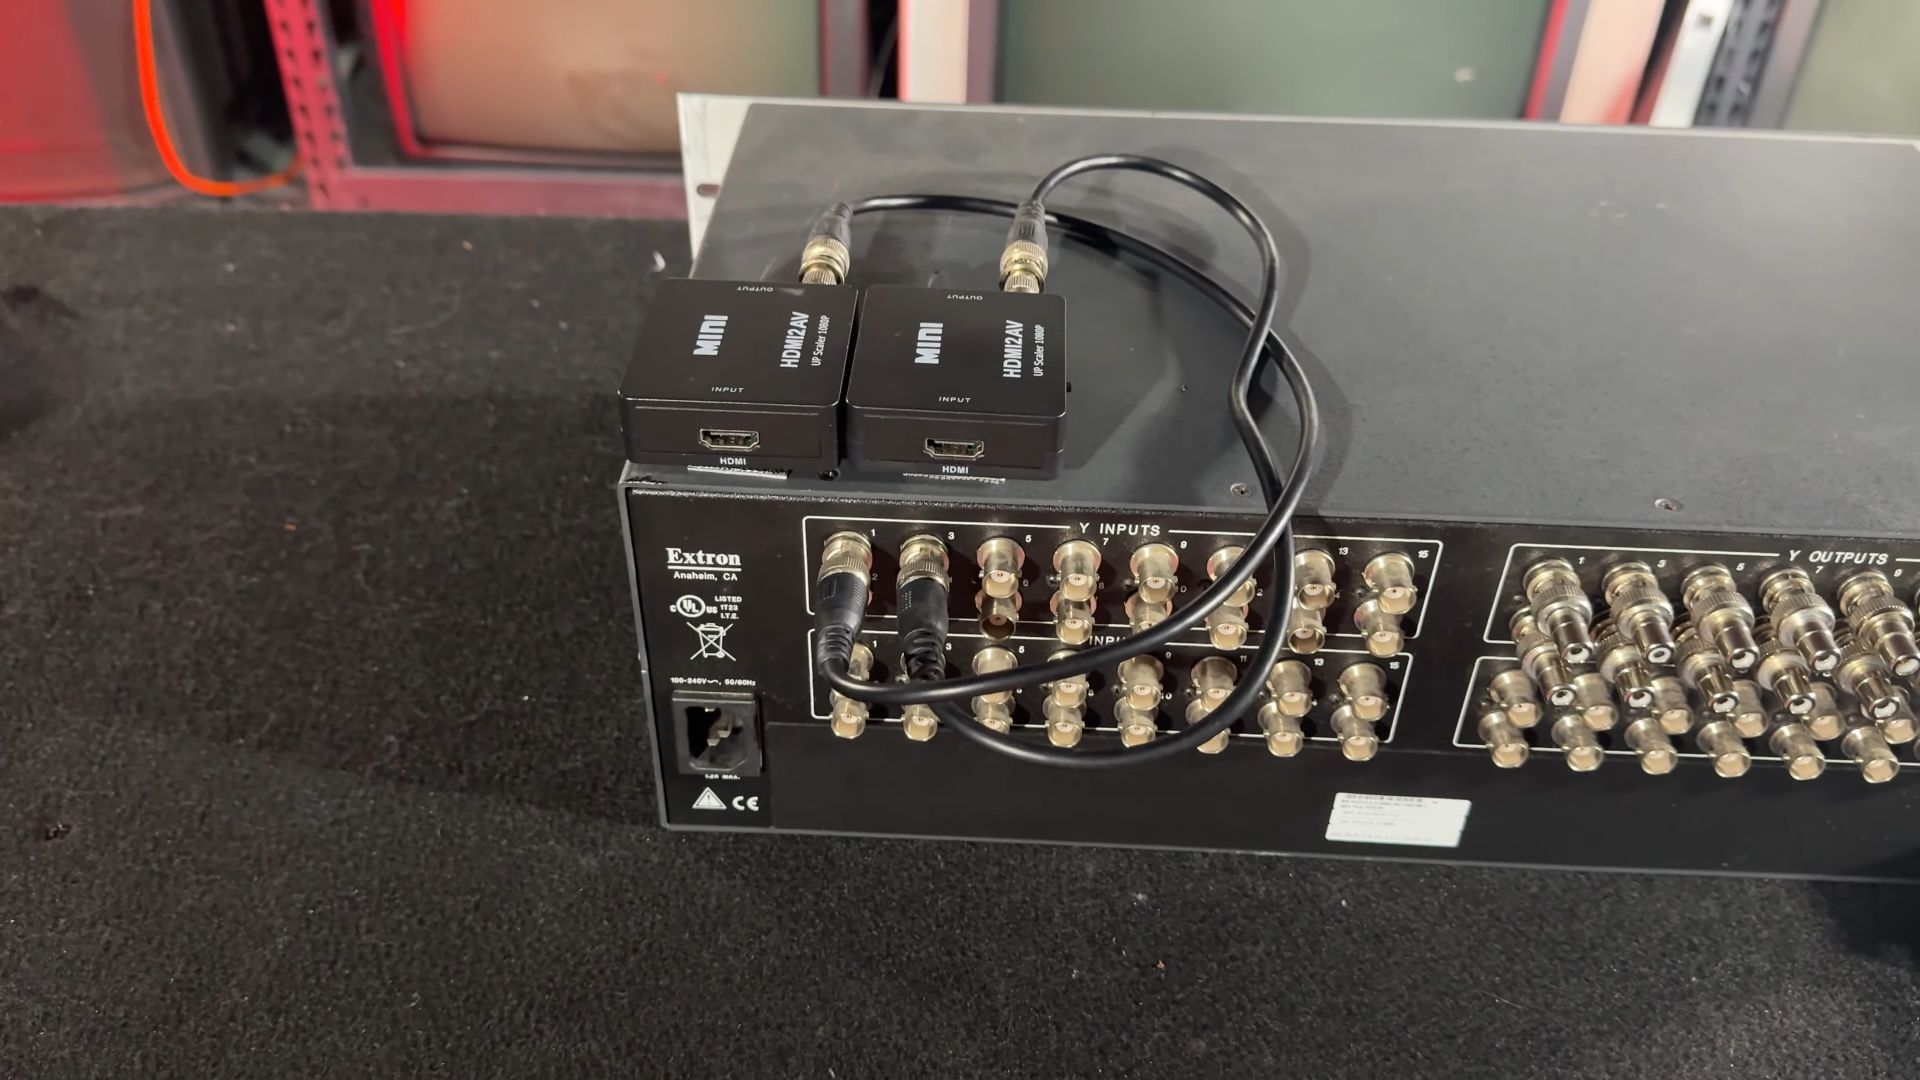
Connecting the Matrix Switcher 22:56
Turning the unit around, you’ll see various connectors. These are BNC connectors, a locking form of connector common in professional video equipment. While BNC is just the connector type, the signal itself can be composite.
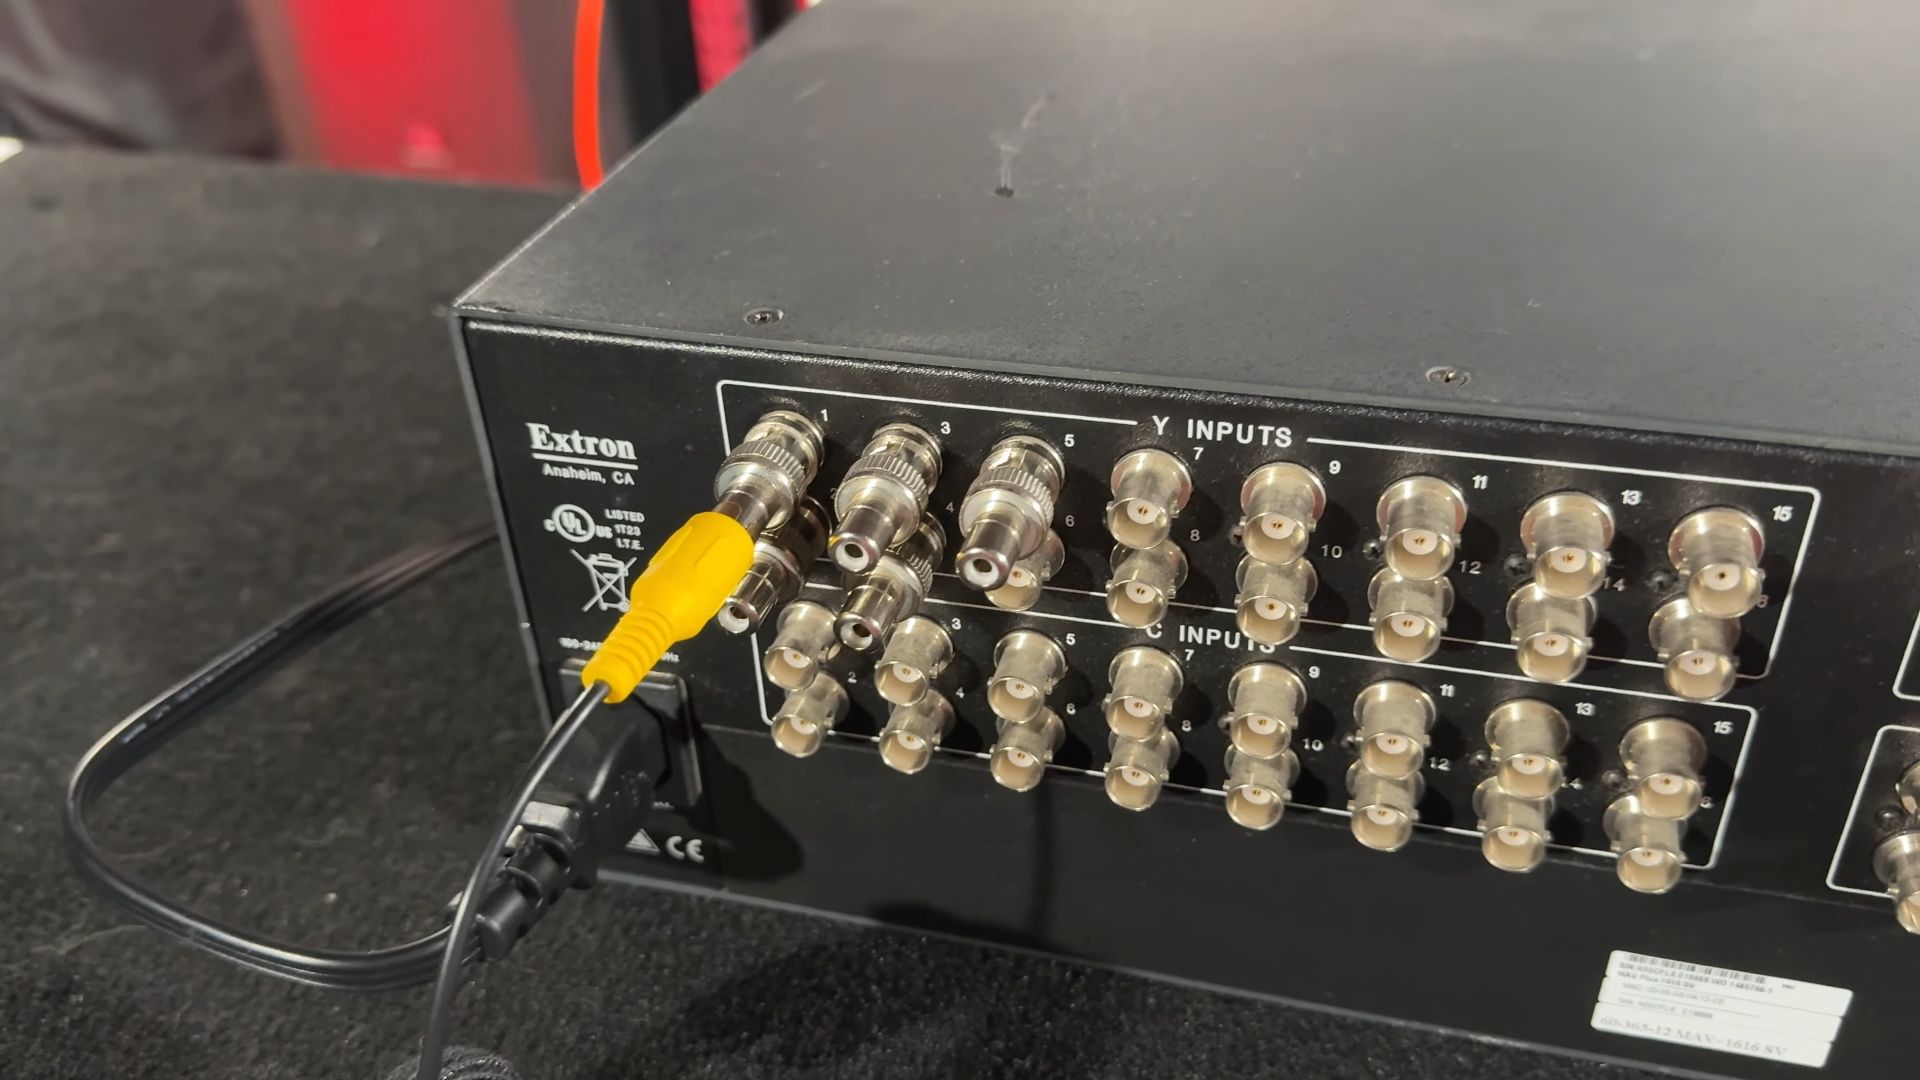
Adapting BNC to RCA 23:49
Since we are using RCA equipment, we'll adapt the BNC inputs to RCA. This involves using BNC male to RCA female adapters. For this setup, I’ve adapted five BNC inputs for RCA and done the same for all 16 outputs. This allows us to plug in our RCA cords easily.
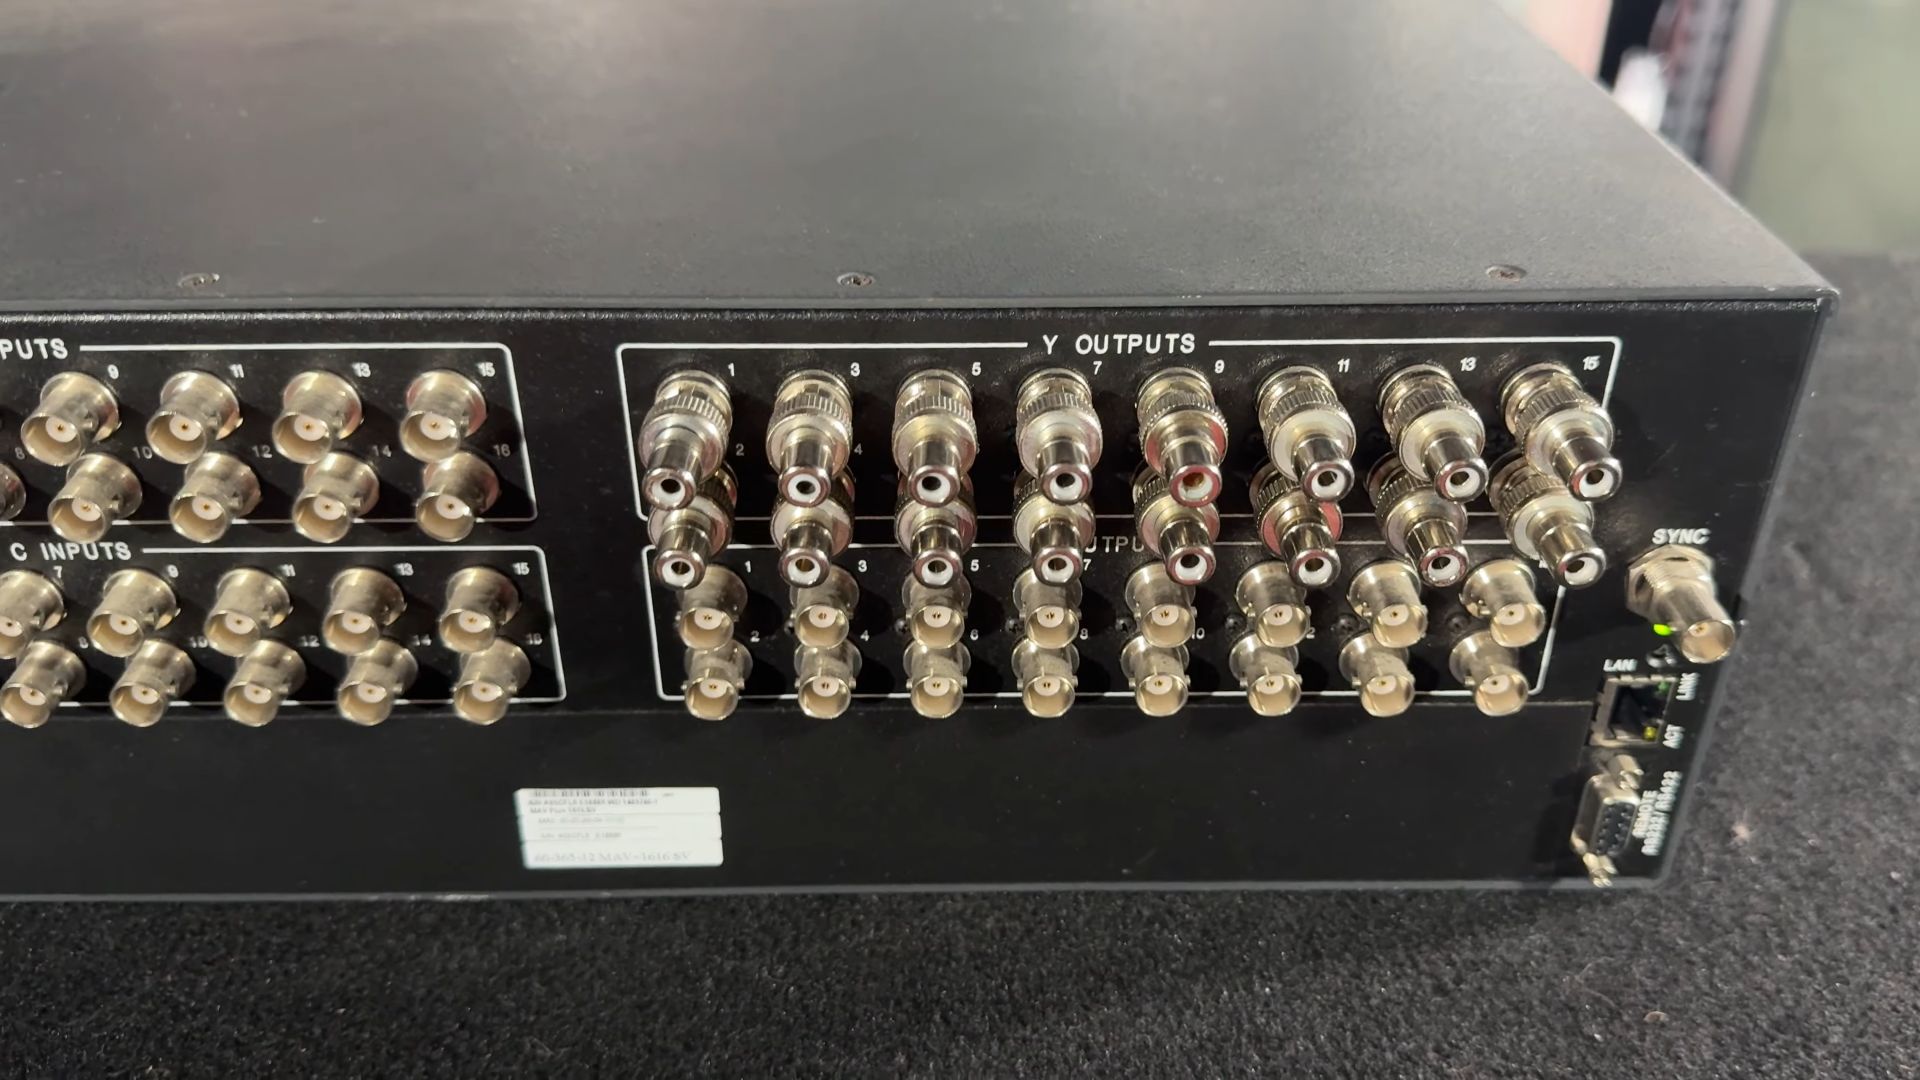
Remote Control via RS232 24:23
In the bottom right corner, there is a nine-pin connector for sending RS232 signals, which allows remote control of the unit.
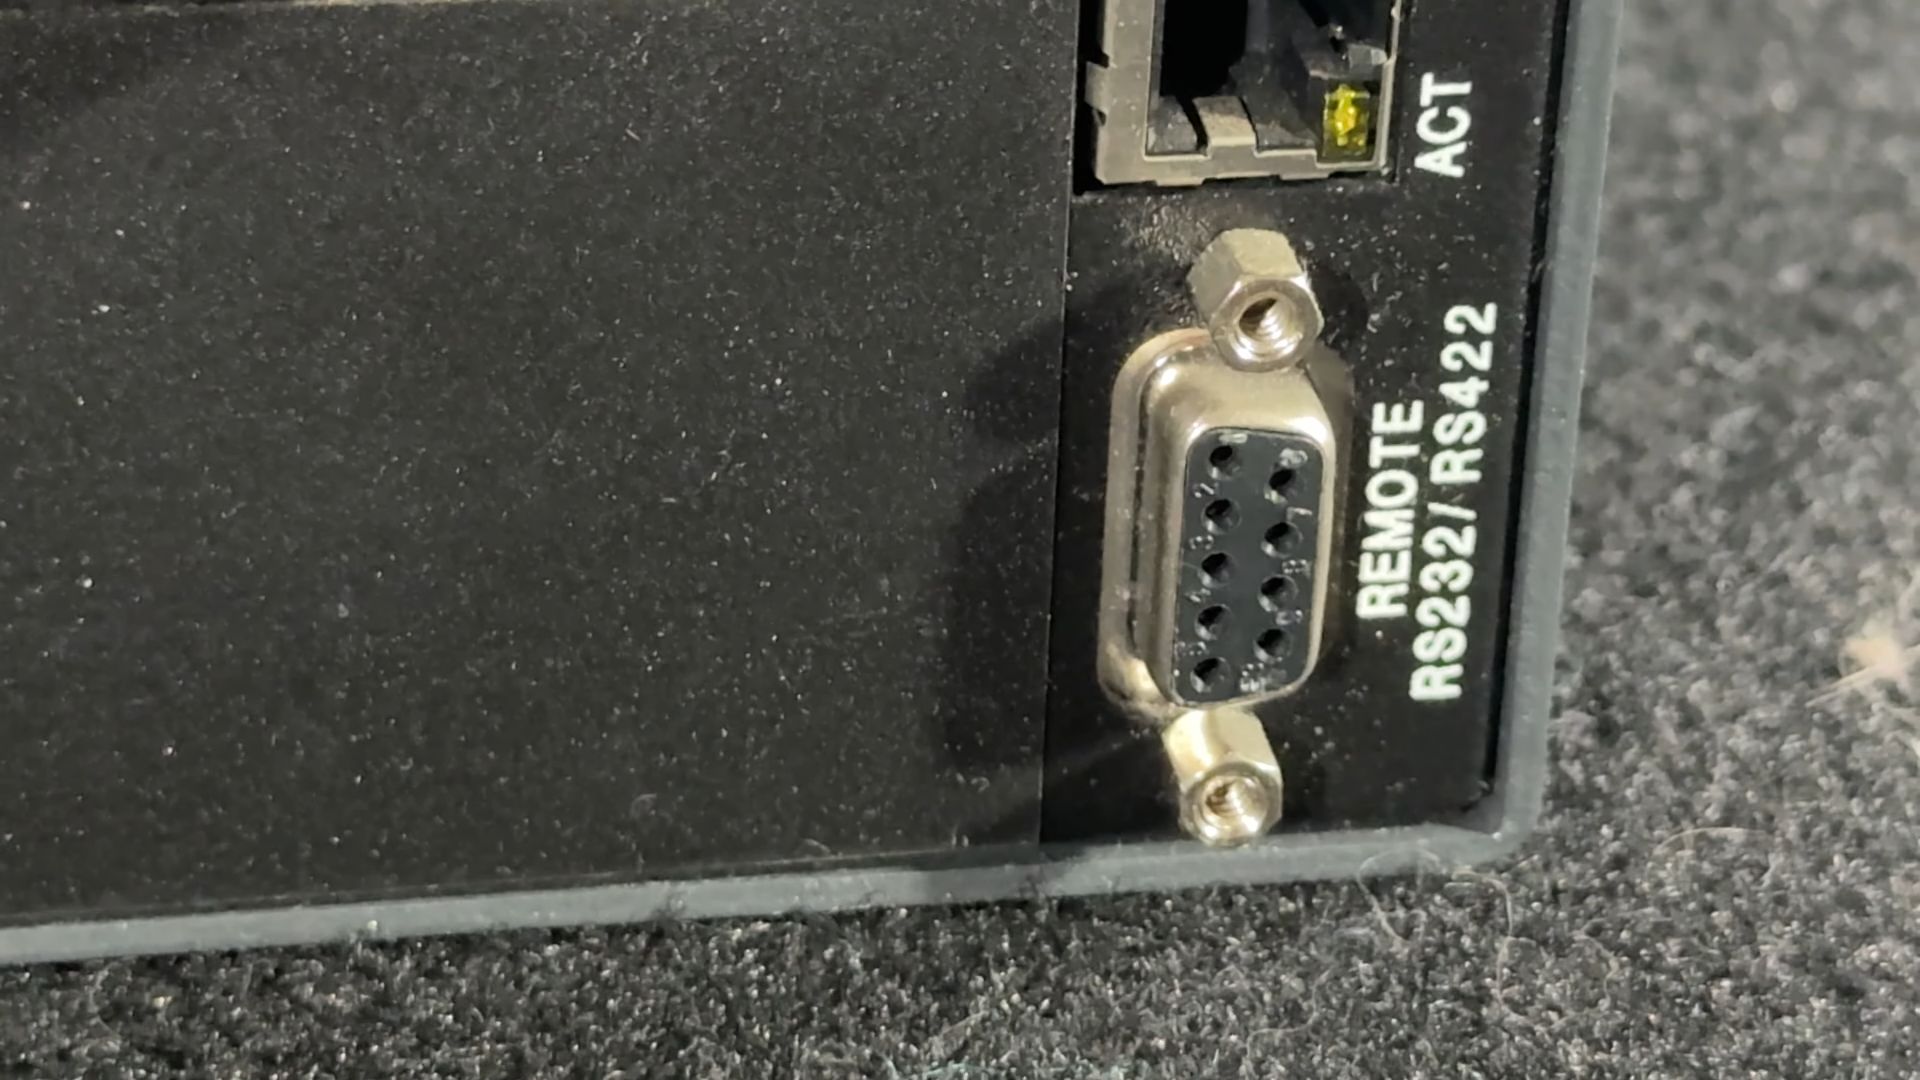
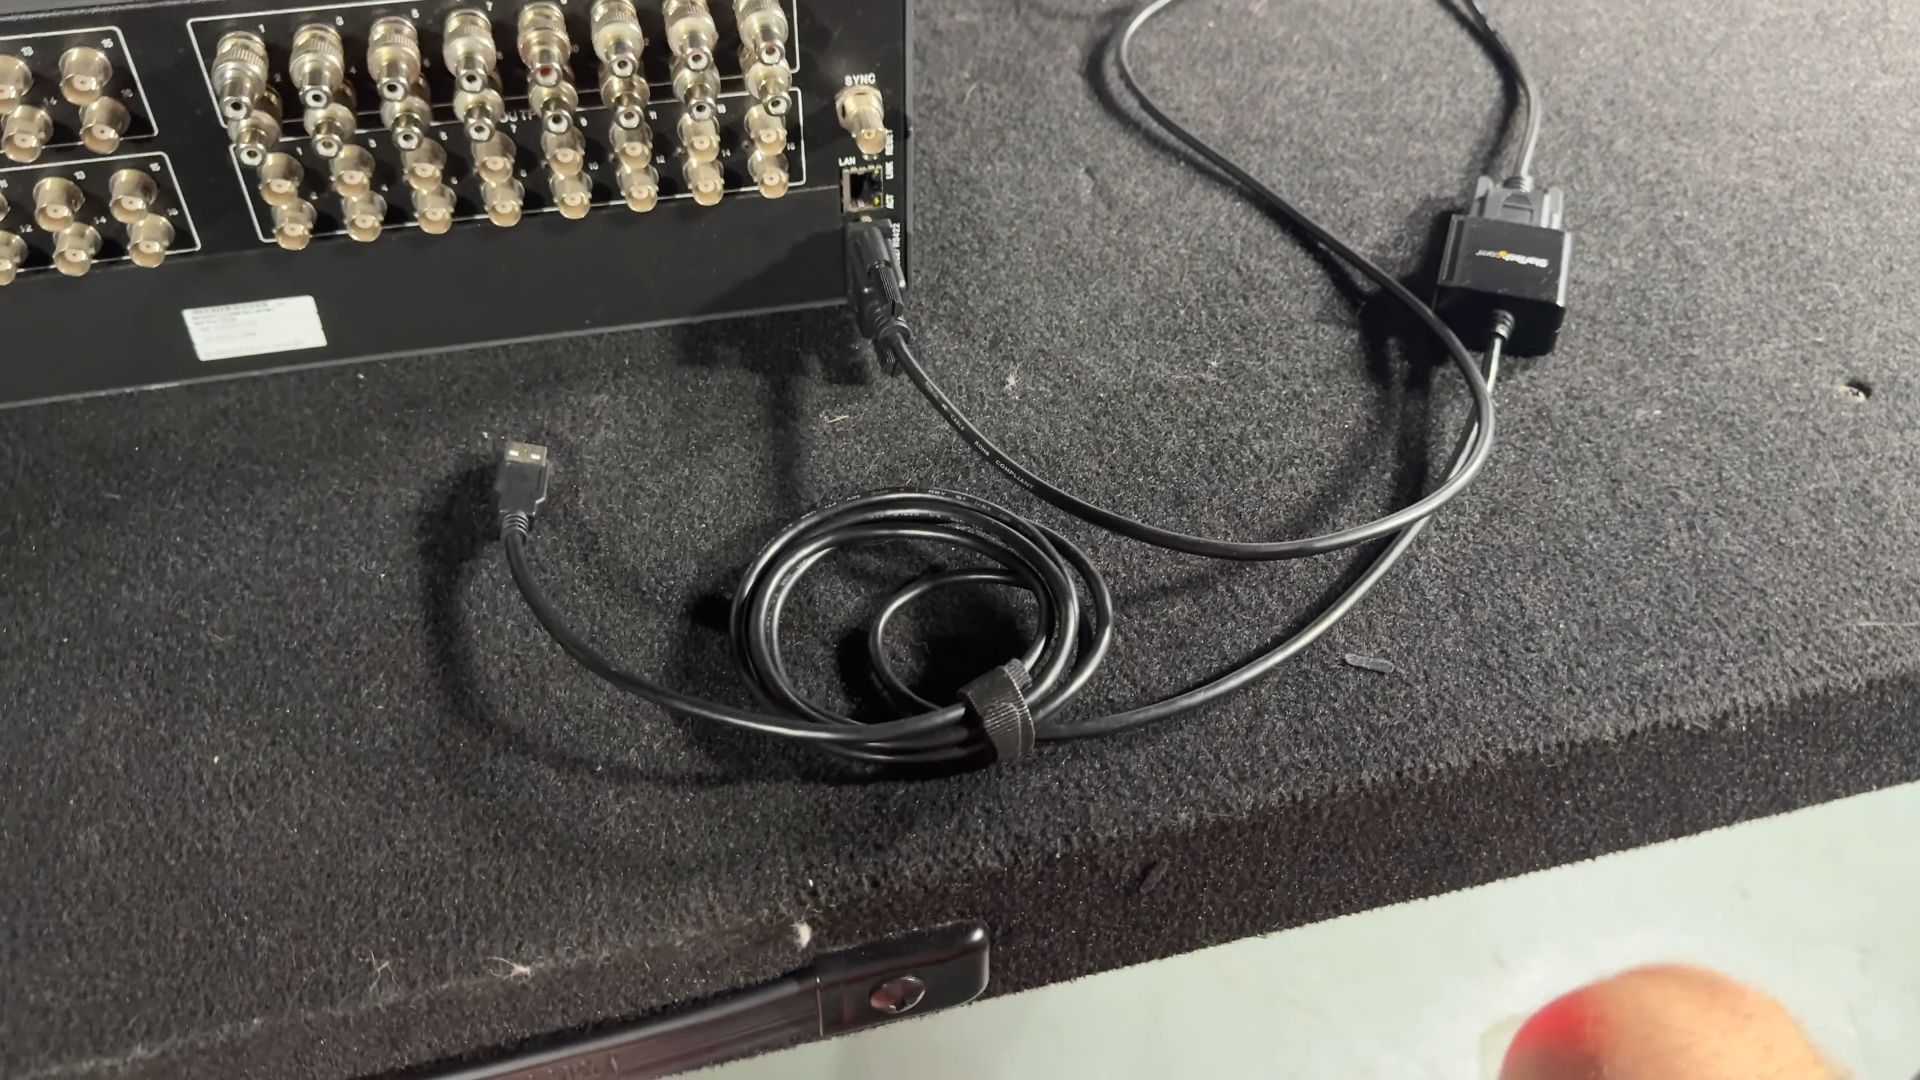
To remotely control the matrix switcher, we use a USB to serial interface that lets your computer send RS232 signals over USB.
Connect the Interface: Plug the USB to serial interface into the nine-pin connector on the matrix switcher.
Adapter Cable: Use an adapter cable to ensure a proper connection between the interface and the switcher.
Control from Computer: Once connected, your computer can trigger different routing combinations.
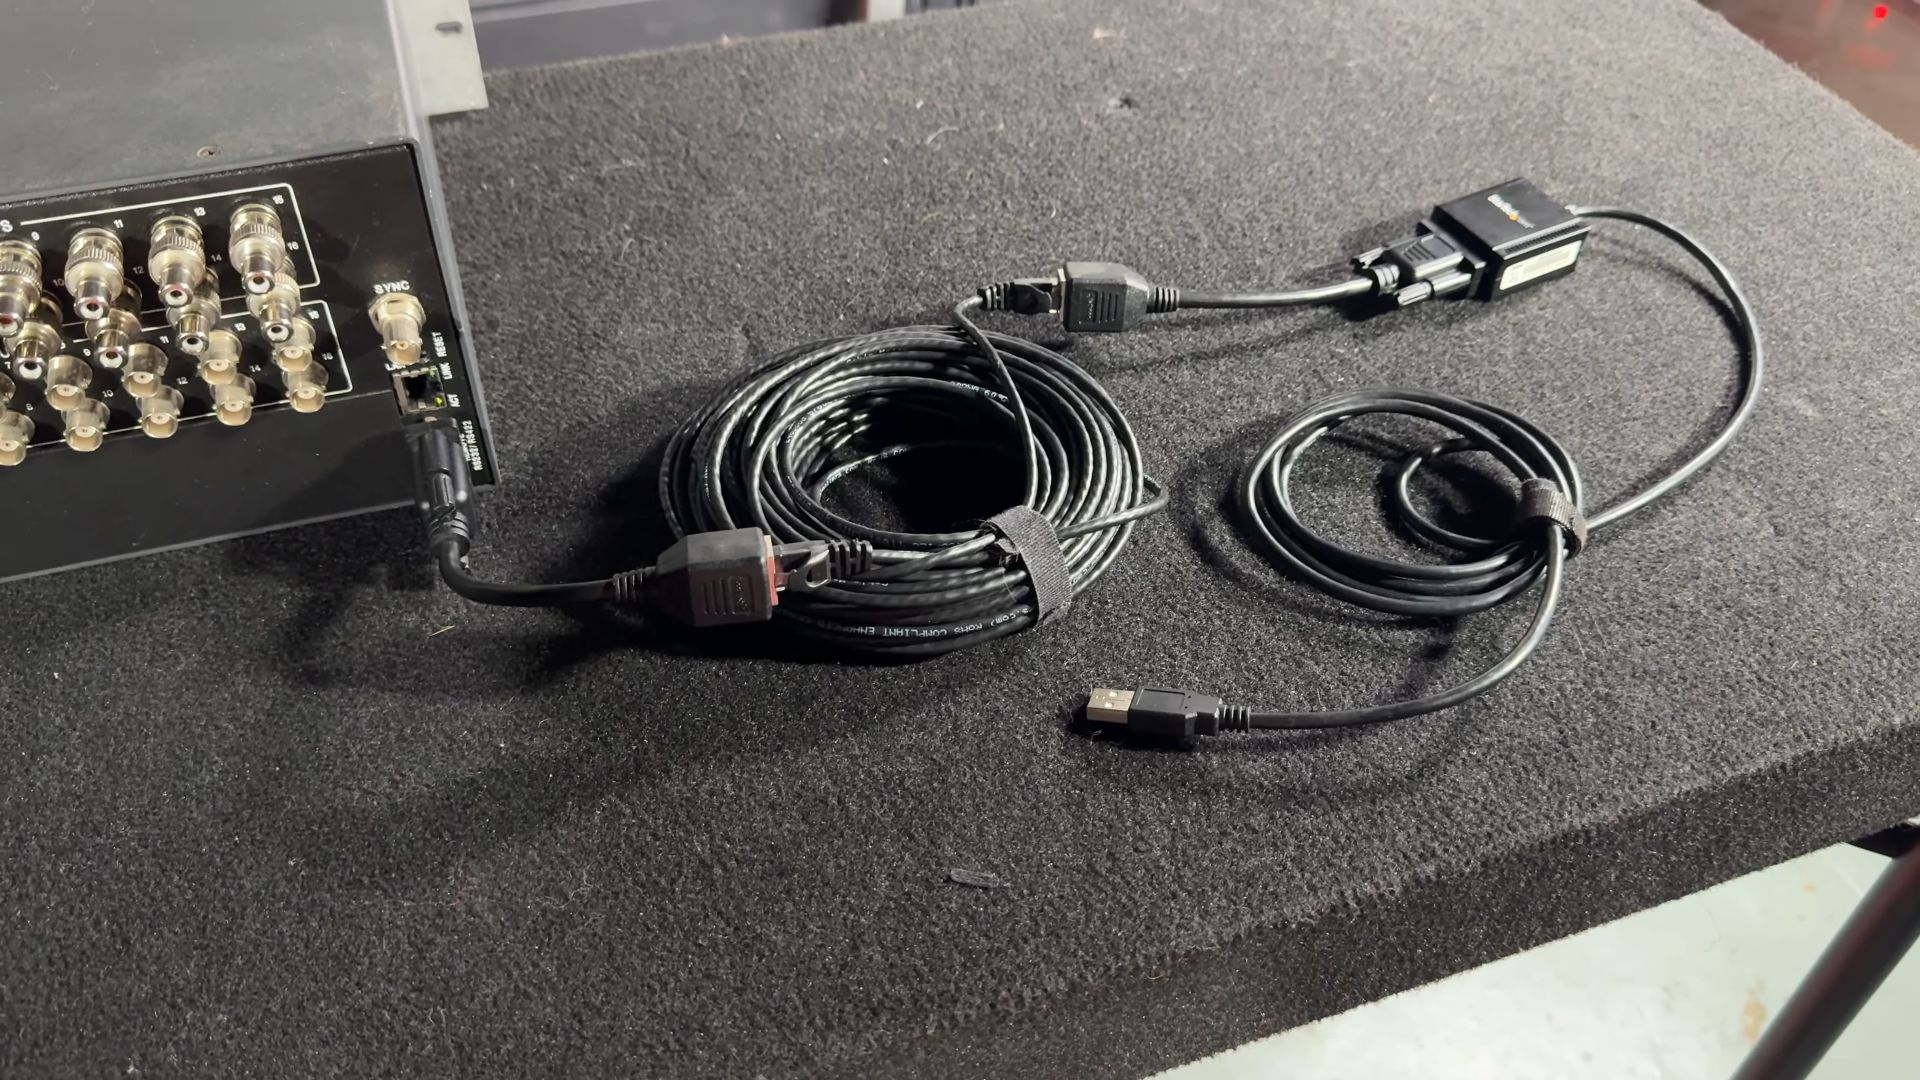
Extending the Control Range 25:25
If your computer is far from the matrix controller, you could use a long RS232 serial cable. However, a more efficient option is to adapt the serial nine-pin input to Cat 5.
RS232 to Cat 5 Adapter: Use an adapter that converts RS232 to Cat 5.
Long Ethernet Cable: Run a 50-foot (or longer) Cat 5 cable.
Adapt Back to Serial: Convert the Cat 5 back to RS232 at the other end.
Connect to Computer: Plug this into the USB to serial adapter and then into your computer.
This method allows for long runs of up to 300 feet, making it easier and cheaper than using specialized RS232 cables.
Powering Your TV Wall 26:32
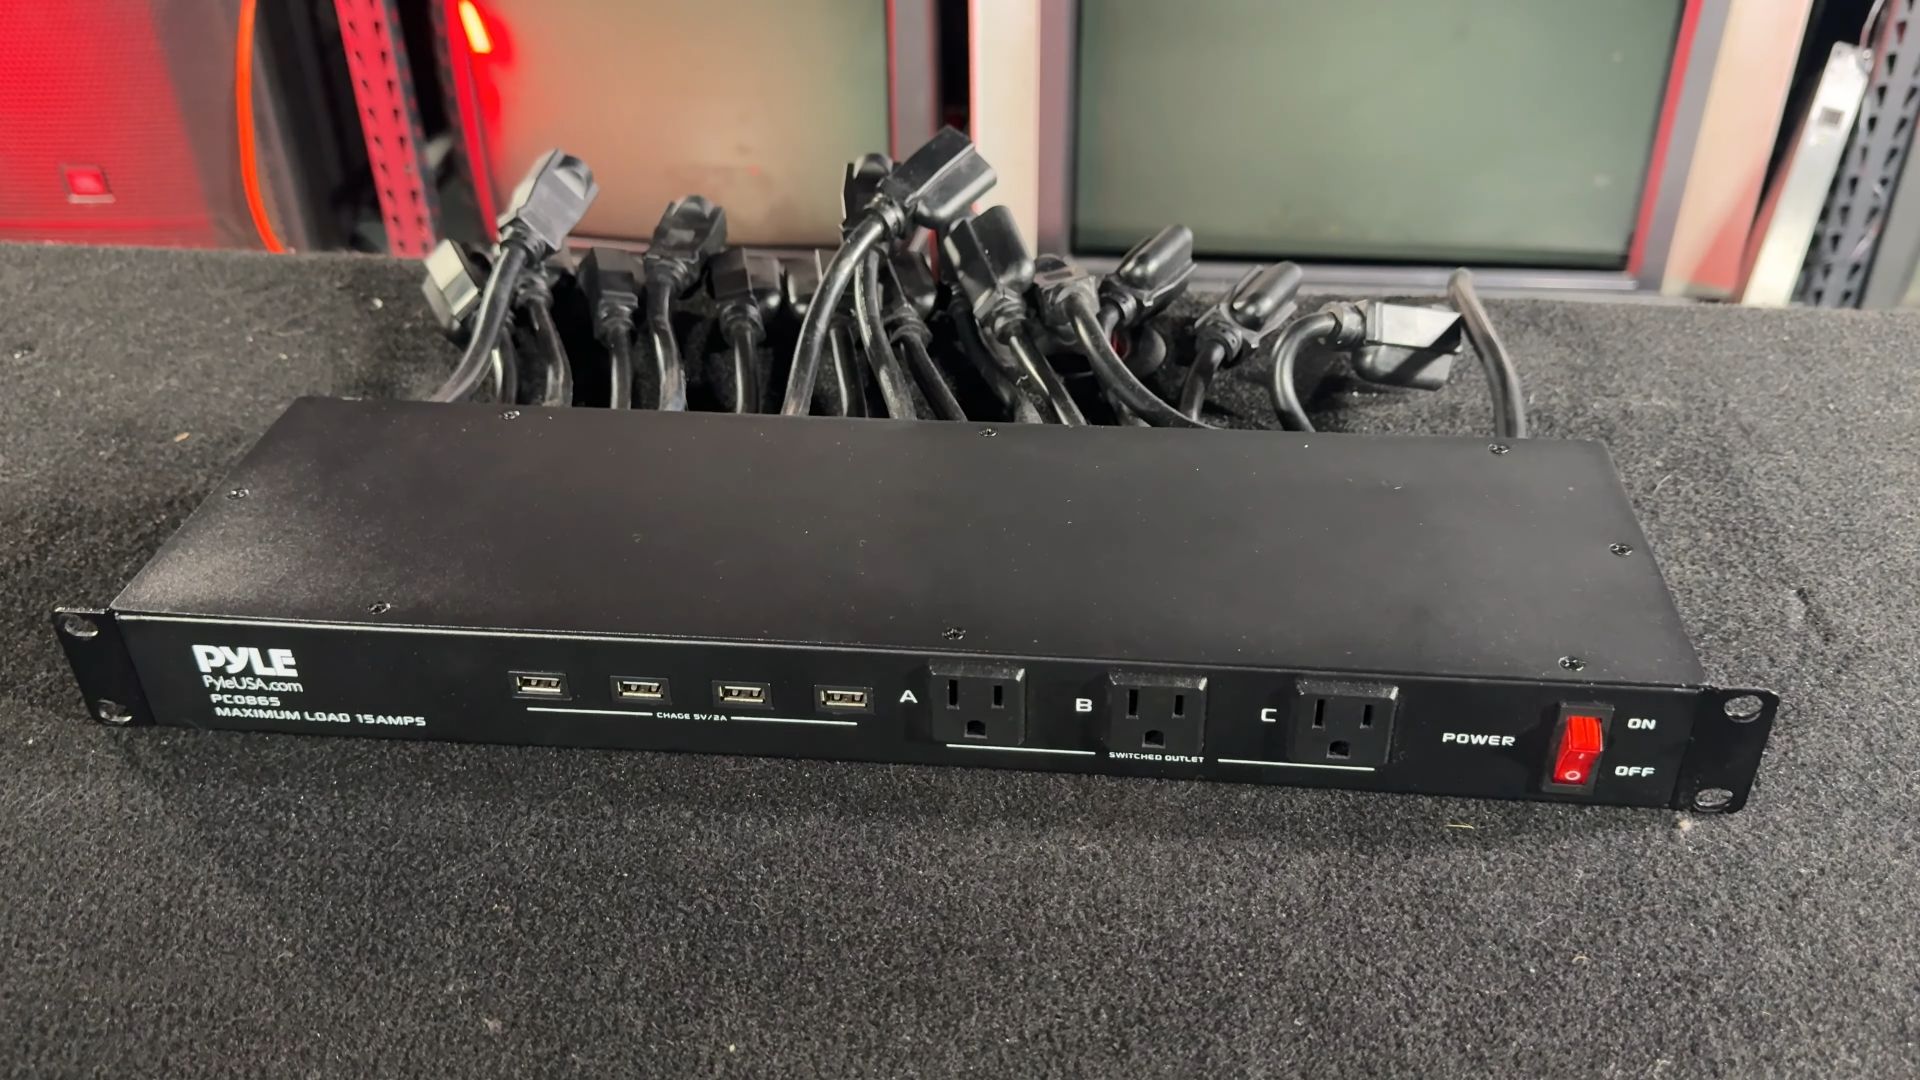
To power all of your TVs, I recommend using this power conditioner by Pyle. It usually costs between $70 and $90 and features 19 different power connectors. There are 16 connectors on the rear, which are flexible for easy cable routing, and three on the front. Additionally, there is a power switch and four USB ports, which can be very handy.
Revamping Input Connections 26:32
In the past, I have run long RCA cords to the inputs from across the room and adapted them to HDMI using converters on the other end. This time, I want to do something a bit differently by securing these adapters on top of the unit. This setup allows HDMI inputs to send composite video directly to the inputs. For your setup, you might prefer having the adapters in different locations, which is totally valid.
Connecting the Adapters 27:32
I will use short BNC cables to plug into inputs one and two. Just like we converted BNC to RCA earlier, we can do the same here using BNC to RCA adapters. Using Dual Lock Velcro and the BNC cables, we now have two HDMI inputs connected to inputs one and two, allowing us to route those to any of the 16 outputs.
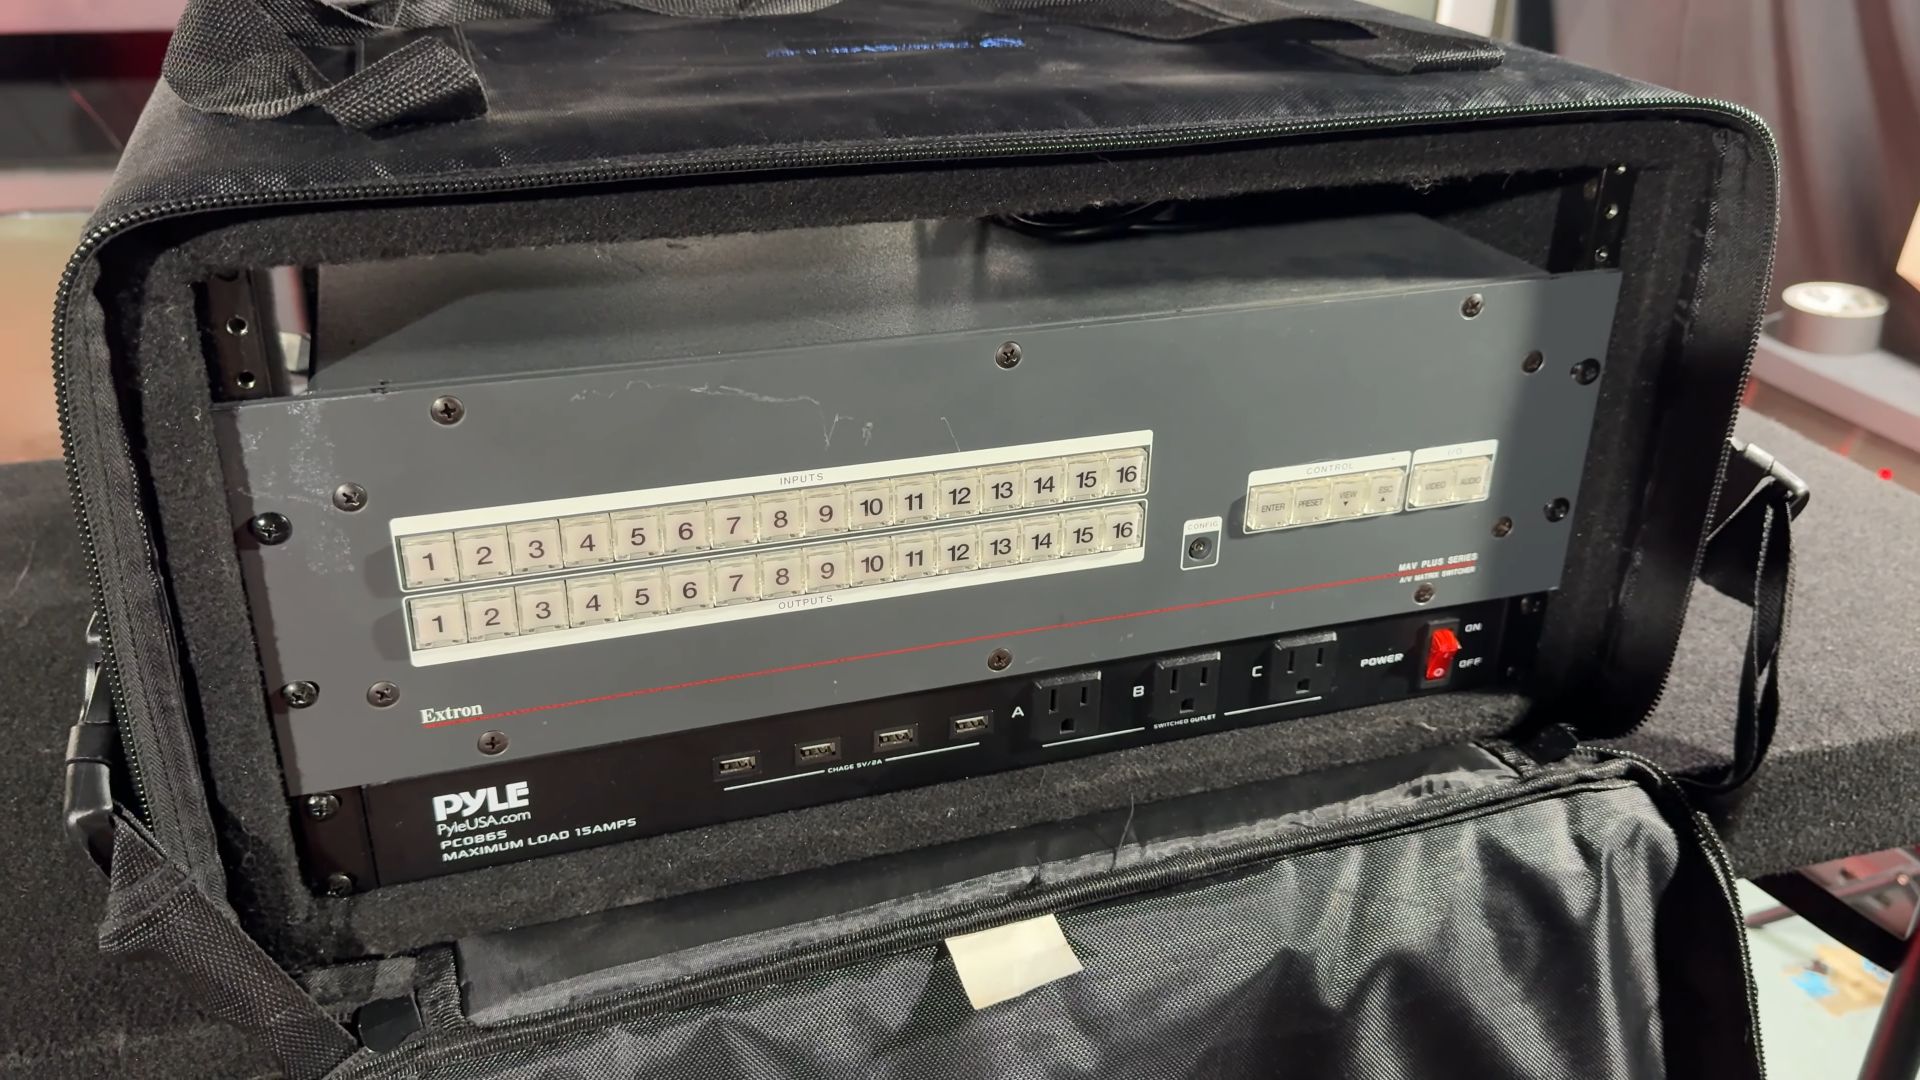
Rack Mounting for Portability and Protection 28:12
Both the matrix switcher and power conditioner are rack-mounted units, which means they have rack ears for mounting them into a rack case.
Rack Mounting Benefits 28:18
The plan is to screw both units into the rack case. This setup not only makes it more portable but also simplifies cable routing, makes it more self-contained, and provides a level of protection. After mounting both units, you can see that the power connectors slightly protrude from the back, but this should not prevent the case from closing properly. This Rockville 5U case is about 12 inches deep and has one extra rack unit space, which is perfect for storing cables and HDMI to composite adapters.
Final Setup 29:00
For this setup, a five-rack unit case is ideal. I have a couple of long HDMI cords, each 35 feet long, that are perfect for connecting the components. With all the power connections and video inputs ready, we can now connect everything to our new wall controller. This setup will ensure a neat, organized, and efficient way to manage your CRT TV wall.
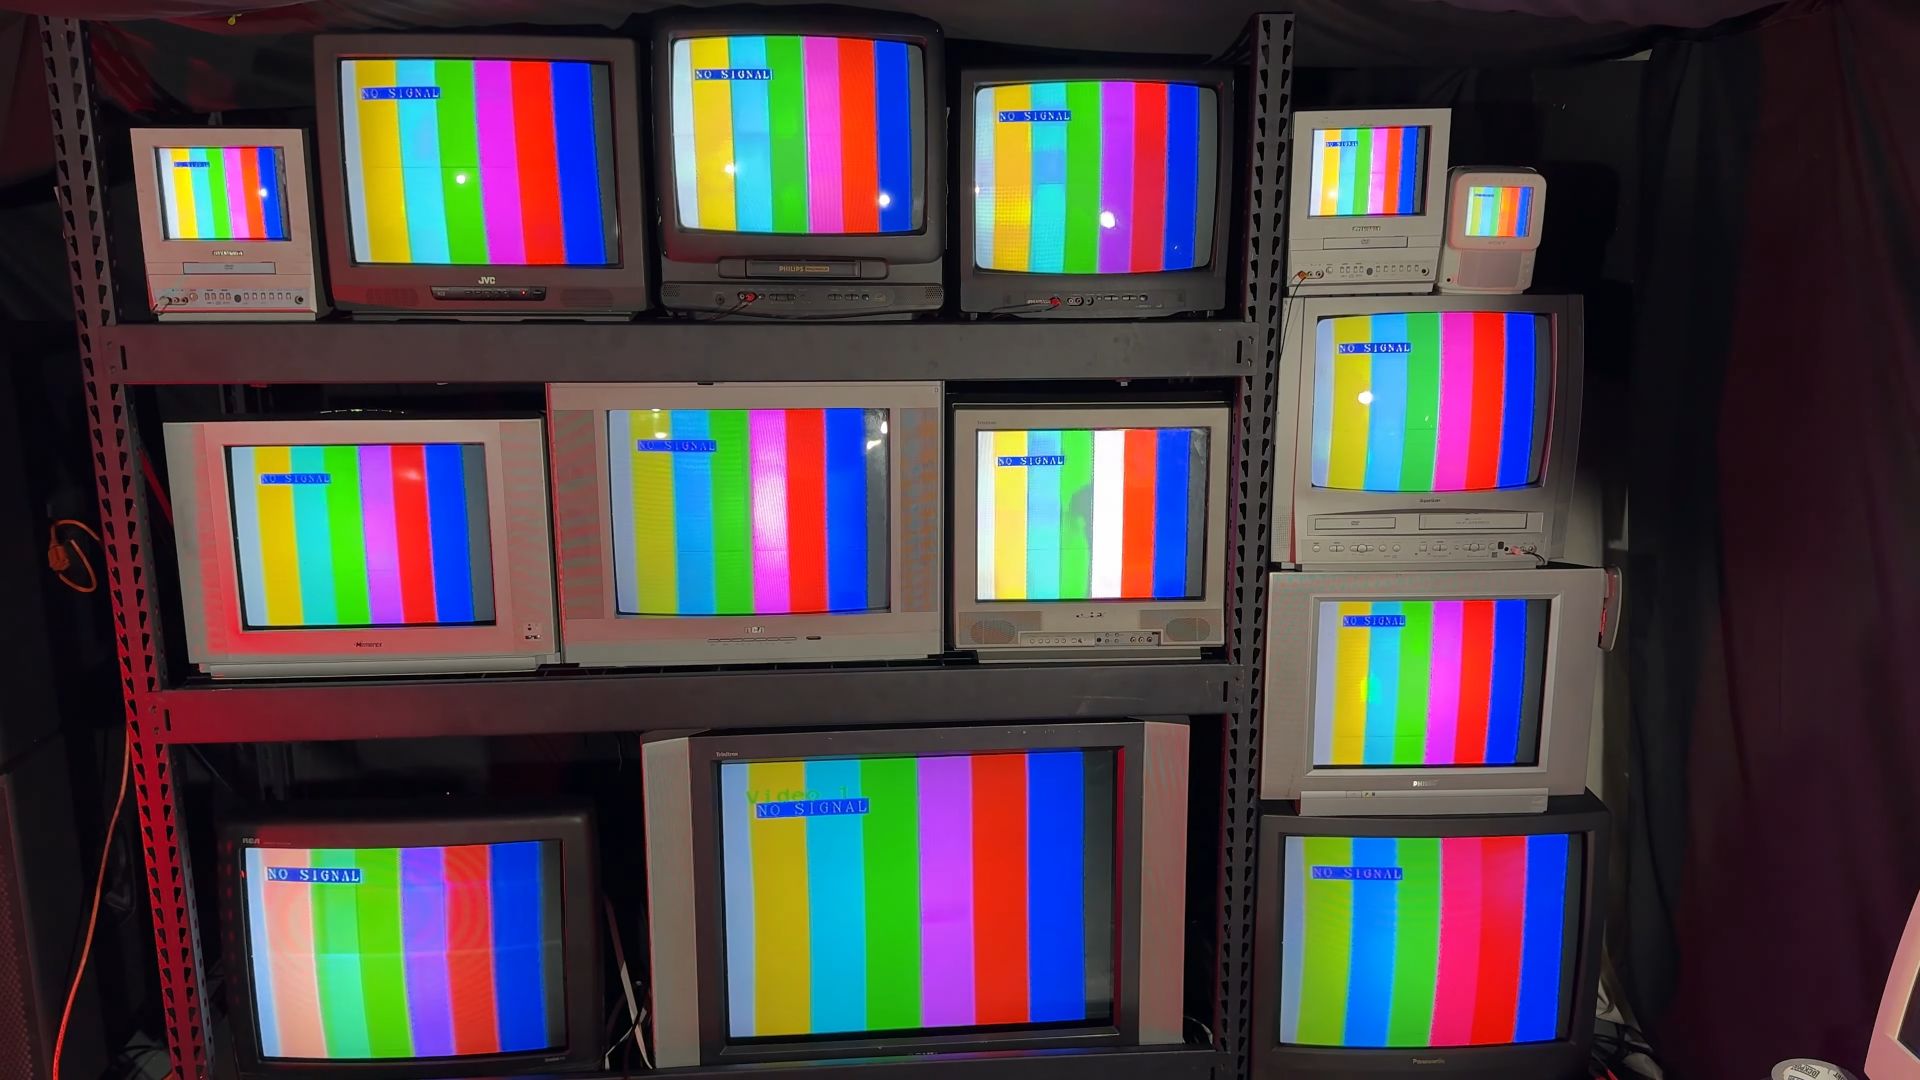
Setting Up and Running the TV Wall 30:11
Now that we have every TV showing a "no signal" message, which actually indicates that all the HDMI converters are working correctly, we can proceed to plug in the HDMI cords that we ran to the wall.
Connecting the HDMI Cords 30:18
Plug in HDMI Cords: Connect the HDMI cords to the converters.
Connect Input 2: Ensure that the second input is also connected.
Running Multiple Instances and Software 30:36
I have two instances of Nuvotion running along with Matrix, the controller software I created. Currently, Nuvotion supports only a single output, and Matrix is a separate program. I intend to integrate them into one program soon, allowing multiple outputs simultaneously directly from Nuvotion.
For now, similar to OBS, you will need to open multiple instances of the software to achieve multiple outputs. Some software like Resolume already supports multiple simultaneous outputs, but you will still need Matrix for routing.
Sending Video Signals 31:21
To send video signals to the TVs:
Select Output: In Nuvotion, click the Output menu bar dropdown and select the "MACROSILICON" output .
Video Display: The video should start displaying on the TV.
Next, repeat the process for the second instance of Nuvotion to the other display.
Dynamic Routing with Matrix 31:42
To dynamically and remotely route the TVs to different inputs:
Select Input: Click "all" to route all TVs to input two.
Mix and Match: You can mix and match inputs, for example, by alternating every other TV to show different inputs.
Name Inputs: Name the inputs (e.g., top, bottom) to keep track of them.
Save Presets: Save the routing combinations as presets for easy access.
Using Presets 33:17
Create Presets: Save the desired routing combinations by clicking the save button and assigning them to preset numbers.
Apply Presets: Apply presets using the number keys or by hitting "apply" in the Matrix window.
Observations and Aesthetics 33:54
When switching inputs, you might notice a slight slideshow effect where the video flips top to bottom. This isn't a seamless instant cut but adds a glitchy aesthetic that complements the arrangement of consumer TVs in a wall.
Practical Setup Tips 34:13
To manage TV outputs effectively:
Software Handling: Use trial and error to assign TVs to specific outputs. This saves time and can be practical when you don't have a ton of inputs.
Save Configurations: Save configurations as presets to quickly switch between different setups.

Live Performance and Dynamic Routing 35:32
Using Matrix for routing presets and remote control makes the setup much more dynamic. It simplifies live performance tools compared to pre-recorded video, allowing fully dynamic content and routing.
For example, in Nuvotion:
Input Effects: Apply effects like "quad" on input one or "tunnel" on input two for dynamic visuals.
Static vs. Live Control: While you can use OBS for static video, combining live-controlled video with dynamic switching adds a new level of engagement.
Overall, this setup provides a powerful and flexible way to manage and display multiple video signals on a CRT TV wall, enhancing both visual appeal and functionality.
Creating a Unified Image Across Your TV Wall 36:43
You might be wondering how to create a unified image across the entire TV wall, such as having a fish swim from one TV to another seamlessly. This is definitely possible, and I have a solution for it. However, it won't be covered in this tutorial.
Upcoming Solution 37:02
I have a custom-made product in the works that will make this process as easy as possible. Currently, in 2024, there is no off-the-shelf solution to map one giant image to a TV wall. My upcoming product will address this gap, and I will be selling it on my website. Stay tuned for a future video where I will provide all the details.
Conclusion 37:21
Thank you for following this tutorial on how to build your very own CRT TV wall and send video to it using a matrix controller powered by Nuvotion and my Matrix software. If you have any questions about setting up your own system, please leave a comment.
Inspiration for Artists 37:21
I hope this tutorial inspires a new generation of artists to build their own TV walls, whether for music videos, art installations, or concerts. Over the years, I’ve learned a lot through trial and error, and I hope to share these lessons with you.
Available for Purchase 38:14
If you want to replicate this setup for your own TV wall, I have four kits for sale. These kits include the Matrix controller, the necessary components to control it remotely, and all the BNC to RCA adapters pre-installed. The box will contain almost everything you need to get started with video. You’ll need to handle power and physical setup, but you can connect it to your computer, use my Matrix software for control, and use Nuvotion or your favorite video program to send video to it.
Looking Ahead 39:00
In the next tutorial, I will cover how to create a single, contiguous image across all the screens. This approach is more complex and requires different hardware, but it allows for a seamless and unified visual experience.
This current method is a great starter approach, offering a dynamic and significantly cheaper solution. It’s an excellent way to power your TV wall and keep the visuals engaging.
Sign up for a Nuvotion account or subscribe on YouTube to keep up with more exciting developments and detailed guides.

